Category Archives: Breakfast

Turkey Breakfast Sausage

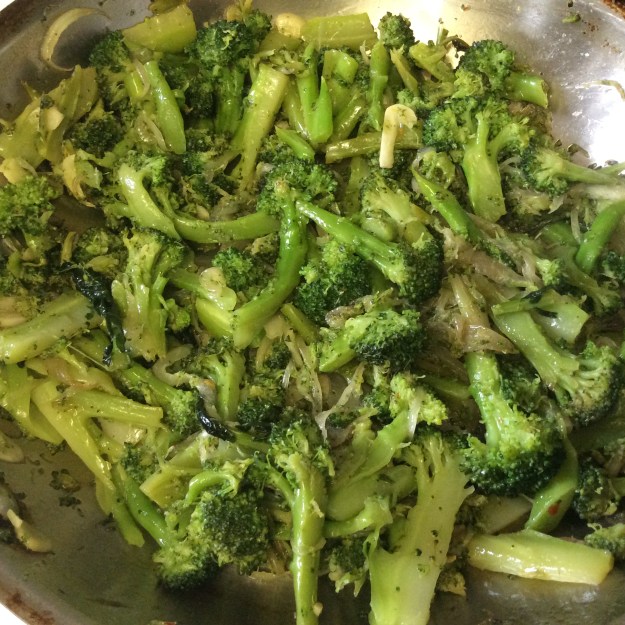
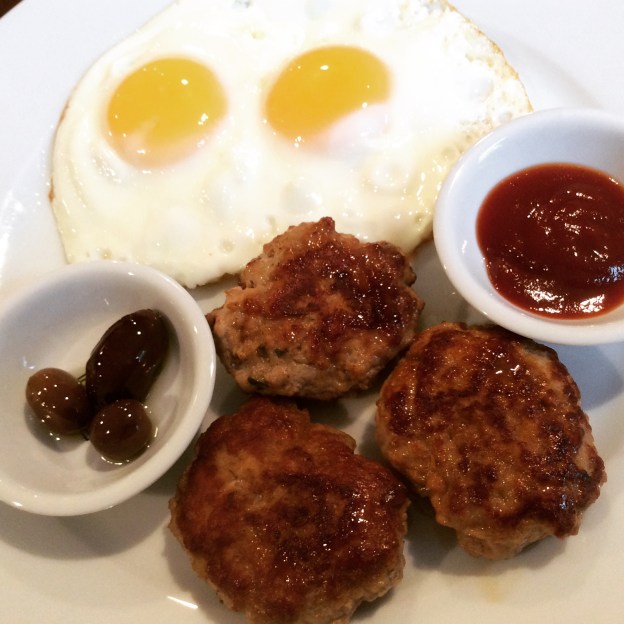
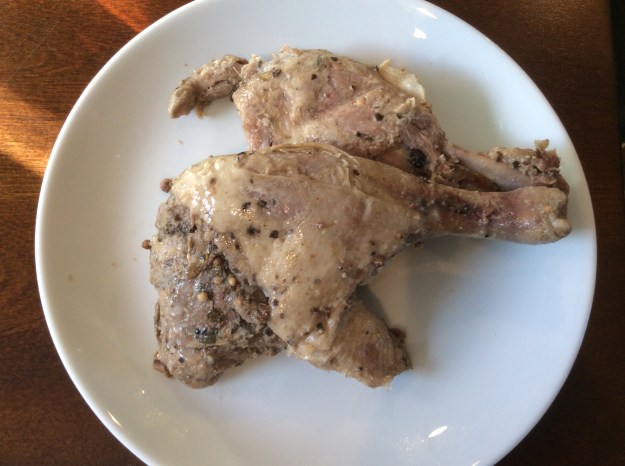
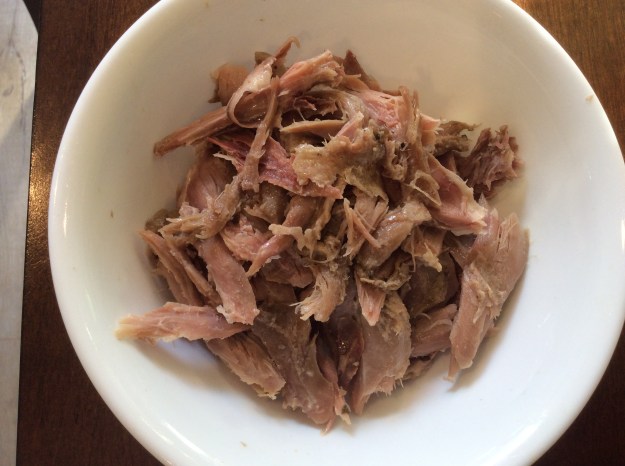
Whenever I visit a diner or breakfast eatery, I usually order the quintessential American breakfast plate – eggs, toast, hash browns and bacon/sausage. Every so often, I may look for healthier options to substitute for the hash browns or meat, and many restaurants in Southern California offer a turkey sausage option as an alternative. But I can’t tell you the number of times I have been disappointed after ordering the turkey sausage. So often the turkey sausage is dry and tough, falling short of its pork counterpart, but it doesn’t have to. (I can hear the naysayers already – BUT BACON!) As proof, today I am sharing my juicy and moist turkey sausage recipe.

There are three key steps to ensure a moist and juicy sausage. First, I use ground turkey meat and not ground turkey breast, because breast meat tends to be more dry. The ground turkey meat has dark meat in the mixture, which yields a juicier result. Second, I add finely-grated onions to the sausage mixture. The grated onion creates moisture pockets in the meat when cooked. Finally, I gently incorporate the ingredients until the mixture is just combined. Over-mixing will also contribute to a tougher sausage. Follow these steps and I guarantee you’ll have juicy and moist little turkey sausages. Enjoy!


Turkey Breakfast Sausage

Yield: 8 patties

1/2 teaspoon of fennel seeds

1 1/2 tablespoon of grated onion

1/2 garlic clove, minced

12 ounces of organic ground turkey (not ground turkey breast)

2 teaspoons of brown sugar

1/2 teaspoon of chopped fresh thyme

1/4 teaspoon of sweet paprika

3/4 teaspoon of sea salt

Freshly ground pepper

Pinch of red pepper flakes, optional

Olive oil or sunflower oil for frying


1. Add the fennel seeds to a small sauté pan. Toast at medium-low heat for about 3 minutes. Transfer the toasted fennel seeds into a clean coffee grinder. Pulse 3 times. Set aside.

IMG_5852

2. In a large bowl, add the ground fennel seeds, grated onion, minced garlic, ground turkey, brown sugar, thyme, paprika, sea salt, three turns of the black pepper mill, and a pinch of red pepper flakes, if using.

IMG_5855

3. Using your clean hands, mix all the ingredients until just combined. Don’t over-mix. Using a medium-sized ice cream scoop, portion out the patties onto parchment paper.

IMG_5856

4. Using a large sheet of plastic wrap, cover the patties and press on them until you get round patties about 1/2″ in thickness.

IMG_5857

5. Heat a large frying pan to medium heat. Add two tablespoons of olive oil.

6. Once the oil is hot, add the sausage patties. Fry them in two batches so you don’t crowd the pan.

IMG_5858

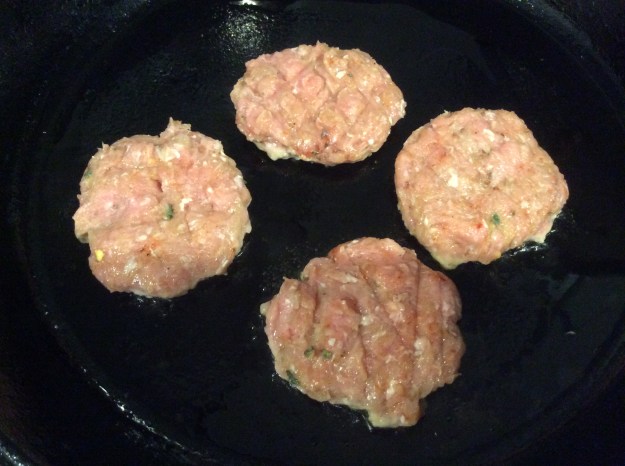
7. Fry for 2-3 minutes or until you get a nice sear. Flip the patties and cook for another two minutes.

IMG_5859

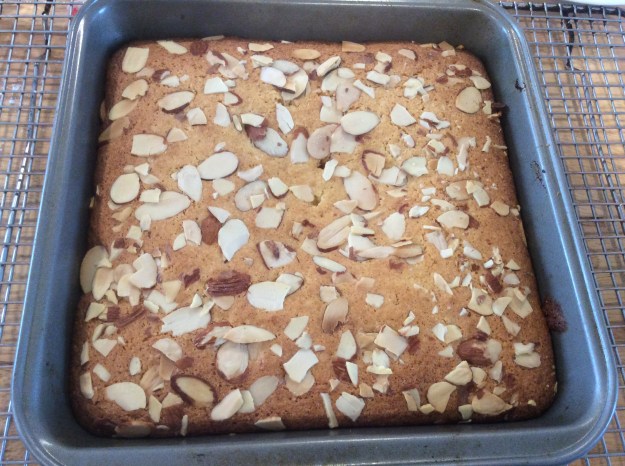
8. Serve immediately with some eggs.

IMG_5865

Advertisement

Duck Confit Hash

Duck leg confit is one of my favorite French dishes. The duck is slightly salty, mildly gamey, and has a crispy skin. In France, you will find duck confit on the menu of most brasseries. It is often served with crispy potatoes fried in duck fat and with a side salad. The process to make duck confit is a long one, which includes salt curing in the refrigerator for a couple of days and the poaching in its own fat for several hours. The duck is then pan-fried until the skin is crispy.

I’ve made duck confit in the past, but now for convenience sake, I buy it from my local specialty or gourmet shop. For my duck confit hash recipe, buying pre-made duck confit works beautifully. The recipe is relatively easy, and perfect for a special occasion like Mother’s Day Brunch. This recipe makes 2 servings, but you can double the recipe if you need more. Just remember, one duck leg confit and 4 ounces of potato per person. Enjoy!


Duck Confit Hash

Serving Size: 2

8 ounces of Yukon gold potato, 1 medium

Duck fat* or olive oil

2 prepared duck leg confit, about 8 ounces with the bones*

2 cloves of garlic, minced

1 teaspoon of fresh time leaves, chopped

1/2 cup of reduced duck stock or veal stock**

Sea salt

Freshly grated black pepper

1 tablespoon of chopped Italian parsley (extra for garnish)

2 farm fresh eggs, poached soft

Cayenne for garnish, optional


1. Preheat oven to 425°.

2. Peel and cut the Yukon gold potatoes to 1 inch dice.

IMG_5806

3. Toss the potatoes with 1 tablespoon of melted duck fat or olive oil and sprinkle a little salt and freshly grated pepper. Transfer the potatoes to a sheet pan. Bake in the oven for about 20 minutes or until nice and crispy.

4. Meanwhile, hand shred the duck confit meat off the bone. You want the meat in bite-size pieces.

IMG_5807IMG_5809

5. Poach the 2 eggs at this time for about 2 minutes. Place the poached eggs on a paper towel until ready to use. Set aside.

IMG_5820

6. Heat a large sauté pan to medium-high. Add 1 tablespoon of duck fat or olive oil to pan. Add the garlic and sauté for 30 seconds.

7. Add the duck confit meat and the chopped thyme. Sauté until the duck gets slightly crispy, about 2 minutes.

IMG_5812

8. Add the roasted potatoes and sauté for 1 more minute. Add the salt and pepper to taste.

IMG_5813

9. Pour the reduced stock and cook until the sauce is slightly thickened.

IMG_5814

10. Divide the hash in to serving bowls and top with a poached egg. Sprinkle cayenne pepper and parsley. Serve immediately.

IMG_5824

*Duck fat and duck leg confit can be purchased at a gourmet food store like Bristol Farms or Dean & Deluca, or online on Amazon. You can also purchase the duck leg confit in duck fat and get both ingredients in one purchase.

**Duck stock or veal stock can be purchased at your local gourmet food store. Make sure you purchase the frozen version without any salt. You can also use chicken stock if you can’t find duck or veal stock. Place 1 cup of stock in a small sauce pan. Cook on high heat until the stock is reduced by 1/2.

Cranberry-Almond Oat Bars


I enjoy a good granola bar from time to time, especially when I am in a hurry and don’t have time for breakfast. It’s also great for an afternoon snack when you’re on the run. Store-bought granola bars tend to have too much sugar and unnecessary preservatives, though, so I prefer to I bake my own, which lets me control the sugar and also use the best ingredients. This oat bar recipe has dried cranberries, sliced almonds, coconut, coconut oil and other healthy ingredients. The egg white helps bind all the dry ingredients. This recipe is relatively easy as long as you have everything in front of you, as you should be able to assemble these granola bars in less than 30 minutes. They are perfect to pack in your kid’s lunchbox or to wrap up and keep one in your bag. Enjoy!


Cranberry-Almond Oat Bars

Yield: 2 dozen


2 3/4 cups of quick cooking rolled oats, like McCann’s

1/2 cup of unbleached all-purpose flour

3 tablespoons of flax seeds

3/4 teaspoon of baking soda

3/4 teaspoon of flaky sea salt

1/2 teaspoon of ground cinnamon

3/4 cup of dried cranberries

1/2 cup of sliced almonds, toasted*

1/2 cup of sweetened shredded coconut

1/3 cup of honey

1/4 cup of packed light brown sugar

1/2 cup of coconut oil, melted

1 egg white, beaten until foamy


1. Heat the oven to 325°. Spray 13 x 9 aluminum baking pan with nonstick spray. Set aside.

2. Add the oats, flour, flax seeds, baking soda, cinnamon and salt. Stir well with a fork.

IMG_5619

3. Stir in the dry cranberries and almonds.

IMG_5620

4. Whisk the honey, light brown sugar and coconut oil in a small bowl, until well blended.

IMG_5622

5. Pour the honey mixture over the dry mixture and mix well with a rubber spatula. Then fold in the beaten egg whites.

IMG_5623

6. Pour into the greased baking pan and press down evenly until nice and firm.
Place pan in the oven and bake for about 20 minutes until nice golden brown.

IMG_5626

7. Remove from oven and let it cool on a wire rack until cool.

IMG_5628

8. With a serrated knife, cut into 24 squares.

IMG_5633

9. Store in an air tight container for up to 1 week.


*To toast sliced almonds, place them in a 350° oven for 5 minutes. Let the almonds cool completely before using.

Raspberry Almond Cake Bars

I love the flavor of almond in baked goods. Frangipane, marzipan, almond paste, shaved almonds – however the almond flavor gets in there is fine with me – so it should come as no surprise that my favorite flour to bake with is almond flour. I love the richness that it adds to baked goods, and because of the natural oils from the almonds, you use less fat in your recipes. A few years ago, I tried a Bakewell tart with frangipane, raspberry jam and icing. The tart, which originated in England, was delicious, but little too sweet and rich for my taste. I loved the combination of flavors but wanted a lighter version, so I decided to create my own. The bottom layer is a crispy shortbread crust, the filling is a raspberry jam, and the top is a moist almond cake made with olive oil and Meyer lemon zest. These bars are perfect for breakfast, afternoon tea, or a late-night snack. Enjoy!

Raspberry Almond Cake Bars

Yield: 9 large bars or 16 small bars

Non-stick baking spray


Shortbread Cookie Crust

1 stick of unsalted cold butter, cut into 16 cubes

1/4 cup of sugar

1/4 teaspoon of Kosher salt

1 teaspoon of vanilla extract

1 cups of unbleached all-purpose flour


Almond Cake Layer

1/2 cup of unbleached all-purpose flour

3 ounces of almond flour

1 teaspoon of baking powder

1/4 teaspoon of Kosher salt

2 large eggs

1/2 cup of sugar

1 teaspoon of almond extract

1/2 teaspoon of vanilla extract

3 tablespoons of whole sour cream

1/3 cup of extra virgin olive oil

1 teaspoon of Meyer lemon zest


Filling

1/2 cup of raspberry jam (Bonne Maman is my preferred brand)

1/2 teaspoon of organic cornstarch


Topping

1/8 cup of toasted sliced almonds

Organic confectioners sugar for dusting, optional


1. Preheat the oven to 325°. Grease an 8″ x 8″ baking pan with non-stick spray.

2. To make the shortbread, add the butter pieces into a stand mixer with paddle attachment. Beat on medium-low speed for 1 minute.

img_5256

3. Add the sugar and beat for about 2 minutes until creamy. Using a rubber spatula, scrape the sides of the bowl. Add 1 teaspoon of vanilla extract and 1/4 teaspoon of the salt. Beat until just combined.

4. Reduce the speed of the mixer to low and slowly add 1 cup of the flour. Mix until most of flour has been absorbed by the butter-sugar mixture.

img_5257

5. Using your hands, press down on the shortbread so the mixture comes together.

img_5258

6. Transfer to the greased pan and press down evenly to create the shortbread crust. Using the tines of the fork, create holes throughout the crust.

img_5260

7. Bake in the oven for about 20 minutes

8. While the shortbread is baking, add 1/2 cup of flour to a medium bowl. Whisk in 3 ounces of almond flour, 1 teaspoon of baking powder, 1/4 teaspoon of salt. Set aside.

img_5263

9. In a large bowl, whisk the 2 eggs and the sugar until combined. Add the almond extract and 1/2 teaspoon of vanilla extract. Whisk again.

img_5261

10. Add the sour cream and olive oil and whisk until smooth.

img_5265

11. Add the flour mixture and fold in with a rubber spatula until no lumps are present. Set aside.

IMG_5268.JPG

12. Remove the par-baked shortbread from the oven. Let cool for 5 minutes.

img_5267

13. Increase the temperature of the oven to 350°.

14. Add the cornstarch to the raspberry jam and whisk well.

img_5269

15. Spread the jam evenly over the shortbread, leaving 1/4″ border.

img_5270img_5271

16. Carefully spoon the cake mixture over the jam and smooth out with a rubber spatula.

img_5272

17. Sprinkle with toasted sliced almonds.

img_5274

18. Bake in the oven for 35-40 minutes until golden brown. Use a toothpick to test the center for doneness.

img_5275

19. Cool on a wired rack for about 1 hour before cutting. Dust with confectioners sugar.

img_5282

20. Serve with coffee or tea. Leftovers keep well in an air-tight container for up to 3 days.

Apple Cider Breakfast Cake

Growing up and living in Southern California, it feels like summer all-year round, but my favorite season is fall, and it’s such a treat to see fall foliage when I visit my friends in New Jersey and Delaware. I recently learned of Oak Glen, a small section of Yucaipa just an hour and a half away from LA, where you can experience fall like on the East Coast. Oak Glen is famous for their apple orchards, and the leaves on the apple trees transform to various shades of autumn. Visitors from all over Southern California make the trek this time of year to go apple picking and purchase delicious apple cider. My trip yesterday inspired me to make a breakfast cake using the apples from their farm.

This breakfast cake, similar to coffee cake, has layers of apple flavors with grated apples, chopped apples and apple cider. You also taste the lovely warm spices of fall like cinnamon, nutmeg, and cloves. The cake is incredibly moist with a nice crispy cinnamon and sugar topping. It’s perfect for breakfast, bunch or an afternoon snack and pairs well with hot apple cider or coffee. Enjoy and Happy Fall!

Apple Cider Breakfast Cake

Serving Size: 9 slices

1 2/3 cups of unbleached all-purpose flour
3/4 cup of granulated sugar
1 teaspoon of baking powder
1/2 teaspoon of baking soda
3/4 teaspoon of Kosher salt
1 teaspoon of ground cinnamon
1/4 teaspoon of freshly grated nutmeg
1/8 teaspoon of ground cloves
1/8 teaspoon of ground allspice
2 large eggs
1/2 cup of neutral oil like sunflower or organic canola
1 teaspoon of vanilla extract
1/2 cup of fresh-pressed apple cider*
1/2 cup of grated apples (Pippin, Fuji, Pink Lady or your favorite baking apple)
2 cups of diced apples, 1/2 inch (same apple type as above)

Topping
2 tablespoons of granulated sugar
1 1/2 teaspoons of cinnamon

1. Heat the oven to 325°. Grease a 9 x 9 square a pan with cooking spray. Set aside.

2. In a medium bowl, add the flour, sugar, baking powder, baking soda, Kosher salt, cinnamon, nutmeg, cloves, allspice. Whisk and set aside.

image

3. In a large bowl, add the eggs, oil, and apple cider. Whisk well.

image

4. Add in the flour and sugar mixture to the wet ingredients. Fold in with a rubber spatula until only a few streaks of flour are visible.

image

5. Add the grated and diced apples and gently fold to combine. Don’t over mix.

image

6. Pour the batter into the greased baking pan.

image

7. Whisk the topping ingredients in a small bowl. Sprinkle evenly on top of the batter.

imageimage

8. Bake in the oven for about 40- 45 minutes. Insert a toothpick in the center of the cake to test for doneness.

image

9. Place the cake on a wired rack to cool for at least 20 minutes before slicing. Serve warm with a cup of hot apple cider or coffee. Enjoy.

image

*You can find fresh-pressed apple cider at your local apple farm or farmers market during the fall. You can substitute store-bought cider if fresh-pressed Apple cider isn’t available.

image

Chocolate Chip Muffins

My oldest son loves chocolate chips in cookies, pancakes, scones…pretty much anything and everything. So whenever I make any baked goods, he asks if I can swap I out the fruit for chocolate. Since most of my baked goods usually have less sugar, this is one indulgence I don’t feel too bad about. After testing a few muffin recipes, I came up I with one that is super-moist but still crunchy on the top, just the way he likes it. This is my son’s favorite muffin and he asked me to post the recipe. I hope you enjoy them as much as he does. Enjoy!

Chocolate Chip Chocolate Muffins

2 cups of unbleached all-purpose flour
2 teaspoons of baking powder
3/4 teaspoon of baking soda
1/2 teaspoon of salt
1/2 cup of sour cream
1/2 cup of whole milk
1/2 cup of unsalted butter, cut into 16 cubes
2/3 cup of granulated sugar
2 large eggs
1 tablespoon of vanilla extract
1 cup of good quality chocolate chips (dark or semi-sweet)
Crystallized sugar for topping

1. Heat oven to 350 degrees

2. Line muffin pan with 12 cupcake liners.

3. In a medium bowl, whisk flour, baking powder, baking soda, and salt. Set aside.

image

4. In a small bowl, whisk together the sour cream and milk.

image

5. In a stand mixer with a paddle attachment, add the butter and beat on medium speed for 3 minutes. Add the sugar and beat for 2 more minutes. Scrape the bottom of the bowl with a rubber spatula.

imageimage

6. Add one egg and beat well. Scrape the bottom with a rubber spatula. Add the other egg and beat well. Scrape the bottom with a rubber spatula. Add the vanilla extract and beat for 15 seconds.

imageimage

7. Adjust the speed to low, then add the sour cream and milk mixture. Beat for 15 seconds.

8. Add the chocolate chips to the flour mixture. Give it a quick whisk and slowly add the dry ingredients to the mixer on its lowest setting until they just combine. Remove the bowl and using a rubber spatula, scrape the bottom and give it a couple of stirs.

imageimage

9. With a large ice cream scoop, add the batter to each of the cupcake liners.

image

10. Sprinkle 1/2 teaspoon of crystallized sugar on top of each muffin.

image

11. Bake in the oven for 18 to 20 minutes or until a toothpick comes out clean.

12. Set the oven on broil. Broil the muffins for 1-2 minutes until you get a nice golden muffin top.

image

Cheddar and Bacon Grits

Many years ago, I worked at Square One Dining, a wonderful breakfast and lunch restaurant in Los Angeles. While I was working there, the restaurant was voted the Best Breakfast in LA by Los Angeles Magazine. One of the keys to the restaurant’s success was that the owner sourced and selected the best breakfast ingredients: Nueske bacon, Anson Mill grits, local produce, farm fresh eggs, etc. One of the most popular items on the menu was the stone grits. They excuted the grits (polenta) perfectly, and occasionally customers ordered it with cheddar and bacon. Lately, I have been craving these grits.

As luck would have it, last week I was in Milwaukie, OR and visited Bob’s Red Mill, where I purchased a bag of organic grits. This was the perfect opportunity to recreate the cheese and bacon grits from Square One! This recipe does not include milk, but you will still get the creaminess from the cheese and butter. A couple of tips: first, when making grits, it is important to not to overstir or they will become gummy. Stir just enough to keep the grits from sticking to the pot. Second, once the grits are done, it is important to serve right away, again so it doesn’t harden or get lumpy. You want the grits to ooze in your bowl. Finally, adding a poached egg makes this recipe a complete breakfast dish in one bowl. Enjoy!

Cheese and Bacon Grits

Yield: 4 Servings

3 cups of water
1/4 teaspoon of Kosher salt
1/2 cup of organic grits (Bob’s Red Mill or Anson Mills)
3 thick cut bacon slices, cut into 1/2″ pieces
1/2 cup of shredded good quality cheddar
1 tablespoon of grated Parmigiano-reggiano, plus extra for topping
2 tablespoons of unsalted butter, at room temperature
Sea salt to taste
4 poached or sunny-side up eggs
Freshly ground pepper

1. Bring water and Kosher salt to a boil in a 2 quart pot.

image

2. Once the water comes to a boil, add the grits all at once and stir. Reduce the heat to a low simmer.

image

3. Cook for 30 minutes, stirring occasionally to prevent it from sticking.

image

4. Meanwhile, cook the bacon pieces in a sauté pan over medium heat until crispy. Remove with a slotted spoon and place them on a paper towel-lined plate.

image

5. Poach or fry 4 eggs. Make sure the yolk is still runny inside. Set aside.

6. Once the grits are done cooking, add the butter, cheddar, Parmesan, and a pinch of sea salt. Stir until combined.

image

7. With a large serving spoon, divide the grits among 4 serving bowls. Top each bowl of grits with bacon pieces and one cooked egg. Top with black pepper and grated Parmesan cheese. Serve immediately.


image


Dark Chocolate Cherry Muffins

You rarely find fresh cherries in pastries and desserts because cherries aren’t available year-round like other fruits. In California, cherry season is from mid-April to early June, so if you blink you just might miss it. This week, I bought the last of the season cherries from Murray Family Farms. While Murray’s won’t have any more cherries available this season, there are other farmers that will have cherries available for a couple more weeks, but after that we’ll have to wait until next year.

Due to limited availability and a very short season, I am always torn whether to just eat them fresh or bake with them. With that said, I do enjoy adding fresh cherries to baked goods. In this recipe, I created a dark chocolate muffin recipe with fresh cherries. The slightly bitter chocolate and the tart dark cherries compliment each other well. These muffins are moist in the center and crunchy on top from the raw turbinado sugar, which adds a golden brown color that contrasts nicely with the dark brown muffins. Try this recipe before cherry season is over. Enjoy!

Dark Chocolate Cherry Muffins

Yield: About 16 muffins

2 cups of Sonora wheat flour or unbleached all-purpose flour
1/2 cup of Valrhona cocoa powder or unsweetened cocoa powder
2 teaspoons of baking powder
1/2 teaspoon of baking soda
1/2 teaspoon of Kosher salt
½ cup of unsalted butter, soften
3/4 cup of sugar
2 large eggs
3/4 cup of sour cream
1/3 cup of whole milk
1 tablespoon of vanilla extract
1 1/2 cups of pitted and chopped ripe dark cherries (Bing or Tulare)
2/3 cup of dark chocolate chips
Turbinado sugar for topping

1. Preheat the oven to 350° and line the muffin pans with cupcake liners.

2. In a medium bowl, add the flour, cocoa powder, baking powder, baking soda, and salt. Whisk and break up any lumps. If the cocoa powder is lumpy, sift the dry ingredients.

image

3. In a stand mixer with a paddle attachment, beat the sugar and butter on medium speed for 2 minutes.

image

4. Add one egg, beat until combined. Add the second egg ask beat well until smooth.

image

5. Add sour cream, milk, and the vanilla extract. Beat until the mixture is smooth.image
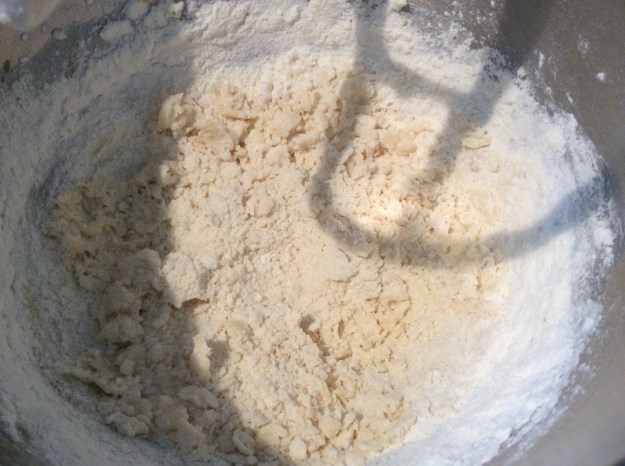
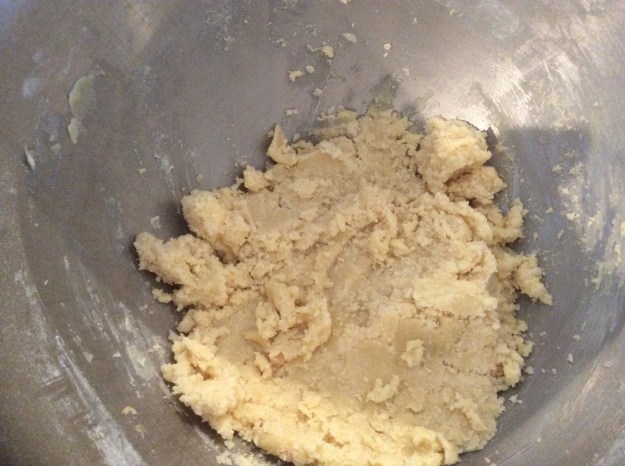
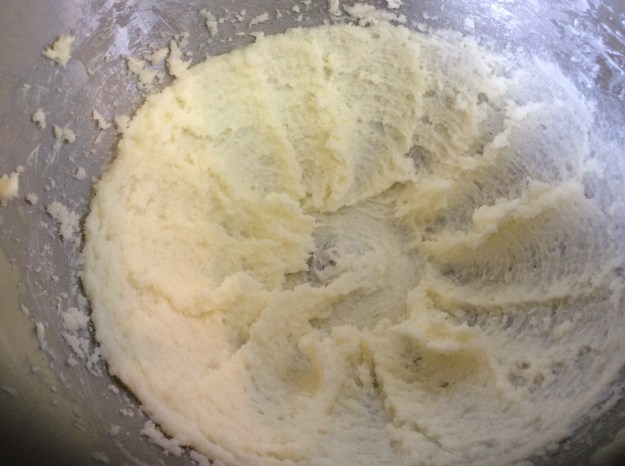
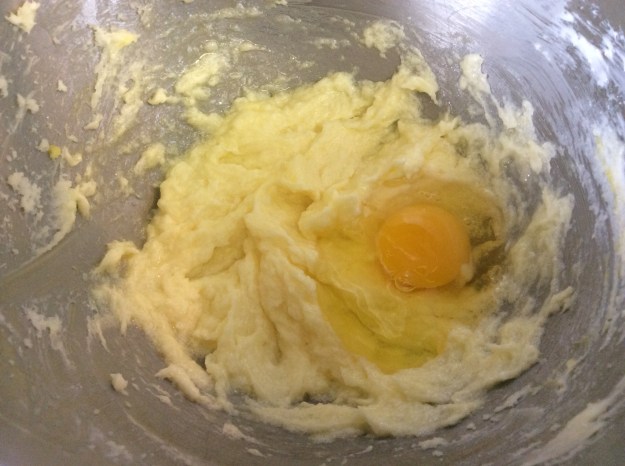
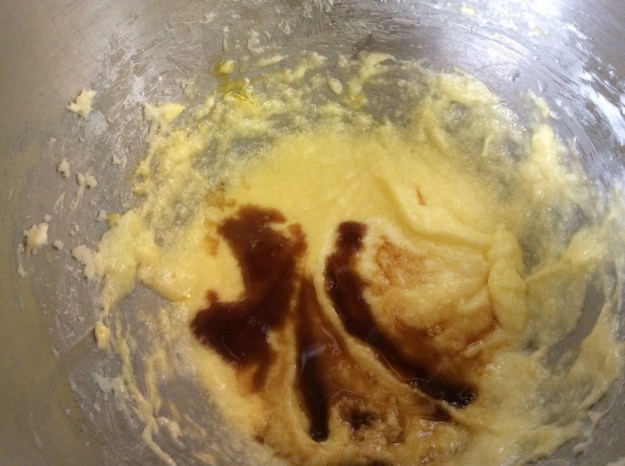
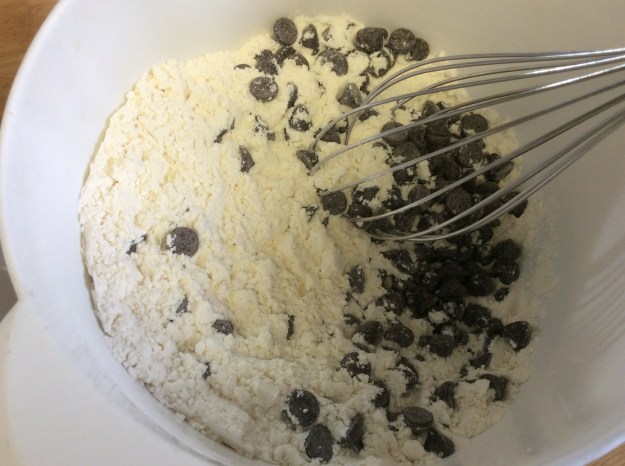
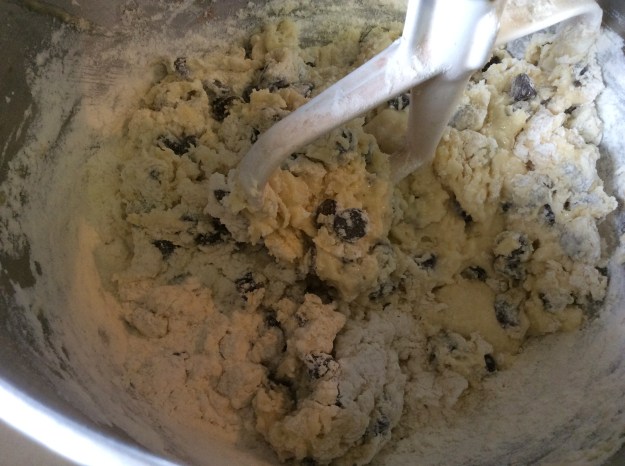
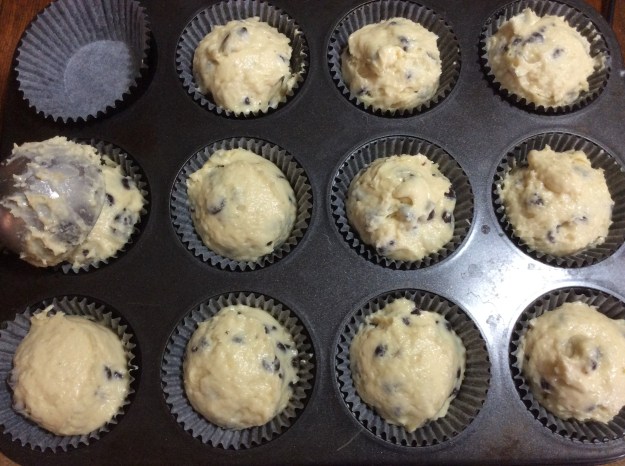
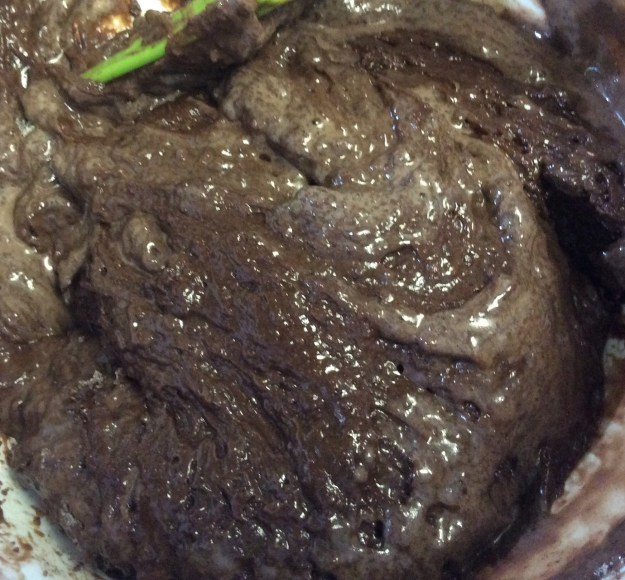
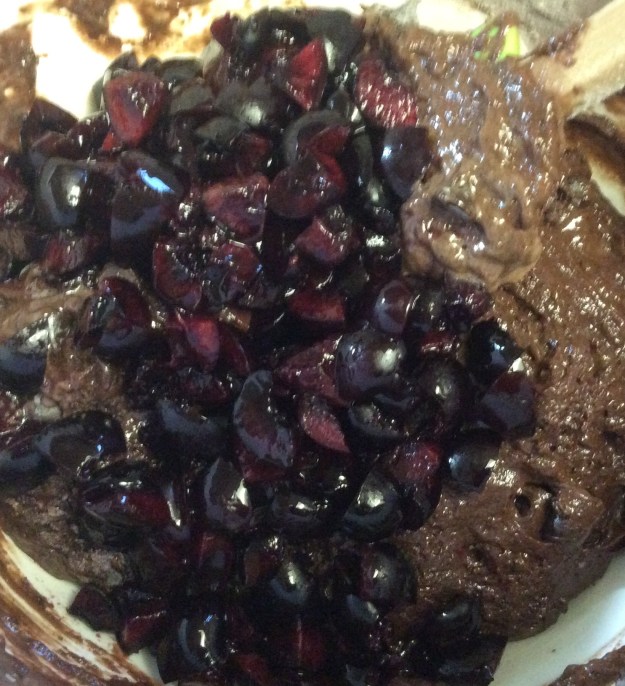
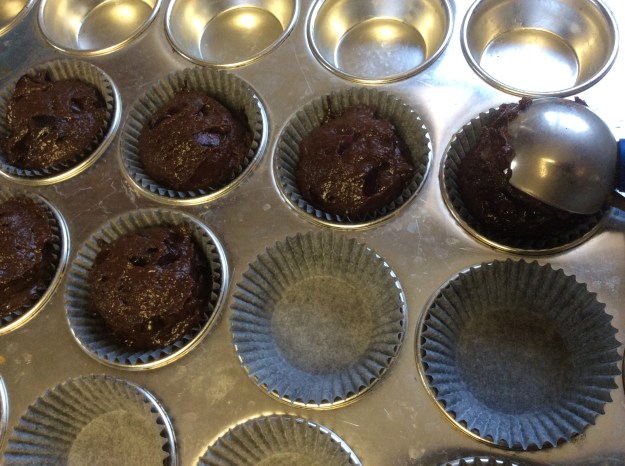
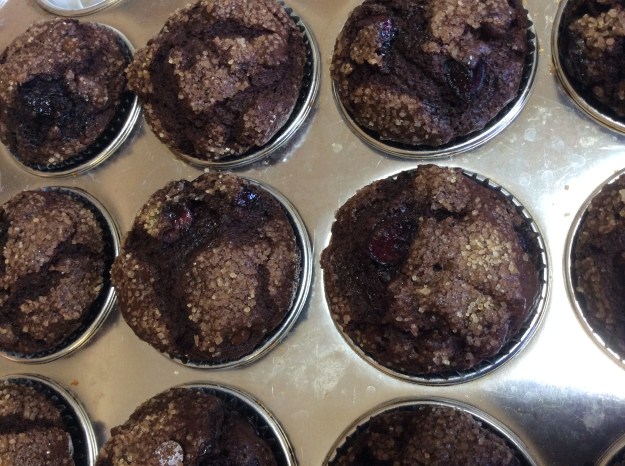
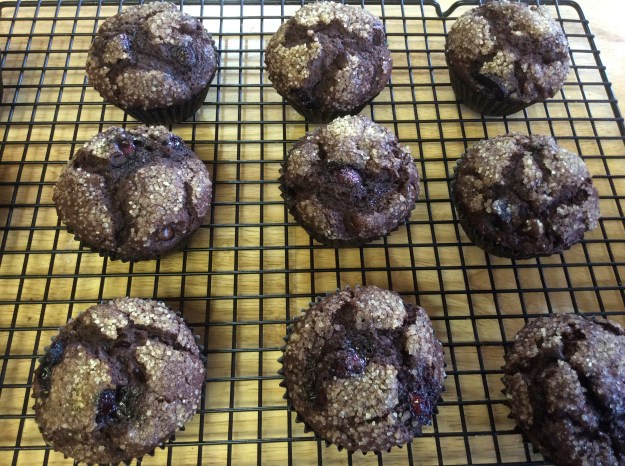
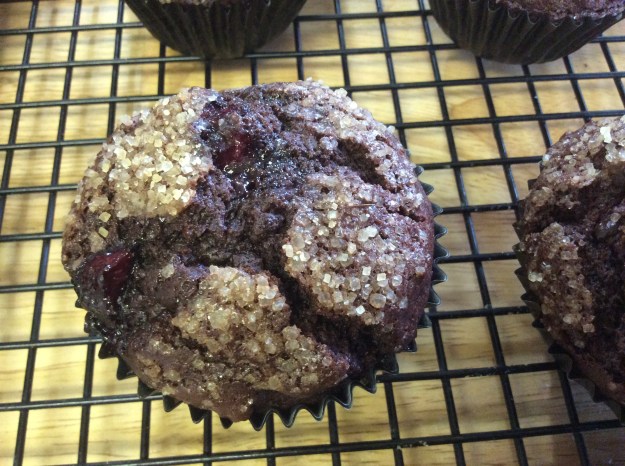
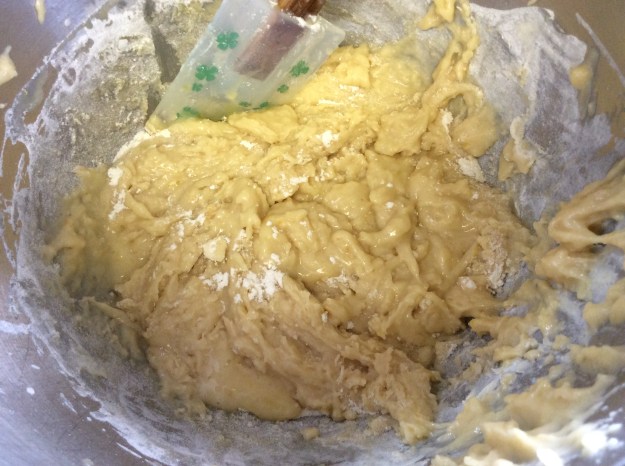
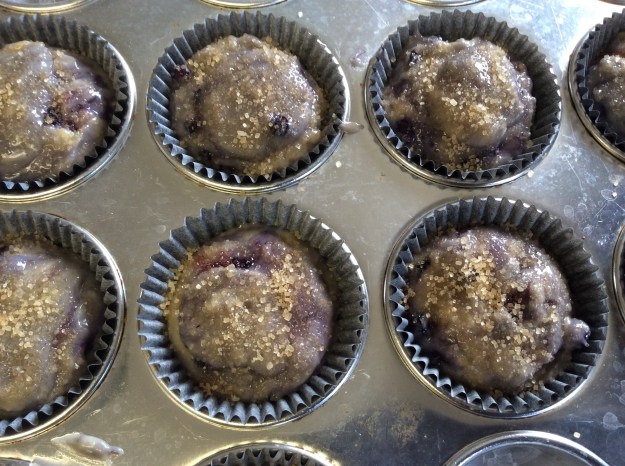
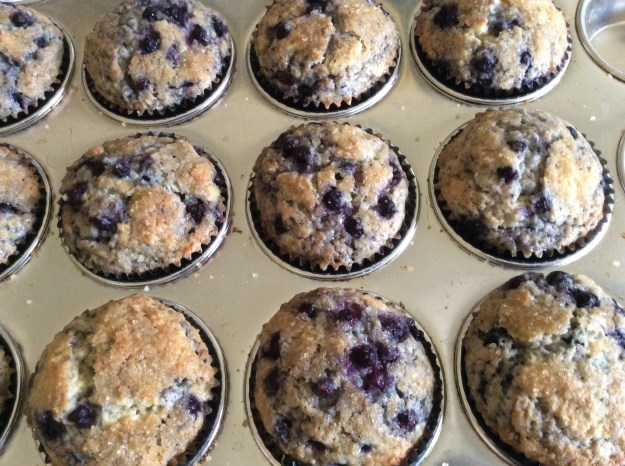
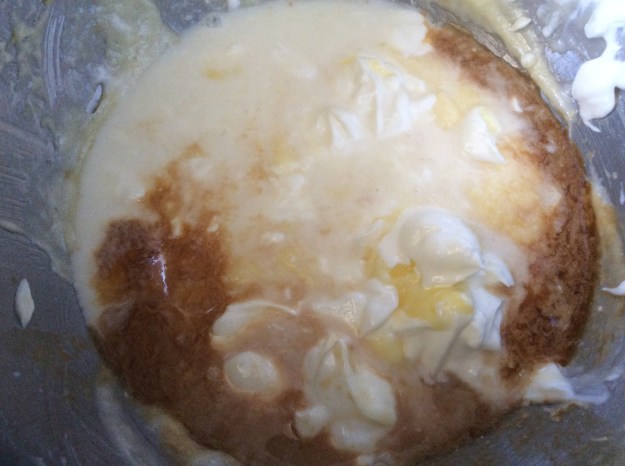
6. Set the mixer on low speed. Slowly add the in the dry ingredients until just a few streaks of flour is visible. Turn off the mixer and release the bowl.

image

7. Using a rubber spatula, fold in the dark chocolate chips and the cherries, but don’t over mix.

image

8. Scoop the batter with a large ice cream scoop into a lined muffin pan. Sprinkle with turbinado sugar.

image

image

9. Bake for 20-22 minutes, but don’t overbake. Check with a toothpick at the 20 minute mark.

image.jpeg

10. When the muffins are done, immediately remove them from the muffin pans and transfer to a cooling rack. Cool for 10 minutes and serve with a tall glass of milk or coffee.

imageimage

Long-Cooked Broccoli Frittata

I first tried long-cooked broccoli at Campanile restaurant, visiting the restaurant many Thursday nights to eat one of their delicious sandwich creations. Nancy Silverton, former owner of La Brea Bakery and co-owner of Campanile, is the genius behind the delicious long-cooked broccoli sandwich, and this broccoli was unlike any I had ever eaten. It was soft but not mushy, and slightly sweet with lovely caramel notes. The long cooking process helps draw out the natural sugars from the broccoli. Though she has since sold La Brea Bakery and Campanile has closed its doors, Silverton has written many cookbooks, and in one she shares her recipe for long-cooked broccoli. I’ve used the recipe many times and have adapted it slightly here, adding it to my frittata recipe.

This frittata is delicious, but he broccoli is the star in this recipe. While the broccoli does takes about 1 1/2 hours to cook, don’t let the long cooking time intimidate you. You only need to stir the dish occasionally during cooking, so you can go exercise, prep other food, or read a book – just stay nearby so you check up on it from time to time. This the perfect dish to make on a leisurely Sunday morning, and I recommend serving it with light salad dressed with balsamic vinaigrette. As an alternative, you could use this long-cooked broccoli in pasta or on pizza. Enjoy!

 
Long-Cooked Broccoli Frittata

Serves 6

12 ounces of broccoli head (sliced 1/4″ thin)
1/8 cup of Kosher salt
1/4 cup of extra-virgin olive oil
3 cloves of garlic (thinly sliced)
1/2 small onion (thinly sliced)
3/4 teaspoon of sea salt
1/8 teaspoon of red pepper flakes
8 large eggs
2 tablespoons of heavy cream (optional)
1/4 cup of grated Parmigiano-Reggiano, plus extra for topping
1/4 teaspoon of freshly-grated black pepper

1. Bring 2 quarts of water and 1/8 cup salt to boil. Add the broccoli and boil for 2 minutes.

2. While the broccoli is boiling, get an ice water bath ready.

3. When the broccoli is ready, using a spider strainer, transfer broccoli to a ice water bath. Remove the broccoli and pat with paper towels until dry.

image

4. In a 12″ stainless steel sauté pan, add the olive oil, blanched broccoli, onion, garlic, sea salt, and red pepper flakes.

image

5. Cook over low heat for about 1 1/2 hours, stirring occasionally.

It should look like this at the halfway point.

image

6. Once the broccoli is done, preheat the oven to 375°.

image

7. In a large bowl, crack the 8 eggs. Add the the heavy cream and whisk.

image

8. Add the Parmigiano-Reggiano and the black pepper. Give it another good whisk.

image

9. Turn up heat to high on the broccoli. Wait 1 minute. Add the eggs over the broccoli. Cook over the burner for 1 minute. Transfer to the the oven.

image

10. Bake for about 10 minutes. Make sure the center is set and not jiggly. Broil for 1 minute until the top is golden brown.

image

11. Remove from the oven. Loosen the frittata using a fish spatula. Transfer to a clean cutting board. Grate additional Parmigiano-Reggiano. Slice into 6 triangles.

image

12. Serve warm with a side salad. I like to serve it bottom side up, since it has a nice golden color.

image

Wild Blueberry Muffins

Blueberry is one of the most popular muffin flavors at a bakery. You will typically find this flavor alongside chocolate, bran and lemon poppy seed. For me, though, I grew up baking and eating blueberry muffins from a box. I remember Betty Crocker had a blueberry muffin mix that came with a can of wild blueberries from Maine – you drained the blueberries and folded them in at the end before baking. The muffin batter was rather ordinary but the wild blueberries, bursting with intense flavor, made up for it. Then I finally had a blueberry muffin from a fancy bakery. Since they used fresh local California blueberries, I expected the muffin to be spectacular but I was a bit disappointed. The muffin itself was good, but the blueberries were lacking in flavor.

So what makes a good blueberry muffin? First and foremost, intense blueberry flavor. You want the blueberry flavor to seep into the batter. I’ve made blueberry muffins with fresh local berries but find that frozen wild blueberries from the Northeast had the best flavor, at least for baking. Second, you want a dense but moist muffin. You achieve this by not overbeating the eggs and by using sour cream and oil in the batter instead of butter. The reason I usually don’t use butter in most of my muffin recipes is because, since it is solid at room temperature, it tends to harden the muffins once they are a day old. Finally, I like to add sugar crystals on the top to create some texture. It gives the dome a nice crunchy top. Try this recipe and let me know what you think. Enjoy!

Wild Blueberry Muffins

Yield: 1 dozen

1 1/3 cups frozen organic wild blueberries*
1 tablespoon of sugar
2 cups unbleached all-purpose flour
2 teaspoons baking powder
1/2 teaspoon salt
3/4 cup granulated sugar
1/2 cup coconut oil (or a neutral flavored oil like organic canola)
2 large eggs
2 teaspoons of vanilla extract
1/4 cup whole milk
1/2 cup sour cream
Sugar crystals* or raw sugar

1. Preheat the oven to 350° and line a muffin pan with 10 cupcake liners. Set aside.

2. Take the frozen blueberries and 1 tablespoon of sugar and toss together in a small bowl. Set aside.

image

3. In large bowl, add the flour, baking powder, and salt. Whisk and set aside.

image


4. In a glass measuring cup, whisk the milk and sour cream. Set aside.

image

5. In a stand mixer, beat the coconut oil and granulated sugar on medium speed for 1 minute.

image


6. Reduce the speed to medium low. Add the the eggs, one at a time, beating until just blended. Scrape the sides of the bowl.

image


7. Add the milk and sour cream mixture and vanilla. Beat until just combined.

image


8. On the lowest setting, slowly add the flour until just combined. Don’t overbeat.

image

9. Remove the bowl off the mixer. Add the blueberries to the batter and fold gently with a rubber spatula until just combined. Be careful not to crush the blueberries.

imageimage

10. Scoop the batter with a large ice cream scoop into lined muffin pan. Sprinkle with sugar crystals.

imageimage

11. Bake in the oven on the center rack for about 20-25 minutes until toothpick comes out clean. Turn the oven to the broil setting and broil for 2-3 minutes until golden brown. Remove from the oven and remove the muffins from the muffin pan. Place the muffins on a wire rack to cool. Cool for about 15 minutes. Serve with butter.

image


image

*You can find frozen wild blueberries at specialty markets like Trader Joe’s.