Monthly Archives: September 2016

Kimbap with Beef and Vegetables

Exactly one year ago today, I started my recipe blog. During the past year, I’ve had viewers from around the world visit my blog. To celebrate my one-year anniversary, I share with you my mom’s kimbap (Korean rice rolls) recipe. Kimbap are beautifully colorful and taste delicious. My mom made them for celebratory meals, and the thought of them made my brothers and I excited whenever one of our birthdays was around the corner. My mom would wake up before dawn to prep all the ingredients and once we were awake, it would only be minutes before we would begin devouring them. This recipe stays true to my mom’s original recipe – I haven’t altered it one bit, down to ingredients I wouldn’t typically use today.

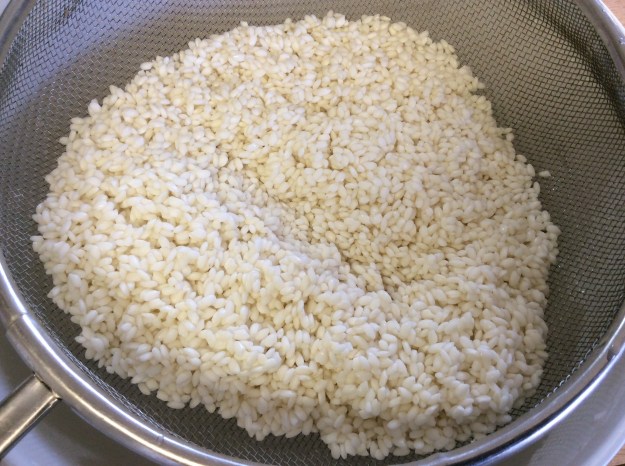
The key to a successful kimbap is properly cooked rice. I typically use a little less water than what the directions call for on the package. The cooked rice should separate a bit when moving it around with a rice paddle. You want the rice fully cooked, not al dente like risotto rice, but also not too soft or mushy. Be sure to allow the rice to cool down a bit before placing it on the nori sheets. Note that there are 3 Japanese ingredients in this recipe that contain MSG or a derivative of MSG – takuan taro, kamaboko, and powdered sushi flavoring – so if you are sensitive to MSG, this is probably not the recipe for you. I searched for non-MSG versions of these three ingredients but they were difficult to come by, and I ultimately decided that maintaining the authenticity of the recipe was more important than using different ingredients that were MSG-free. If you try this recipe, though, you will experience a piece of my childhood through the flavors of one of my favorite comfort foods. Enjoy!

Kimbap with Beef and Vegetables

About 6 servings

Special Equipment: Bamboo Sushi Mat

Beef
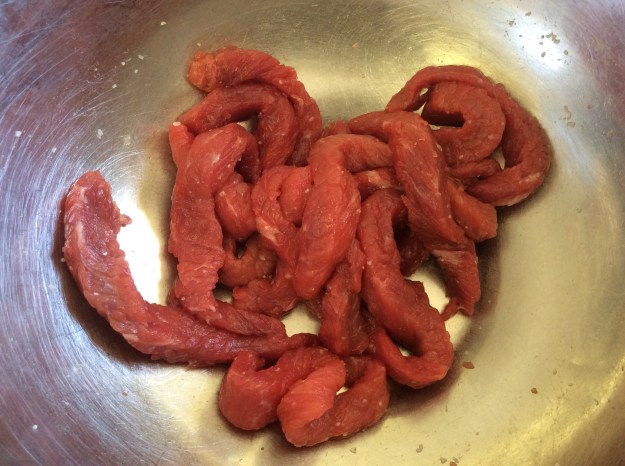
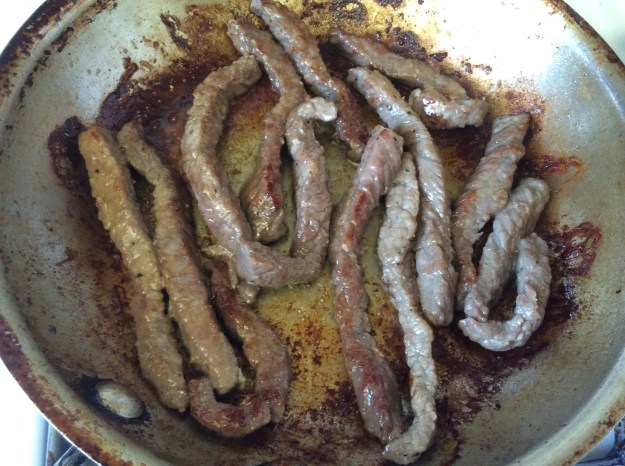
1/3 lb. of brisket (cut into 1/3″ long strips, cut against the grain)
2 teaspoons of soy sauce
1 teaspoon of mirin
1/4 teaspoon of baking soda
1/2 teaspoon of sugar
Freshly grated black pepper

Vegetables and Other Fillings
2 large carrots (peeled, sliced into 1/4″ strips, boiled 2 minutes, and shocked in ice water – blotted dry)
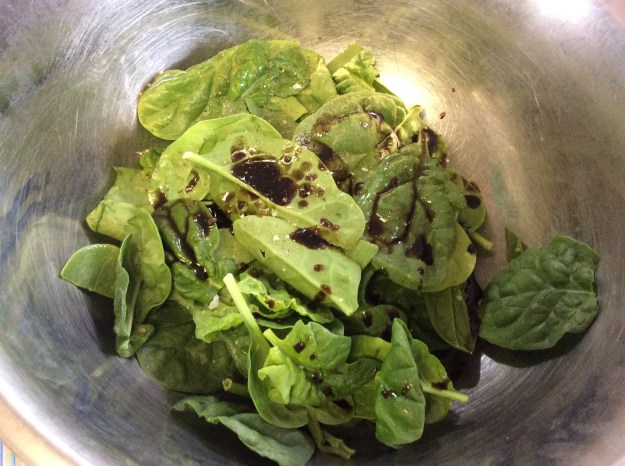
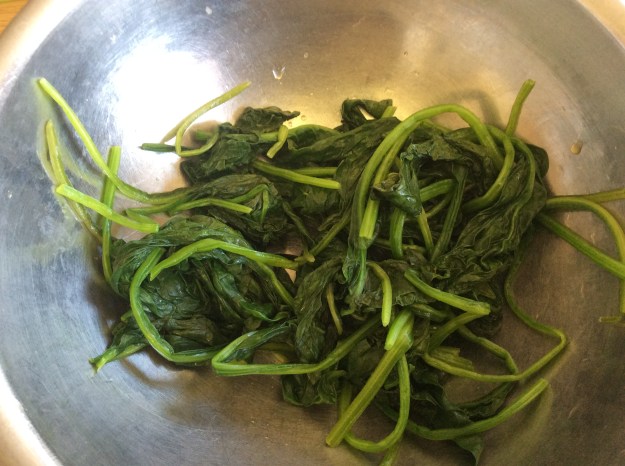
1 bunch of spinach (washed, boiled 1 1/2 minutes, and shocked in ice water – squeezed dry)
2 teaspoons of sesame oil
1/2 teaspoon of salt
1 red kamaboko (Japanese fish cake) – 6 oz*
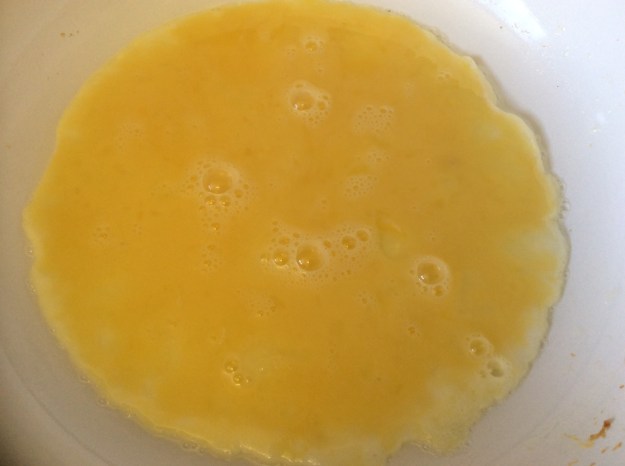
3 eggs, beaten well
Vegetable oil
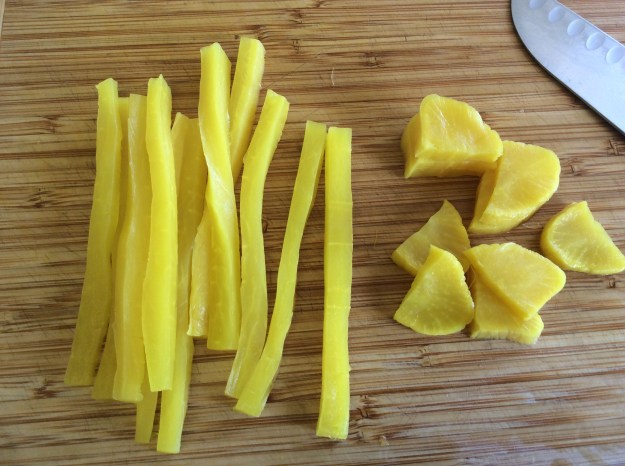
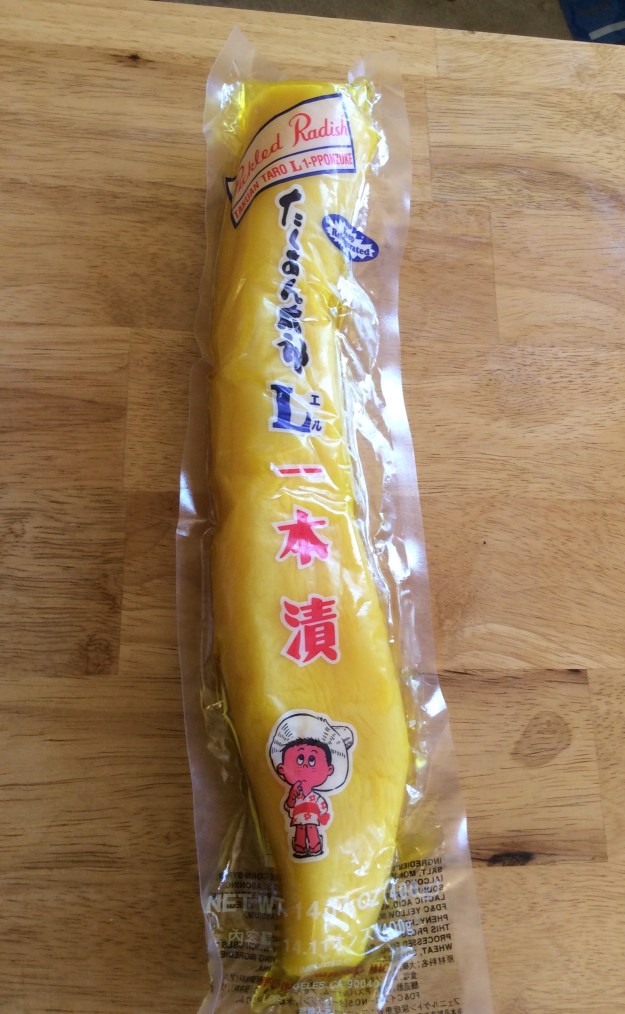
1 takuan taro (Japanese picked daikon) – about 8 ounces, sliced 1/3″ strips**

Rice
6 cups of cooked short-grain sushi rice
2 tablespoons of roasted sesame oil
2-3 tablespoons of powdered sushi flavoring***

Other
5 sheets of unseasoned nori sheets
Roasted sesame seeds and black sesame seeds
Extra daikon for serving

1. In a small bowl, add the brisket strips, soy sauce, mirin, baking soda, sugar and a couple turns of the pepper mill. Stir well and let marinate for 20 minutes at room temperature.

image

2. In a small bowl, toss the carrots, 1 teaspoon of sesame oil, and a pinch of salt. Place the carrots on a platter.

3. In the same bowl, add the spinach, the other teaspoon of sesame oil, and a pinch of salt. Place on the platter next to the carrots.

image

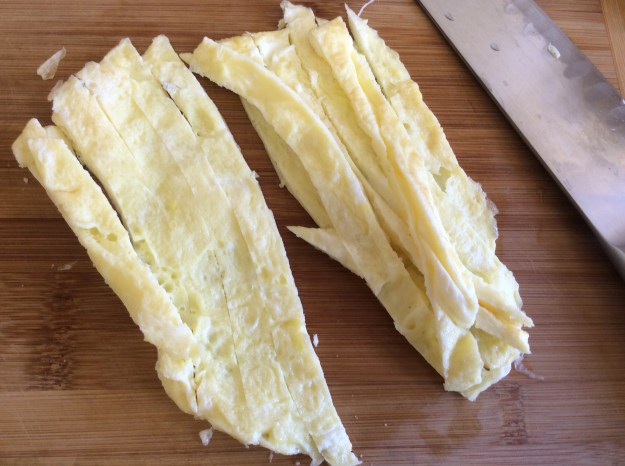
4. Heat a 6-inch non-stick sauté pan on medium heat. Add a tablespoon of vegetable oil. Add a pinch of salt to the eggs and give them quick beating. Add the beaten eggs in the pan. You want to create an egg cake that will be 1/4″ thick when sliced. Flip and cook on the other side until fully cooked. You don’t want a runny center.

image

5. Transfer the cooked eggs to a cutting board. Let cool before slicing.

image

6. Take the kamaboko and slice out the pink portion and white portion into 10 equal strips. They will be about 1/3″ thick. Heat a small sauté pan on medium heat and add 1 tablespoon of oil. Add the kamaboko and sauté for 2 minutes. Transfer the kamaboko to the platter.

image

7. In the same pan, add the beef strips and cook on medium high until you get a nice sear on each side. This should take about 5 minutes. Transfer to the platter.

image

8. Add the cut pickled daikon on the platter.

imageimage

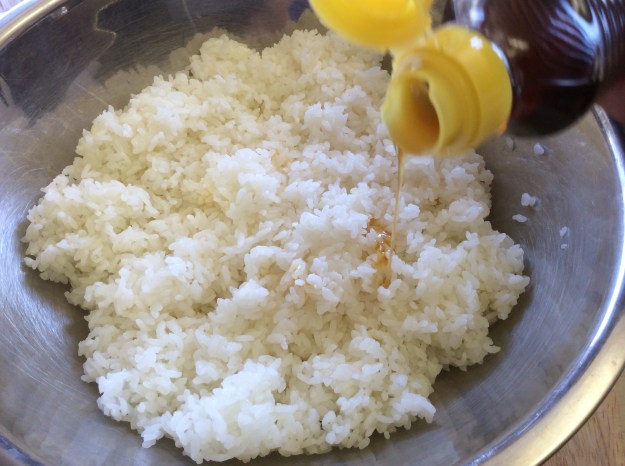
9. In a large bowl, add the cooked rice, 2 tablespoons of the powdered sushi flavoring and sesame oil. Using a rice paddle, mix until the powdered sugar and sesame oil is evenly distributed into the rice. Taste the rice and add more powder if needed.

imageimage

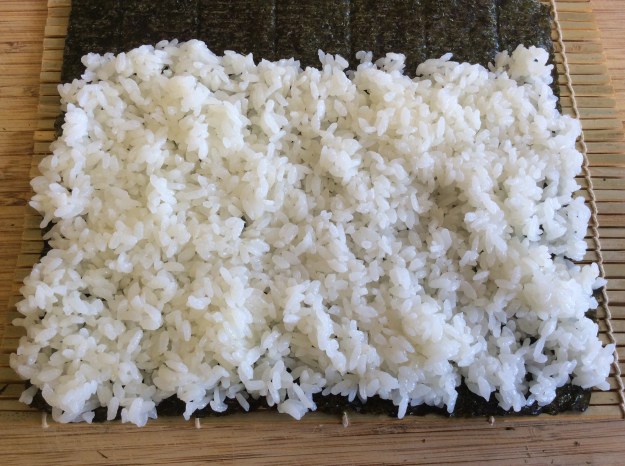
10. Lay 1 sheet of nori on the bamboo mat, long side down and the nori touching the bottom portion of the mat. Add about 1 cup of the rice and spread evenly throughout the nori, leaving about 1 1/2″ on the top.

image

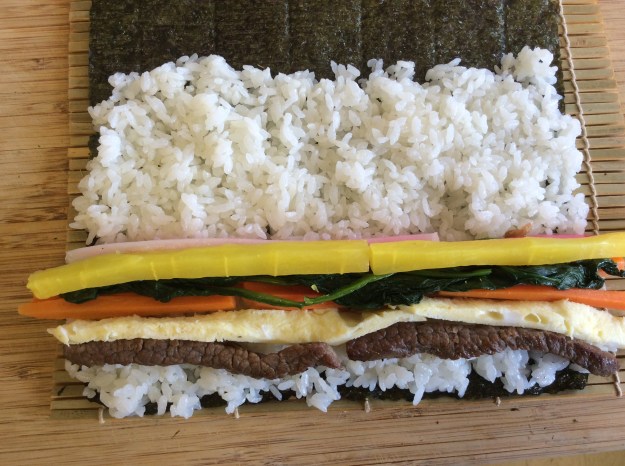
11. Carefully add the filling (one of each) on the lower potion of the rice. You will need to add about 6 spinach leaves, evenly distributing the leaves so when cut, each one will have leafy greens.

image

12. Take a hold of the bamboo mat on the bottom side and, while rolling, press down to secure the filling and roll the kimbap away from you.

imageimage

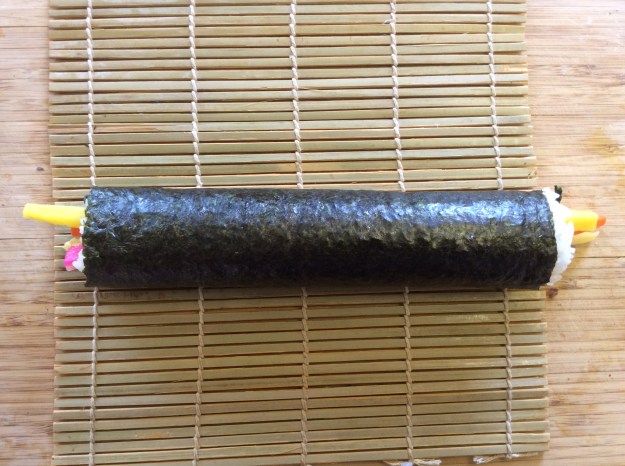
13. Repeat four more times.

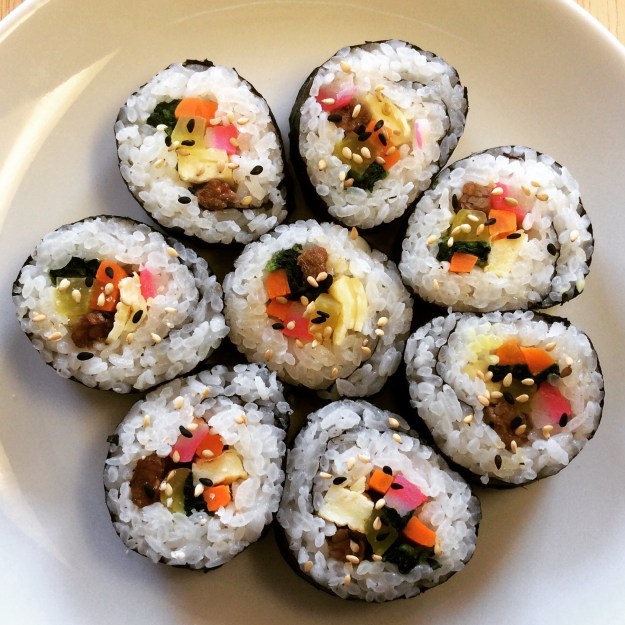
14. Slice the kimbap with a serrated knife into 3/4″ pieces. Place the pieces on serving plates and sprinkle the sesame seeds. Serve with miso soup and extra pickled daikon pieces.

imageimage


15. Kimbap are best eaten the same day they are made. Place any leftover pieces in a airtight container in the refrigerator. The leftover kimbap can be heated in the microwave for a few seconds or eaten at room temperature.


*This Kamaboko is processed in Los Angeles, California and it is my favorite Kamaboko brand. You can find it at most Asian markets.

image

** Here is the Takuan brand I use for this recipe. I tested quite a few brands and this one has the best flavor. You can be find this Takuan at most Japanese markets.

image

*** This is Japanese powdered sushi flavoring I use for the rice. You can find it at most Japanese and Korean markets.

image

Advertisement

Sticky Rice with Chinese Sausage and Shrimp

My first Chinese sticky rice experience was in high school at my friend’s house. My friend’s mom, Mrs. Young, was an amazing Chinese home cook and it was always a treat to have dinner at their place. Mrs. Young was originally from China, but lived in Vietnam before emigrating to the US, and you can taste the Vietnamese influence in her cooking. One of my favorite dishes that she made was her sticky rice. The sticky rice had tender pork, shiitake mushrooms and dried shrimp and was a beautiful caramel color. It was savory and slightly sweet and had the perfect texture. Mrs. Young was always kind of enough to pack extra for me to take home. It was best sticky rice I’ve ever had.

I lost contact with my friend about 15 years ago and for years have regretted not learning how to make her mother’s wonderful sticky rice. Since then, I have had many versions of the dish in the San Gabriel Valley and have finally come up with a good recipe for it. In this recipe, I have incorporated the steaming method my mom taught me when making Korean sticky rice for a dessert called yak-shik, but added all the Chinese flavors for sticky rice. Also, I added homemade Vietnamese caramel sauce to give it that great dark color. The combination of all the techniques and flavors produces a sticky rice close to my memory of Mrs. Young’s version. Try this recipe. I promise it won’t disappoint!

Sticky Rice with Chinese Sausage and Shrimp

Serving Size: 4-6

2 cups of sweet rice (medium-grain or short-grain), soaked in water for 30 minutes
Non-stick cooking spray, vegetable oil based
1 1/2 tablespoons of vegetable oil, divided
3 slices of ginger, 1/2″ thick and 1 1/2 inches long
2 Chinese sausages, casing remove and thinly sliced* or 1/2 cup of roasted pork strips
2 ounces of fresh shiitake mushrooms, thinly sliced**
1/4 cup of dried shrimp, soaked in warm water for 30 minutes***
3 scallions, thinly sliced and divided
1 tablespoon of mirin
2 tablespoons of organic soy sauce
2 tablespoons of oyster sauce
1/2 teaspoon of roasted sesame oil
Freshly grated pepper, to taste
1/2 cup of homemade chicken stock or low-sodium chicken broth
2 tablespoons of dark Vietnamese caramel sauce or 1 tablespoon of molasses****

1. In a medium steamer (2 quart-size), coat the steamer basket with non-stick cooking spray.

image

2. Give the sweet rice a good rinse over a fine-meshed sieve. Transfer the rinsed rice into steamer basket.

imageimage

3. Add a generous amount of hot water into the base of the streamer. Cover and steam over high heat for 30 minutes. Add additional hot water to the base of the steamer, as needed.

4. Meanwhile, heat a 12-inch sauté pan to medium-high. Add 1 tablespoon of vegetable oil. Add the ginger pieces and sauté for 30 seconds.

image

5. Add the Chinese sausage slices and the shiitake mushrooms. Sauté until the sausages get a little crispy (about 5-7 minutes).

image

6. Drain the soaked dried shrimp and add them to the pan. Sauté for 1 more minute.

image

7. Add the mirin and sauté for 30 more seconds. Remove the ginger pieces. In a small bowl, whisk the soy sauce, oyster sauce, sesame oil, 1/2 tablespoon of vegetable oil and a couple of turns of the pepper mill. Pour the mixture into the sauté pan. Add 2/3 of the sliced scallions.

image

8. Stir and cook for 1 minute.

9. Remove the lid off the steamer with the par-cooked sweet rice. Add 1/2 cup of chicken stock directly to the rice and stir to moisten the rice. Add the cooked sausage/mushroom/shrimp mixture and 2 tablespoons of dark caramel sauce on top of the sweet rice. Stir with a wooden spoon to coat the rice and evenly distribute the ingredients.

image

image

10. Replenish the base of the steamer with more hot water. Cover and steam for 20-30 more minutes (stirring a couple of times in between for even steaming) or until the rice is fully cooked.

11. Add the remaining sliced scallions on top of the cooked sticky rice.

image

12. Serve with chili sauce and pickled vegetables. Enjoy!

image

Sweet rice can be found in most Asian markets. Sweet rice is chalk white in color, unlike the more common translucent white rice. Make sure not to purchase the long-grain version, or the recipe will not be successful.   Shirakiku sells a 2-pound bag option.

image


*There are several Chinese sausage brands. I prefer Kam Yen Jan’s Chinese sausage. Unfortunately, it is difficult to find nitrate-free options.

image

**When purchasing fresh shiitake mushroom, try to purchase them locally or purchase the ones grown in the US. There are inferior versions being shipped from overseas you want to avoid.

image.jpeg

***You can find dried shrimp in the refrigerator section at most Asian markets. Make sure you soak the dried shrimp in warm water to reconstitute them before using.

image

****I make my own caramel sauce using Andrea Nguyen’s recipe. It is pretty easy to make and stores in a dark pantry. If you don’t want make your own, you can use molasses instead.

image

Easy French Lentil Soup

I’ve had a few readers indicate that while my recipes look great, they personally don’t have time to execute many of the dishes I write about. Believe me, I know how that goes! During the weeknights, I make quick and healthy dinners that take less than 30 minutes to prepare, but I usually don’t convert them into actual recipes. When I am cooking, I add handful of this and a handful of that, a pinch of this and a pinch of that, and never really measure. So for those friends, I took careful notes during one of my weeknight recipes, and this week I’m sharing a simple and healthy meal that’s perfect for Meatless Monday: Easy French Lentil Soup.

This lentil soup is made with precooked, French green lentils that I purchased from Trader Joe’s. The lentils are steamed then vacuum-packed, retaining all their vitamins and nutrients. I prefer French green lentils over regular green lentils because they retain their shape in soup without getting mushy. Typically when I make lentil soup, I add roasted tomatoes, but doing so adds more cooking time. So in this recipe, I used tomato paste to add a rich, slow-cooked taste. The addition of the mushrooms and Parmigiano-reggiano give the dish an umami finish. The soup is even popular with the kids. Enjoy!

Easy Lentil Soup

Serving Size: 4

1 tablespoon of olive oil
1 small onion, chopped (about 1 cup)
2 cloves of garlic (minced)
1 bay leaf
1 carrot, small diced (about 1/2 cup)
4 ounces of cremini or button mushrooms, chopped into 1/4″ pieces (about 2/3 cups)
1/2 teaspoon of finely chopped fresh thyme
1/4 teaspoon of red pepper flakes
Sea salt
Freshly grated black pepper
1 tablespoon of tomato paste
2 1/2 cups of Trader Joe’s Steamed French Lentils* or cooked French lentils
3 cups of vegetable stock or low-sodium chicken stock
Freshly grated Parmigiano-reggiano, for serving
Chopped Italian parsley, for serving
1. Heat a 2-quart pot over medium-high heat. Add the olive oil, chopped onions, garlic, and bay leaf. Sauté for about 3 minutes until the onions have softened.

image

2. Add the carrots, mushrooms, thyme, red pepper flakes, pinch of salt, and a couple turns on the pepper mill. Sauté for 2 minutes or until the water has been drawn out of the mushrooms.

image

3. Add the tomato paste and stir for about 1 1/2 minute to caramelize the tomato paste.

image

4. Add the lentils and stir to combine. Add the chicken stock and cover the pot with a lid. Bring to a boil.

image

5. Once boiling, reduce the heat to simmer. Simmer with the lid on for 15-20 minutes.

6. The soup will be ready once the carrots are soft and broth has thickened. Add more salt and pepper to taste.

image

7. Remove the bay leaf. Ladle the soup in to 4 bowls. Grate some Parmigiano-reggiano and sprinkle with chopped parsley. Serve with a sliced and toasted sourdough bread.

image

*Here is the package of the pre-cooked lentils.

image

Black Mission Fig Jam

Fresh figs are in season and they are delicious in salads, roasted pork, and desserts. Personally, I love to eat them right out of the basket at the farmers market. They are incredibly sweet, soft, slightly chewy with tiny seeds that pop in your mouth with every bite. They are also high in fiber, magnesium, and potassium.

When I was I kid, there was a fig tree in my backyard. When the figs would ripen, the birds would eat most of them, yielding very few for my mom, but I would never eat them because I thought they were contaminated by the birds. Years later, when I bought them at the market, I realized how truly wonderful fresh figs were and how I missed out as a kid.

Today, I share an easy fig jam recipe. This jam recipe is perfect for tarts, cheese plates, homemade Fig Newtons and in sandwiches. In addition to the jam recipe, I include pictures of a simple sandwich made with fig jam, goat cheese, bacon, and spinach, with the spinach dressed in balsamic vinegar, olive oil and salt and pepper. The result is a sandwich that is sweet, salty, tart, crunchy, and creamy all at once! You can even omit the bacon and make it vegetarian. Either way, the fig jam is the star. Enjoy!

Black Mission Fig Jam

Yield: One 12-ounce jar

1 lb. of Black Mission figs or other purple figs
2/3 cup of sugar
1/8 cup of fresh lemon juice
2 strips of lemon peel – 2″ strips (no pith)
1/2 cup of water
1/4 teaspoon sea salt

1. In a 12-inch stainless steel sauté pan, toss the fig pieces with the sugar and stir. Let them sit until sugar is dissolved, stirring occasionally (about 20 minutes)
2. Add the lemon juice, lemon peel and water and bring to a boil. Lower the heat to a simmer.

image
3. Cook the figs, stirring occasionally, until they get soft and the jam thickens (about 15-20 minutes). Sprinkle with sea salt and give it final stir.
4. Carefully spoon the cooked jam into a 12-ounce Mason jar. Cool in jar at room temperature for 2 hours. Cover with lid. Store the jam in the refrigerator for up to 1 month.

image

A simple sandwich with fig jam, goat cheese, bacon and spinach.

imageimageimageimage