I love the flavor of almond in baked goods. Frangipane, marzipan, almond paste, shaved almonds – however the almond flavor gets in there is fine with me – so it should come as no surprise that my favorite flour to bake with is almond flour. I love the richness that it adds to baked goods, and because of the natural oils from the almonds, you use less fat in your recipes. A few years ago, I tried a Bakewell tart with frangipane, raspberry jam and icing. The tart, which originated in England, was delicious, but little too sweet and rich for my taste. I loved the combination of flavors but wanted a lighter version, so I decided to create my own. The bottom layer is a crispy shortbread crust, the filling is a raspberry jam, and the top is a moist almond cake made with olive oil and Meyer lemon zest. These bars are perfect for breakfast, afternoon tea, or a late-night snack. Enjoy!
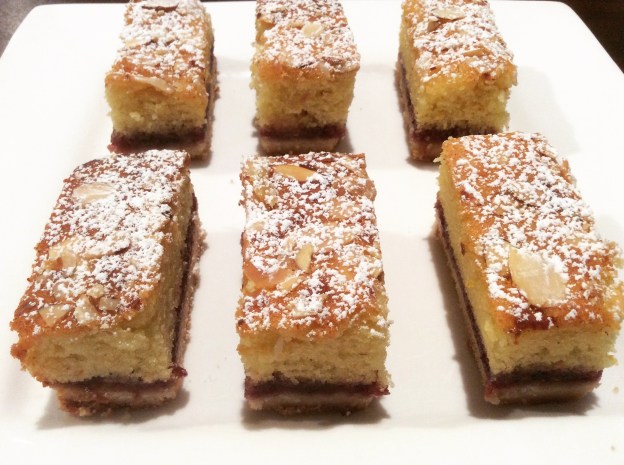
Raspberry Almond Cake Bars
Yield: 9 large bars or 16 small bars
Non-stick baking spray
Shortbread Cookie Crust
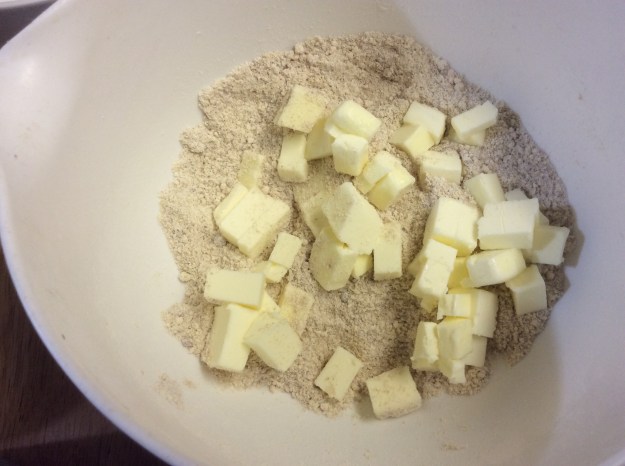
1 stick of unsalted cold butter, cut into 16 cubes
1/4 cup of sugar
1/4 teaspoon of Kosher salt
1 teaspoon of vanilla extract
1 cups of unbleached all-purpose flour
Almond Cake Layer
1/2 cup of unbleached all-purpose flour
3 ounces of almond flour
1 teaspoon of baking powder
1/4 teaspoon of Kosher salt
2 large eggs
1/2 cup of sugar
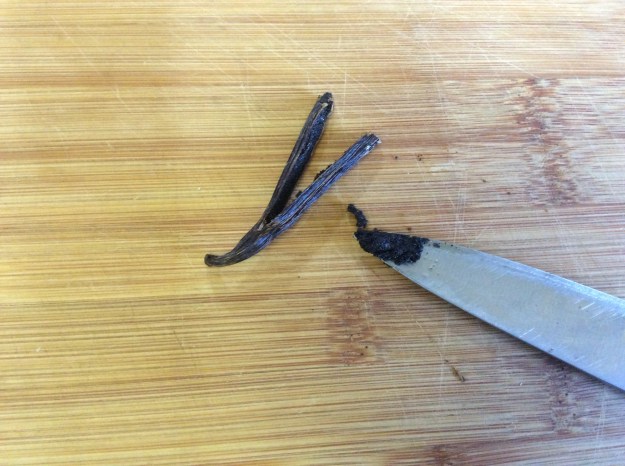
1 teaspoon of almond extract
1/2 teaspoon of vanilla extract
3 tablespoons of whole sour cream
1/3 cup of extra virgin olive oil
1 teaspoon of Meyer lemon zest
Filling
1/2 cup of raspberry jam (Bonne Maman is my preferred brand)
1/2 teaspoon of organic cornstarch
Topping
1/8 cup of toasted sliced almonds
Organic confectioners sugar for dusting, optional
1. Preheat the oven to 325°. Grease an 8″ x 8″ baking pan with non-stick spray.
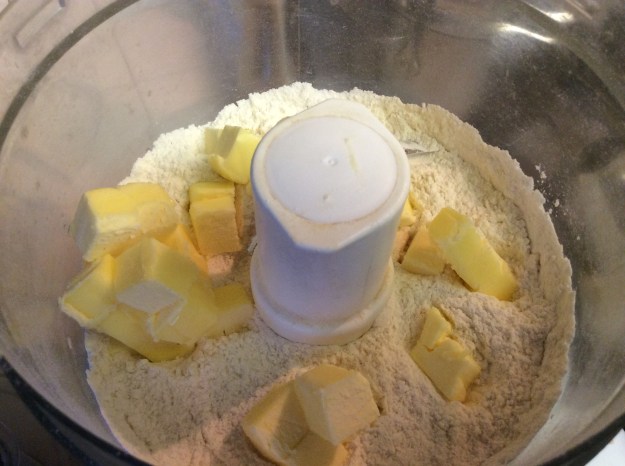
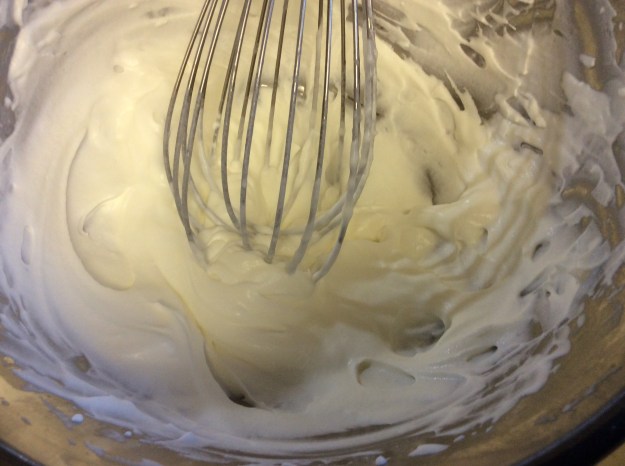
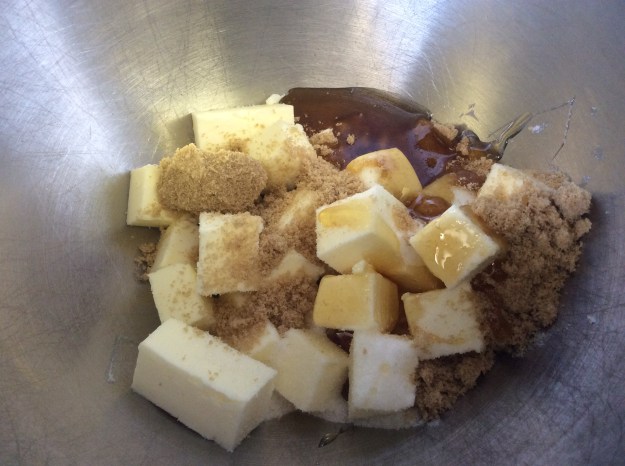
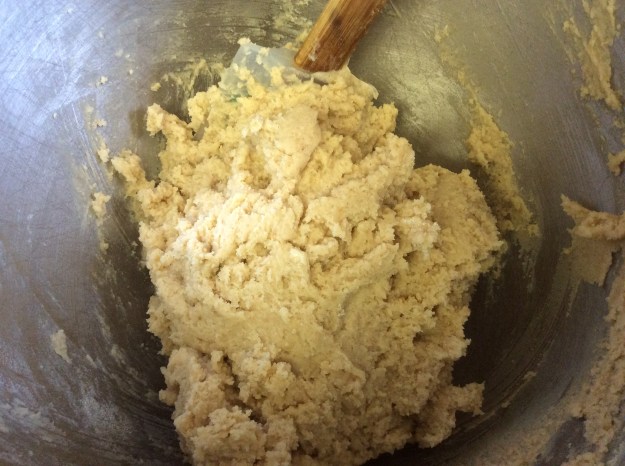
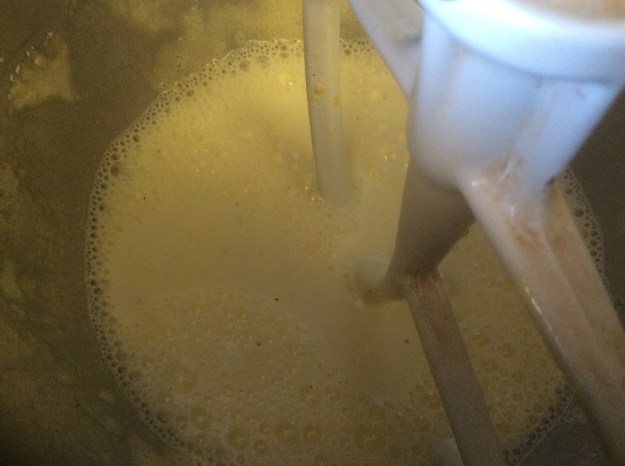
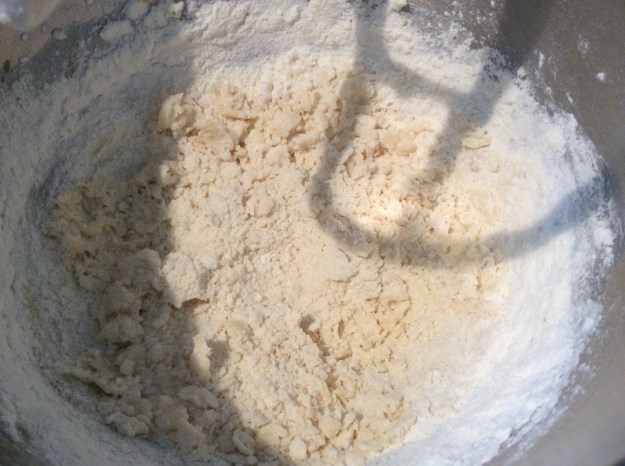
2. To make the shortbread, add the butter pieces into a stand mixer with paddle attachment. Beat on medium-low speed for 1 minute.
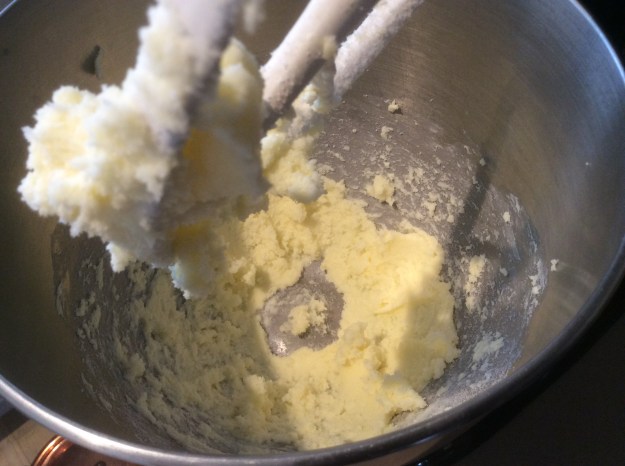
3. Add the sugar and beat for about 2 minutes until creamy. Using a rubber spatula, scrape the sides of the bowl. Add 1 teaspoon of vanilla extract and 1/4 teaspoon of the salt. Beat until just combined.
4. Reduce the speed of the mixer to low and slowly add 1 cup of the flour. Mix until most of flour has been absorbed by the butter-sugar mixture.
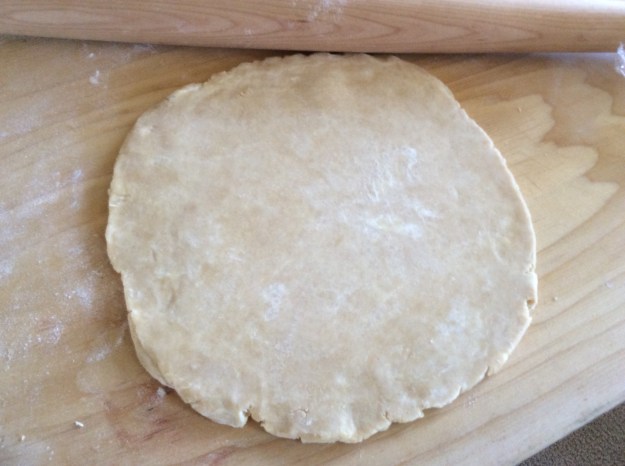
5. Using your hands, press down on the shortbread so the mixture comes together.
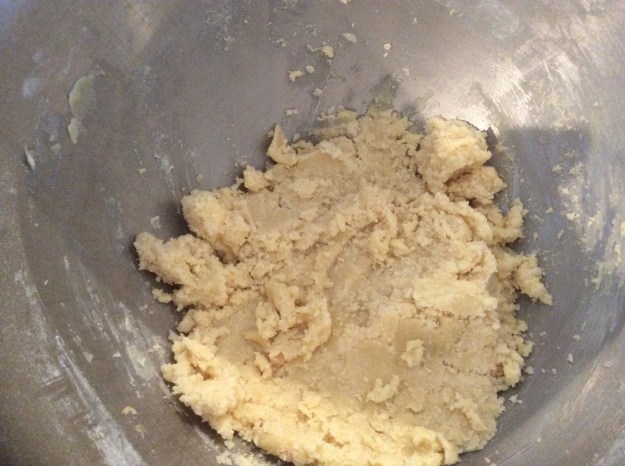
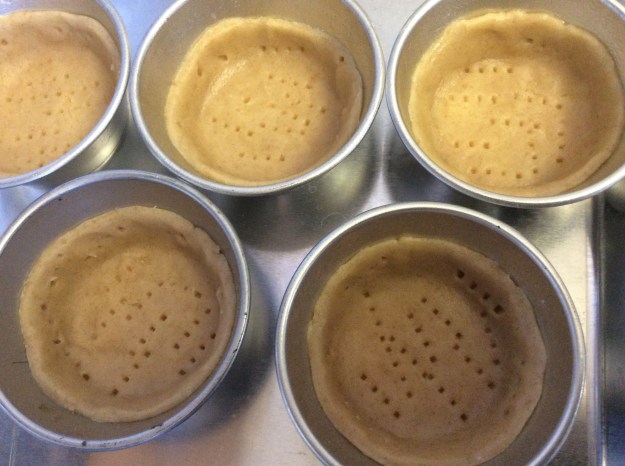
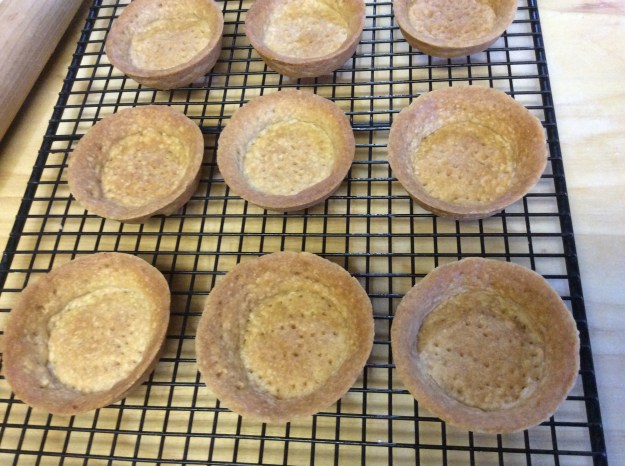
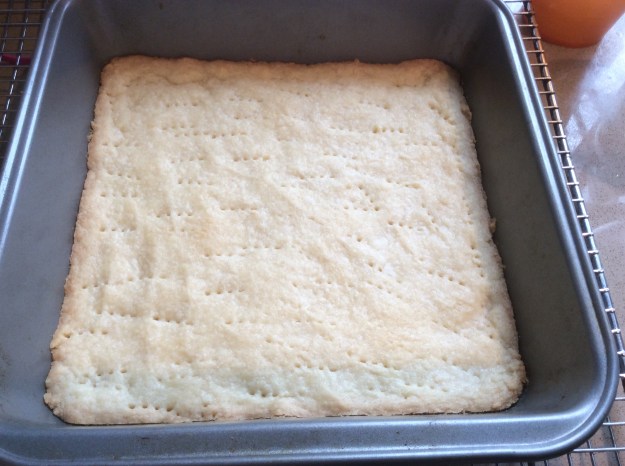
6. Transfer to the greased pan and press down evenly to create the shortbread crust. Using the tines of the fork, create holes throughout the crust.
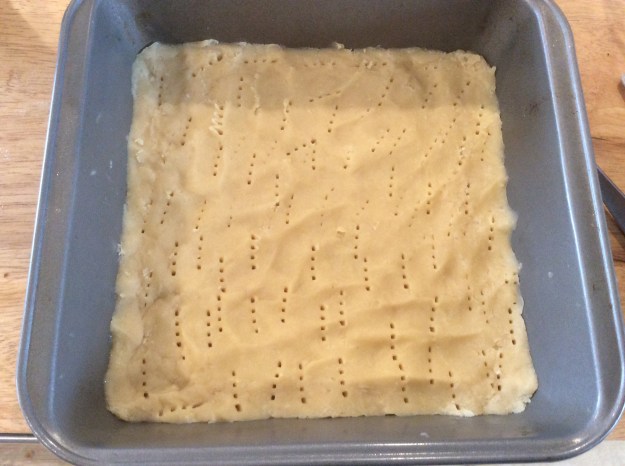
7. Bake in the oven for about 20 minutes
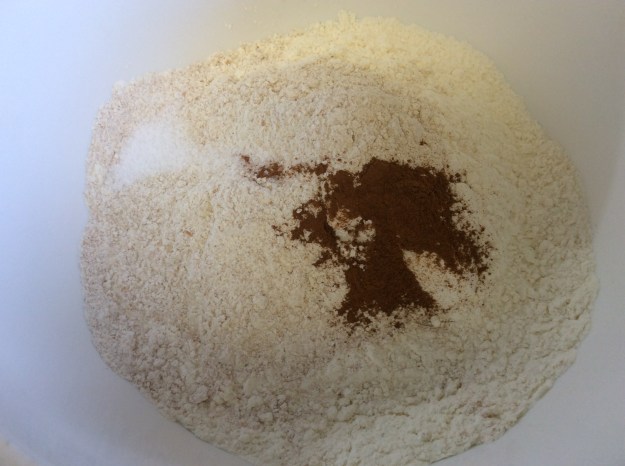
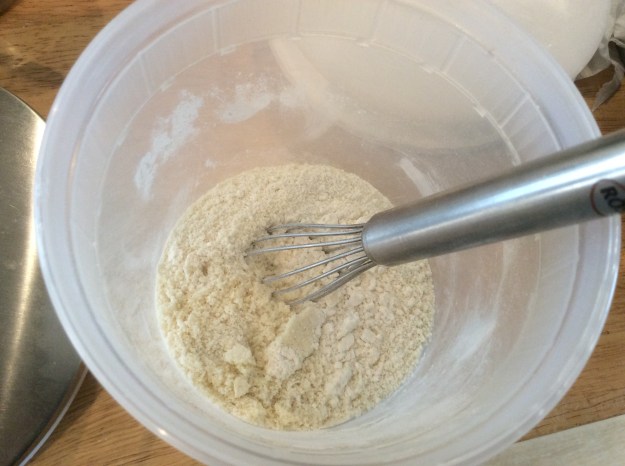
8. While the shortbread is baking, add 1/2 cup of flour to a medium bowl. Whisk in 3 ounces of almond flour, 1 teaspoon of baking powder, 1/4 teaspoon of salt. Set aside.
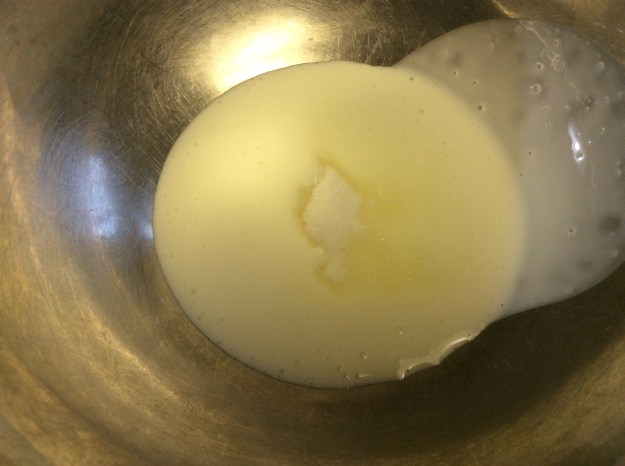
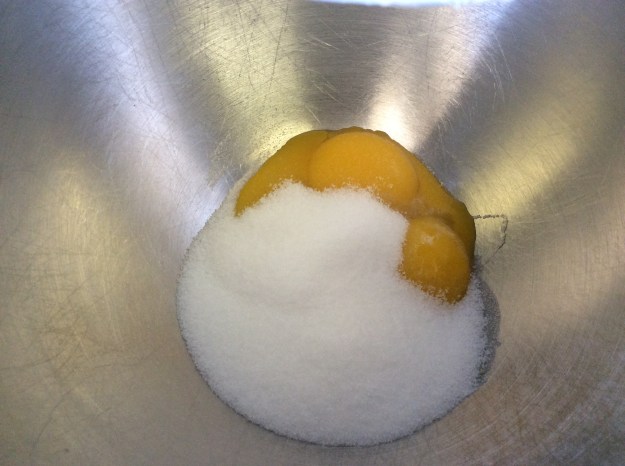
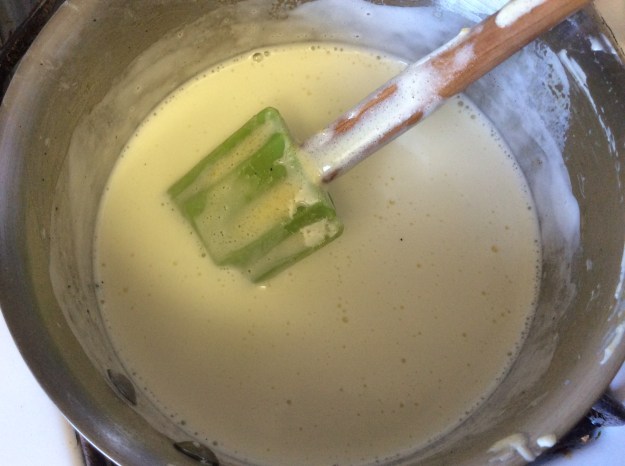
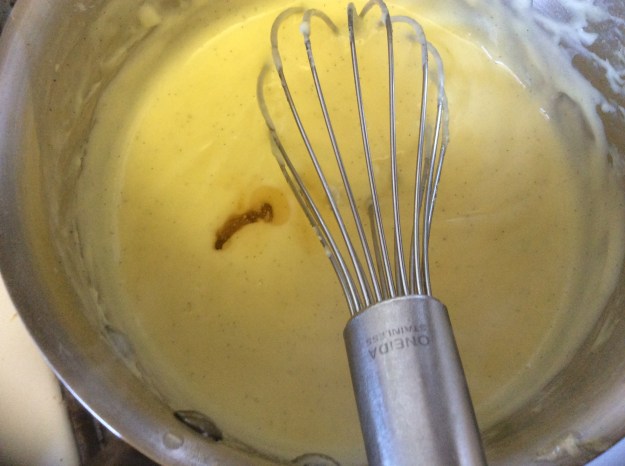
9. In a large bowl, whisk the 2 eggs and the sugar until combined. Add the almond extract and 1/2 teaspoon of vanilla extract. Whisk again.
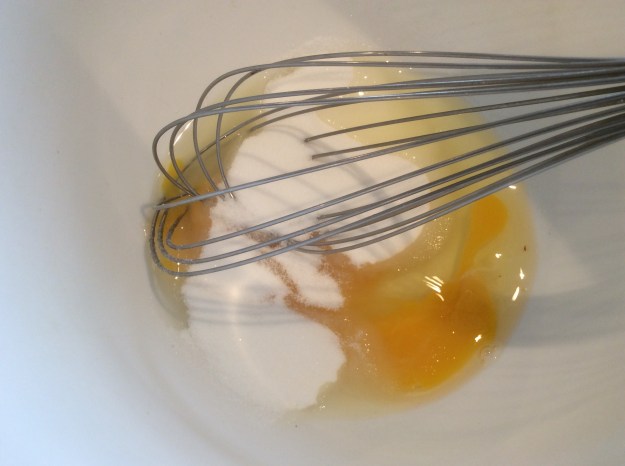
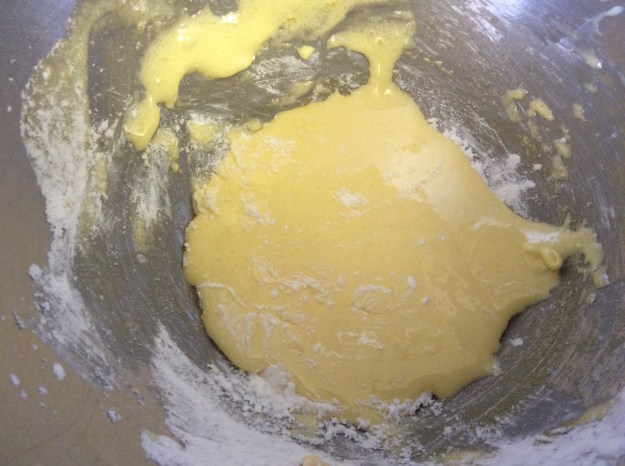
10. Add the sour cream and olive oil and whisk until smooth.

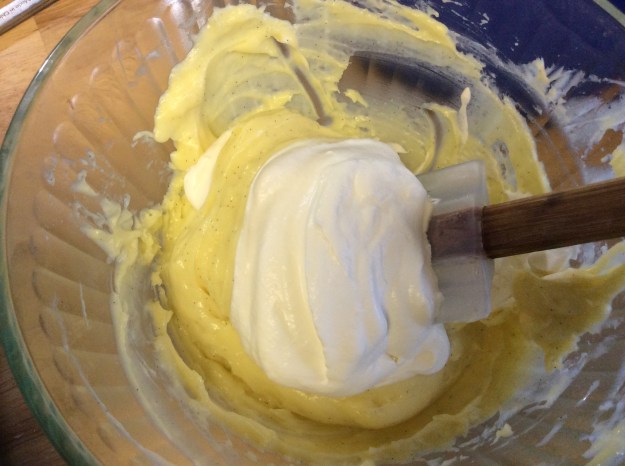
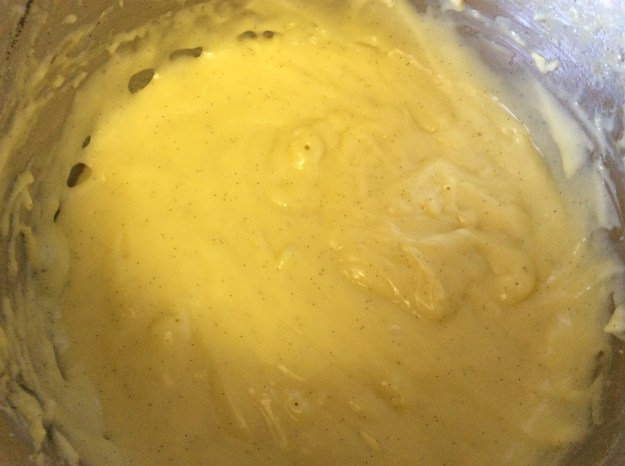
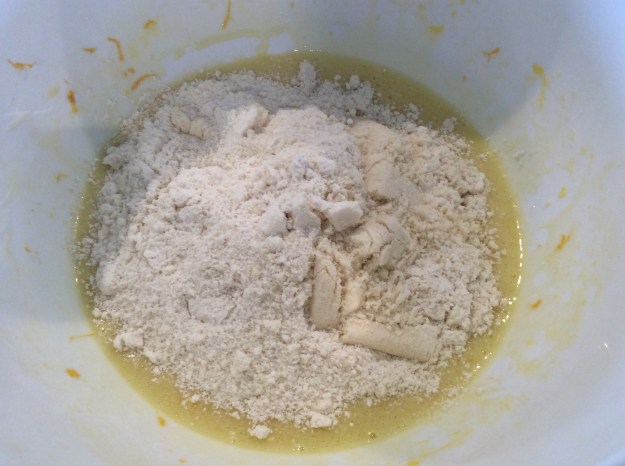
11. Add the flour mixture and fold in with a rubber spatula until no lumps are present. Set aside.
12. Remove the par-baked shortbread from the oven. Let cool for 5 minutes.
13. Increase the temperature of the oven to 350°.
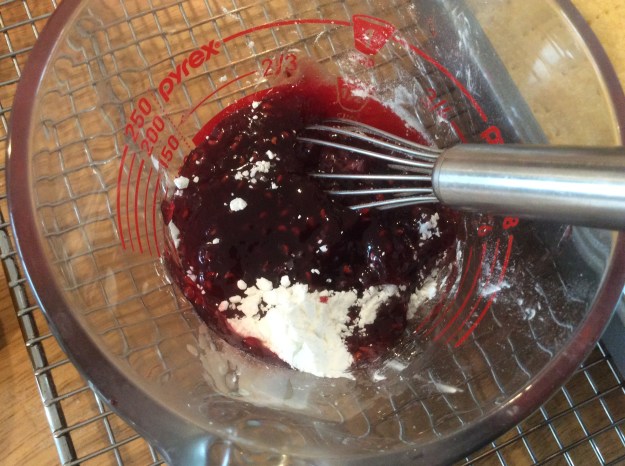
14. Add the cornstarch to the raspberry jam and whisk well.
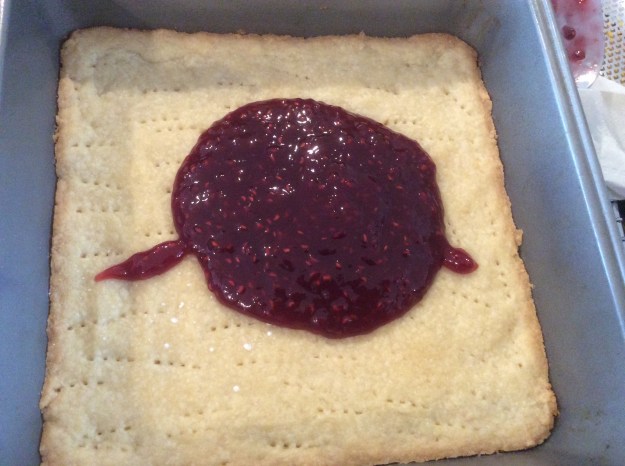
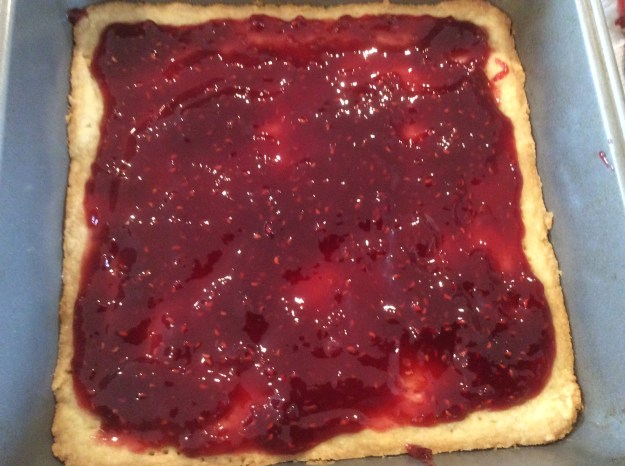
15. Spread the jam evenly over the shortbread, leaving 1/4″ border.
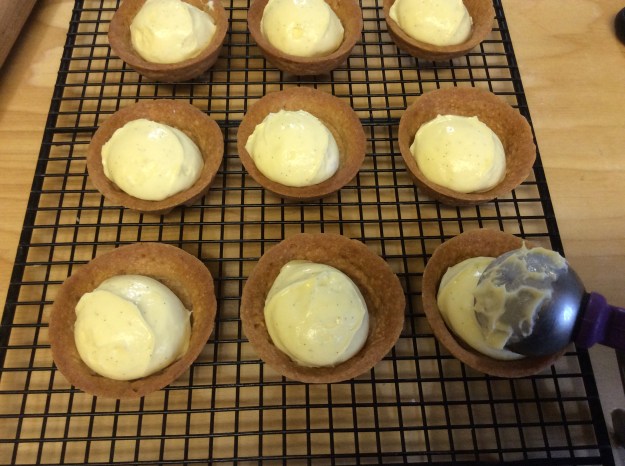
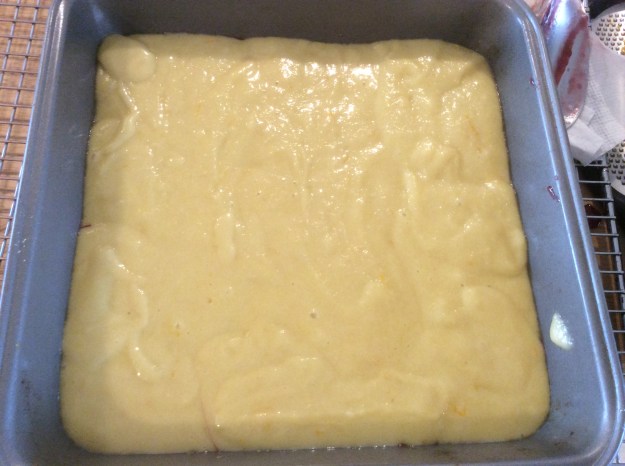
16. Carefully spoon the cake mixture over the jam and smooth out with a rubber spatula.
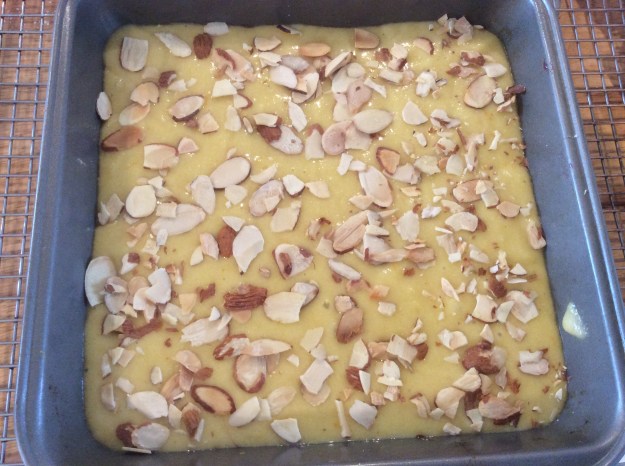
17. Sprinkle with toasted sliced almonds.
18. Bake in the oven for 35-40 minutes until golden brown. Use a toothpick to test the center for doneness.
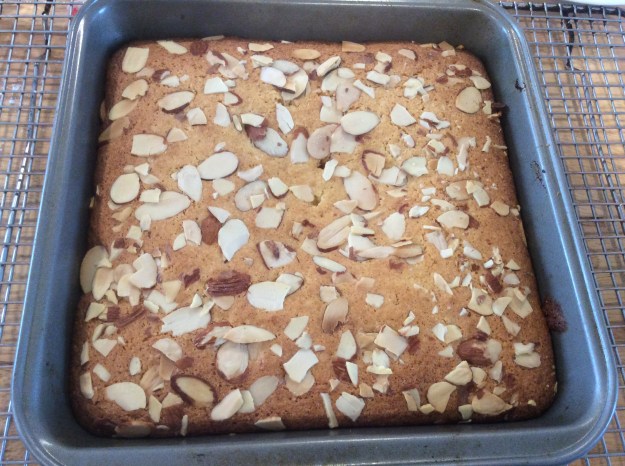
19. Cool on a wired rack for about 1 hour before cutting. Dust with confectioners sugar.
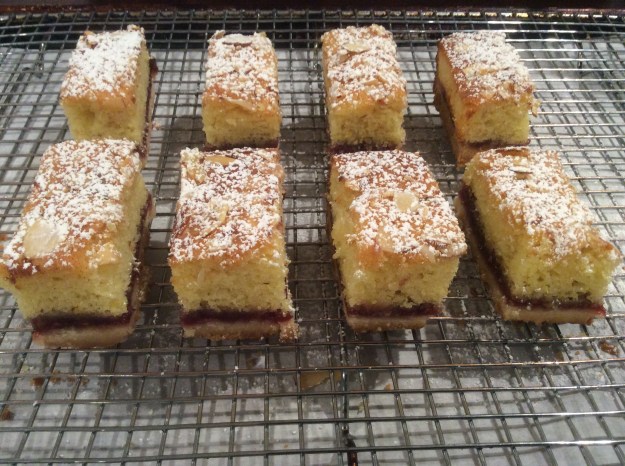
20. Serve with coffee or tea. Leftovers keep well in an air-tight container for up to 3 days.