Monthly Archives: May 2016

Asian Noodle Salad with Chicken Meatballs

A refreshing cold noodle salad really hits the spot during warm-weather days. When I think of noodle salads, “bun” (a Vietnamese rice vermicelli noodle salad) comes to mind. This dish also has fresh vegetables, lettuce, fragrant herbs, and includes some type of protein. The protein can be grilled pork, lemongrass chicken, shrimp paste, crispy tofu or even egg rolls. Nuoc cham, a Vietnamese dipping sauce made with fish sauce, ties the dish together. I love bun because it’s light yet satisfying with many layers of flavors and textures. Bun is the original “lean cuisine.”

Here is my version of bun using a chicken meatball recipe I created. My kids love meatballs, and these are made with Asian flavors that really compliment this noodle salad. The meatballs are so versatile that you can use them in a Thai curry, in Vietnamese sandwiches or serve them with rice and eggs for breakfast. The meatballs freeze well too so you can make them in advance and then heat them up in the oven before serving. Enjoy!

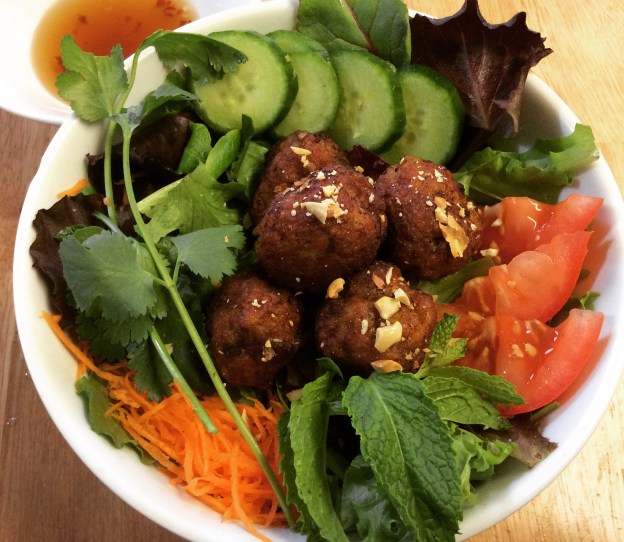
Asian Noodle Salad with Meatballs

Yield: 4 servings

1 pound of ground organic chicken
3 green onions, thinly sliced
1 teaspoon of grated ginger
2 garlic cloves, minced
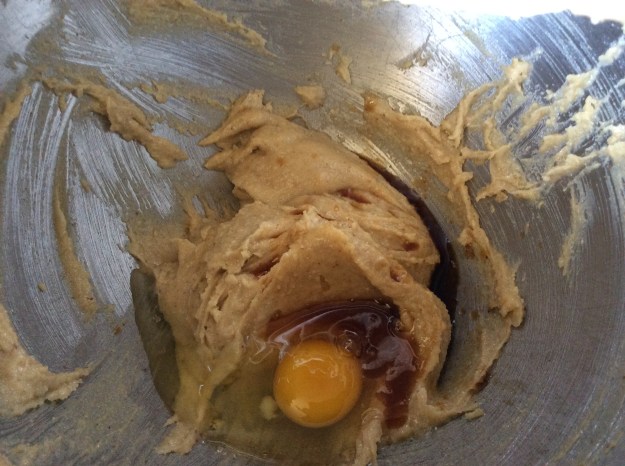
1 large egg, slightly beaten
2 teaspoons of hoisin sauce
1 teaspoon of soy sauce
1 tablespoon of oyster sauce
1/2 teaspoon of chili paste
2/3 cup of panko flakes
Mai Pham’s Vietnamese dipping sauce recipe
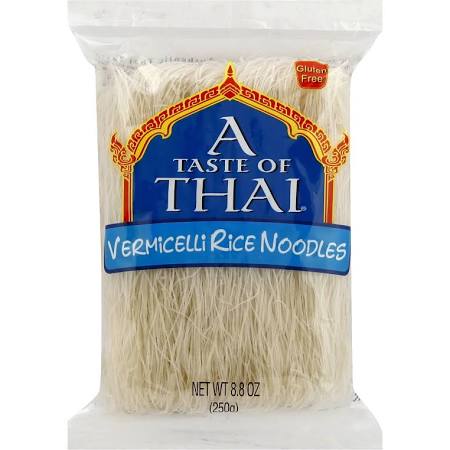
8 ounces of thin rice vermicelli (cooked and drained)*
1 ripe tomato, cut into wedges
1 Persian cucumber, cut into 1/4 inch circles
4 ounces of chopped romaine or baby greens
1/4 cup of thinly shredded carrots
1/4 cup of fresh mint leaves
1/4 cup of fresh cilantro leaves
1/8 cup of toasted peanuts, chopped
Lime wedges for serving

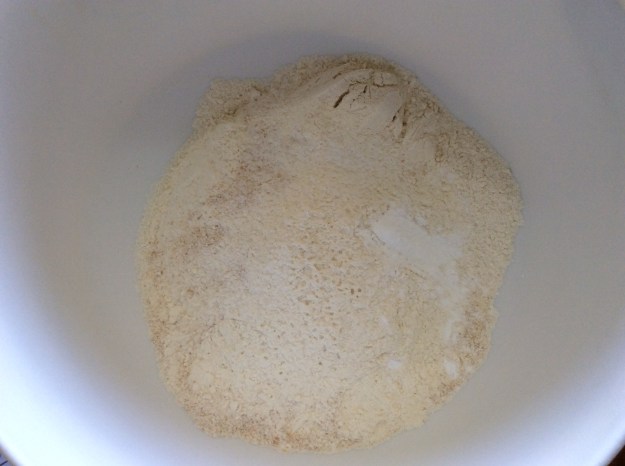
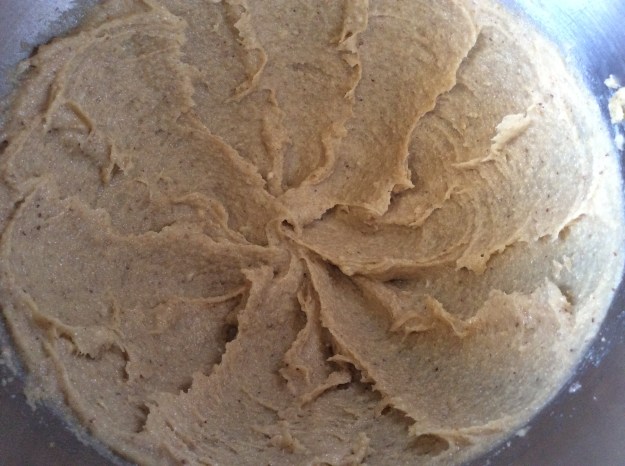
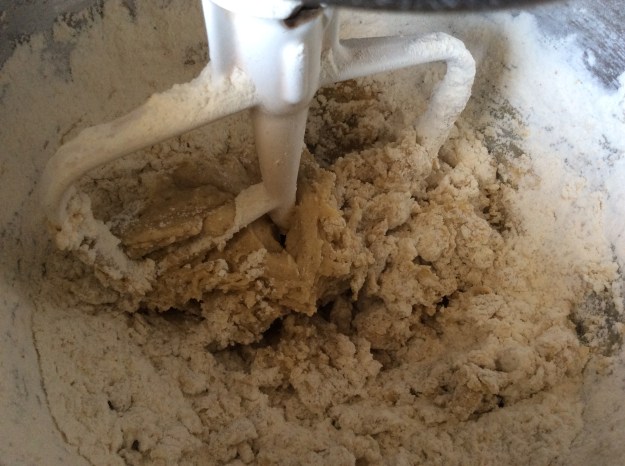
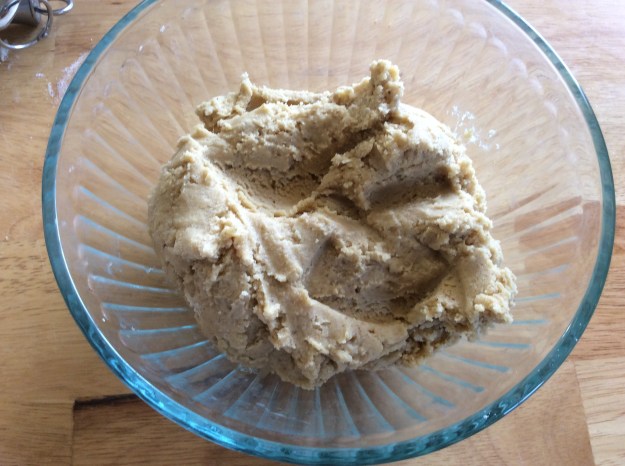
1. Mix the chicken, onions, ginger, cloves, egg, hoisin sauce, soy sauce, oyster sauce, chili paste and panko flakes until just combined. Don’t overmix or you will end up with tough meatballs.

image


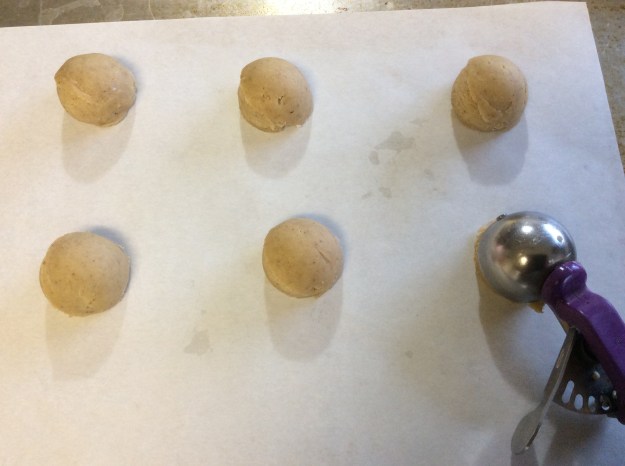
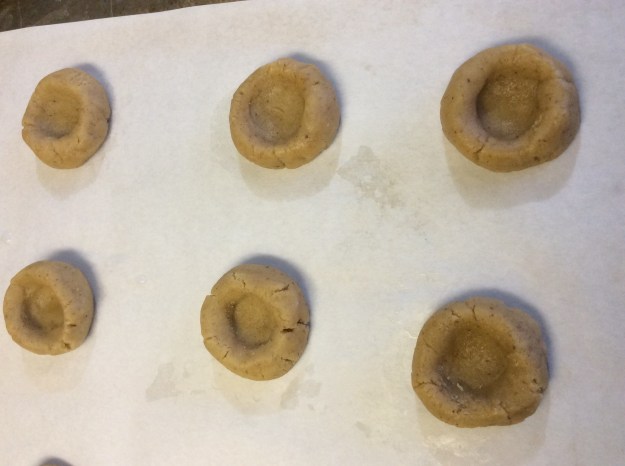
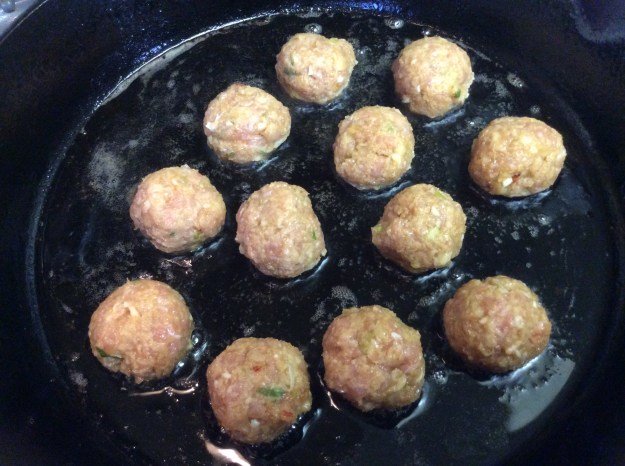
2. Roll into 2″ meatballs. You should have roughly 16 meatballs.


3. Heat a 12-inch cast-iron or stainless steel pan on medium-high heat. Add 2 tablespoons of oil. Brown on each side until you get a nice sear, which will take about 1 minute per side. Be sure to sear all sides as if it were a cube.

imageimage

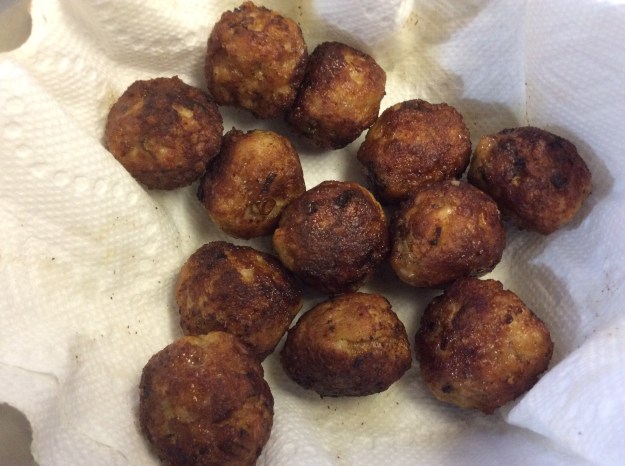
4. Place the meatballs in a paper towel-lined colander. Set aside.

image

5. To assemble the the noodle salad, place some noodles on the bottom of 4 serving bowls. Place some mixed greens on top and arrange the rest of the vegetables and herbs. Place 4 meatballs in the center and sprinkle the peanuts on top. Serve with the Vietnamese dipping sauce and lime wedge.

imageimage


*Rice noodles come in different thicknesses. Make sure you use the thin rice vermicelli noodles and follow the cooking instructions on the package.

image

Advertisement

Walnut Thumbprint Cookies

I absolutely love ground nuts in cookies and one of my favorite nuts to bake with are walnuts. Unlike other nuts, walnuts are earthy and slightly bitter, so they add a little more complexity to cookie recipes. They are also full vitamins and minerals and high in polyunsaturated fats, which are good for the heart. Adding ground walnuts to cookies is a good way to make them more healthy and this is a great and delicious recipe that is popular with both kids and adults. I took a traditional thumbprint cookie and gave it a nutty make-over by adding ground walnuts to the cookie dough and using homemade strawberry jam for the filling. It is a beautiful marriage of nuttiness and tartness.

As with most of my sweet recipes, this one has 1/3 less sugar than traditional cookie recipes. My kids can’t tell the difference, not to mention they make me feel less guilty when I eat them! If you like, you can substitute the the ground walnuts with ground hazelnuts when hazelnuts are in season. Happy baking!

Walnut Thumbprint cookies

Yield: About 2 dozen

1 1/4 cup unbleached all-purpose flour
1/4 cup of whole wheat flour
1/4 teaspoon of baking powder
1/2 teaspoon of Kosher salt
1/2 cup of ground toasted walnuts or toasted hazelnuts*
1/2 cup of unsalted butter, softened
1/3 cup of brown sugar
1/3 cup of granulated sugar
1 large egg
1 teaspoon of vanilla extract
Strawberry, raspberry, or apricot jam

1. In a small bowl, whisk together the two flours, baking powder and kosher salt. Set aside.

image

2. In a stand mixer, add the ground nuts, butter, and sugars and beat on medium speed for about 1 minute until fluffy.

image


3. Add the egg and vanilla extract and beat until blended.

image

4. Lower the speed to the lowest setting. Slowly add the flour mixture. Blend until just combined.

image

5. Refrigerate the dough for at least 3 hours (can be refrigerated up to 2 days).


6. Preheat the oven to 350°. Remove the dough from the refrigerator.

image

7. Using a 1 1/2 tablespoon scoop, portion out the dough so that all 24 scoops are even. Roll them into balls.

image


8. Place the dough balls on a parchment-lined baking sheet. Using your thumb, press in the center of each ball to create an indentation.

image


9. Add 1/2 teaspoon of your favorite jam in the center of each cookie dough.

image

10. Bake for 12-14 minutes. Cool on a wire rack for 15 minutes.

image

Long-Cooked Broccoli Frittata

I first tried long-cooked broccoli at Campanile restaurant, visiting the restaurant many Thursday nights to eat one of their delicious sandwich creations. Nancy Silverton, former owner of La Brea Bakery and co-owner of Campanile, is the genius behind the delicious long-cooked broccoli sandwich, and this broccoli was unlike any I had ever eaten. It was soft but not mushy, and slightly sweet with lovely caramel notes. The long cooking process helps draw out the natural sugars from the broccoli. Though she has since sold La Brea Bakery and Campanile has closed its doors, Silverton has written many cookbooks, and in one she shares her recipe for long-cooked broccoli. I’ve used the recipe many times and have adapted it slightly here, adding it to my frittata recipe.

This frittata is delicious, but he broccoli is the star in this recipe. While the broccoli does takes about 1 1/2 hours to cook, don’t let the long cooking time intimidate you. You only need to stir the dish occasionally during cooking, so you can go exercise, prep other food, or read a book – just stay nearby so you check up on it from time to time. This the perfect dish to make on a leisurely Sunday morning, and I recommend serving it with light salad dressed with balsamic vinaigrette. As an alternative, you could use this long-cooked broccoli in pasta or on pizza. Enjoy!

 
Long-Cooked Broccoli Frittata

Serves 6

12 ounces of broccoli head (sliced 1/4″ thin)
1/8 cup of Kosher salt
1/4 cup of extra-virgin olive oil
3 cloves of garlic (thinly sliced)
1/2 small onion (thinly sliced)
3/4 teaspoon of sea salt
1/8 teaspoon of red pepper flakes
8 large eggs
2 tablespoons of heavy cream (optional)
1/4 cup of grated Parmigiano-Reggiano, plus extra for topping
1/4 teaspoon of freshly-grated black pepper

1. Bring 2 quarts of water and 1/8 cup salt to boil. Add the broccoli and boil for 2 minutes.

2. While the broccoli is boiling, get an ice water bath ready.

3. When the broccoli is ready, using a spider strainer, transfer broccoli to a ice water bath. Remove the broccoli and pat with paper towels until dry.

image

4. In a 12″ stainless steel sauté pan, add the olive oil, blanched broccoli, onion, garlic, sea salt, and red pepper flakes.

image

5. Cook over low heat for about 1 1/2 hours, stirring occasionally.

It should look like this at the halfway point.

image

6. Once the broccoli is done, preheat the oven to 375°.

image

7. In a large bowl, crack the 8 eggs. Add the the heavy cream and whisk.

image

8. Add the Parmigiano-Reggiano and the black pepper. Give it another good whisk.

image

9. Turn up heat to high on the broccoli. Wait 1 minute. Add the eggs over the broccoli. Cook over the burner for 1 minute. Transfer to the the oven.

image

10. Bake for about 10 minutes. Make sure the center is set and not jiggly. Broil for 1 minute until the top is golden brown.

image

11. Remove from the oven. Loosen the frittata using a fish spatula. Transfer to a clean cutting board. Grate additional Parmigiano-Reggiano. Slice into 6 triangles.

image

12. Serve warm with a side salad. I like to serve it bottom side up, since it has a nice golden color.

image

Strawberry Frangipane Tart

Frangipane is an almond filling used in French pastries, most commonly found in almond croissants. I absolutely love frangipane because it is only mildly sweet for a custard-like filling and it brings out the best in almonds. Frangipane also compliments seasonal fruits well, especially in tarts. Strawberries at your local farmers market are at the peak of their sweetness right now, so what better time to make a strawberry frangipane tart!

This strawberry frangipane tart is beautiful enough to serve at dinner party, but casual enough to whip up for Sunday brunch at home. It is also a forgiving recipe, because the tart crust is free-form – that is, there is no need for a special tart pan and no need to create perfect edges. The crust is very flaky and crumbly, which balances the texture of the fillings. Also, the frangipane helps absorb the natural juices from the strawberries, which results in jammy strawberries in this tart recipe. When strawberries are not in season, you can use this recipe with other fruits like stone fruits or apples. Happy baking!
Strawberry Frangipane Tart

1 tart – 6 servings

3/4 cup of unbleached all-purpose flour
1/4 cup of whole wheat flour
3/8 cup of granulated sugar (divided into 2 tablespoons and 1/4 cup)
1/2 teaspoon of baking powder
3/8 teaspoon of Kosher salt (divided into 1/4 teaspoon and 1/8 teaspoon)
1/2 cup of cold butter (cut into cubes)
1/8 cup of ice water
3/4 cup of ground almonds
1/3 cup of confectioner’s sugar
1 teaspoon of organic cornstarch
3 ounces of butter (room temperature)
1 egg
1/2 teaspoon of vanilla extract
1/4 teaspoon of almond extract (optional)
1 pint of ripe strawberries (washed, hulled, and cut in half)
2 tablespoons of heavy cream
2 tablespoons of raw sugar or crystal sugar for sprinkling
1. To make the tart crust, place the flour, 2 tablespoons of sugar, baking powder, and 1/4 teaspoon of salt in a food processor. Pulse 3-4 times.

image

2. Add butter. Pulse 3-4 times.

image

3. Add water. Pulse 2-3 times until the dough comes together.

image

4. Move the dough to your work station, then gently knead until it just comes together and form into a disk. Do not overwork the dough or it will yield a tough crust.

image

5. Wrap with plastic wrap and place in the refrigerator for at least 2 hours.

6. To make the frangipane, spread the ground almonds on a small baking sheet. Bake at 300° for eight minutes. Cool.

image

7. Place the cooled ground almonds, confectioner’s sugar, 1/4 cup of granulated sugar, cornstarch and 1/8 teaspoon of salt in the food processor. Pulse 5-6 times.

image

8. Add the butter and pulse 3-4 times.

9. Add the egg and extracts and process until smooth.

image

10. Transfer to a bowl. Cover with plastic and place in the refrigerator until ready to use.

11. To make the tart, remove the tart dough from the refrigerator. Remove the frangipane from the refrigerator.

12. Preheat the oven to 400°.

13. Dust a little flour on the work station. Roll the tart dough to a 13-inch circle.

image

14. Transfer dough on to a parchment paper lined baking sheet. Place the dough in the freezer for five minutes. Remove.

15. Spread frangipane all over the dough up to 1 1/2 inch around the edge. (You will have extra frangipane. You can spread the rest on brioche bread or croissants and bake until golden brown)

image

16. Arrange the strawberries, cut side down, until all the frangipane is covered.

image

17. Fold the edges of the tart dough over the strawberries, creating a pleat as you fold them over.

image

18. Brush the edges with heavy cream.

image

19. Sprinkle the edges with the raw sugar. Sprinkle the remaining sugar evenly over the strawberries.

image

20. Bake for about 35-40 minutes or until golden brown. Cool for 15 minutes. Cut a slice and serve.

image

Wild Blueberry Muffins

Blueberry is one of the most popular muffin flavors at a bakery. You will typically find this flavor alongside chocolate, bran and lemon poppy seed. For me, though, I grew up baking and eating blueberry muffins from a box. I remember Betty Crocker had a blueberry muffin mix that came with a can of wild blueberries from Maine – you drained the blueberries and folded them in at the end before baking. The muffin batter was rather ordinary but the wild blueberries, bursting with intense flavor, made up for it. Then I finally had a blueberry muffin from a fancy bakery. Since they used fresh local California blueberries, I expected the muffin to be spectacular but I was a bit disappointed. The muffin itself was good, but the blueberries were lacking in flavor.

So what makes a good blueberry muffin? First and foremost, intense blueberry flavor. You want the blueberry flavor to seep into the batter. I’ve made blueberry muffins with fresh local berries but find that frozen wild blueberries from the Northeast had the best flavor, at least for baking. Second, you want a dense but moist muffin. You achieve this by not overbeating the eggs and by using sour cream and oil in the batter instead of butter. The reason I usually don’t use butter in most of my muffin recipes is because, since it is solid at room temperature, it tends to harden the muffins once they are a day old. Finally, I like to add sugar crystals on the top to create some texture. It gives the dome a nice crunchy top. Try this recipe and let me know what you think. Enjoy!

Wild Blueberry Muffins

Yield: 1 dozen

1 1/3 cups frozen organic wild blueberries*
1 tablespoon of sugar
2 cups unbleached all-purpose flour
2 teaspoons baking powder
1/2 teaspoon salt
3/4 cup granulated sugar
1/2 cup coconut oil (or a neutral flavored oil like organic canola)
2 large eggs
2 teaspoons of vanilla extract
1/4 cup whole milk
1/2 cup sour cream
Sugar crystals* or raw sugar

1. Preheat the oven to 350° and line a muffin pan with 10 cupcake liners. Set aside.

2. Take the frozen blueberries and 1 tablespoon of sugar and toss together in a small bowl. Set aside.

image

3. In large bowl, add the flour, baking powder, and salt. Whisk and set aside.

image


4. In a glass measuring cup, whisk the milk and sour cream. Set aside.

image

5. In a stand mixer, beat the coconut oil and granulated sugar on medium speed for 1 minute.

image


6. Reduce the speed to medium low. Add the the eggs, one at a time, beating until just blended. Scrape the sides of the bowl.

image


7. Add the milk and sour cream mixture and vanilla. Beat until just combined.

image


8. On the lowest setting, slowly add the flour until just combined. Don’t overbeat.

image

9. Remove the bowl off the mixer. Add the blueberries to the batter and fold gently with a rubber spatula until just combined. Be careful not to crush the blueberries.

imageimage

10. Scoop the batter with a large ice cream scoop into lined muffin pan. Sprinkle with sugar crystals.

imageimage

11. Bake in the oven on the center rack for about 20-25 minutes until toothpick comes out clean. Turn the oven to the broil setting and broil for 2-3 minutes until golden brown. Remove from the oven and remove the muffins from the muffin pan. Place the muffins on a wire rack to cool. Cool for about 15 minutes. Serve with butter.

image


image

*You can find frozen wild blueberries at specialty markets like Trader Joe’s.