Category Archives: Jam

Black Mission Fig Jam

Fresh figs are in season and they are delicious in salads, roasted pork, and desserts. Personally, I love to eat them right out of the basket at the farmers market. They are incredibly sweet, soft, slightly chewy with tiny seeds that pop in your mouth with every bite. They are also high in fiber, magnesium, and potassium.

When I was I kid, there was a fig tree in my backyard. When the figs would ripen, the birds would eat most of them, yielding very few for my mom, but I would never eat them because I thought they were contaminated by the birds. Years later, when I bought them at the market, I realized how truly wonderful fresh figs were and how I missed out as a kid.

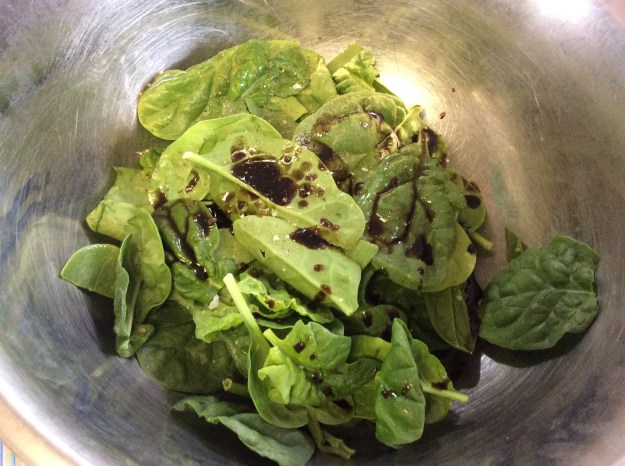
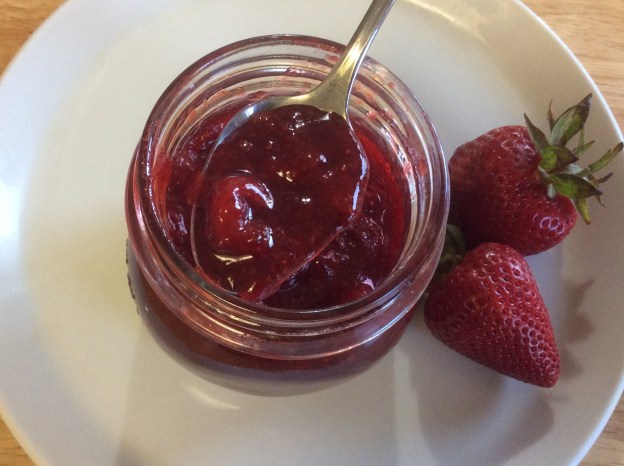
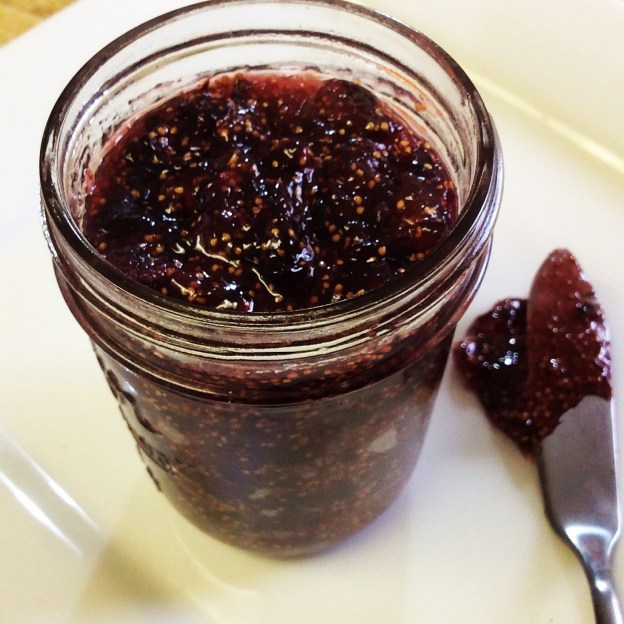
Today, I share an easy fig jam recipe. This jam recipe is perfect for tarts, cheese plates, homemade Fig Newtons and in sandwiches. In addition to the jam recipe, I include pictures of a simple sandwich made with fig jam, goat cheese, bacon, and spinach, with the spinach dressed in balsamic vinegar, olive oil and salt and pepper. The result is a sandwich that is sweet, salty, tart, crunchy, and creamy all at once! You can even omit the bacon and make it vegetarian. Either way, the fig jam is the star. Enjoy!

Black Mission Fig Jam

Yield: One 12-ounce jar

1 lb. of Black Mission figs or other purple figs
2/3 cup of sugar
1/8 cup of fresh lemon juice
2 strips of lemon peel – 2″ strips (no pith)
1/2 cup of water
1/4 teaspoon sea salt

1. In a 12-inch stainless steel sauté pan, toss the fig pieces with the sugar and stir. Let them sit until sugar is dissolved, stirring occasionally (about 20 minutes)
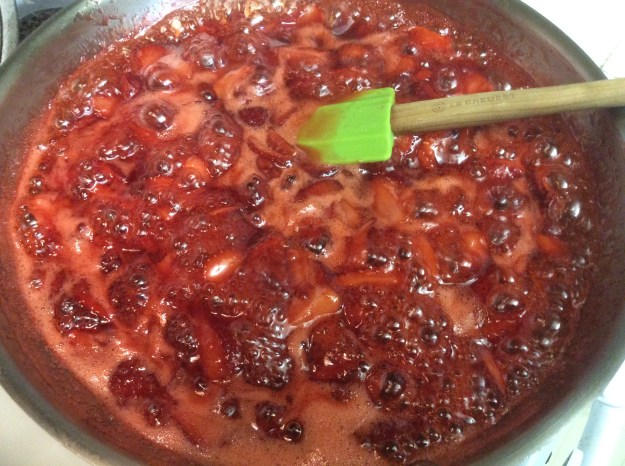
2. Add the lemon juice, lemon peel and water and bring to a boil. Lower the heat to a simmer.

image
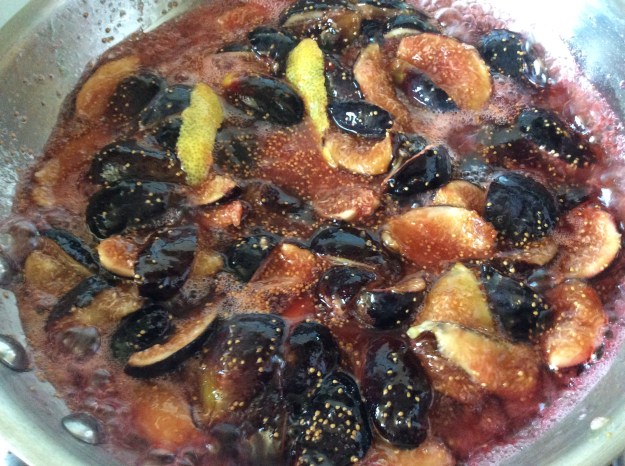
3. Cook the figs, stirring occasionally, until they get soft and the jam thickens (about 15-20 minutes). Sprinkle with sea salt and give it final stir.
4. Carefully spoon the cooked jam into a 12-ounce Mason jar. Cool in jar at room temperature for 2 hours. Cover with lid. Store the jam in the refrigerator for up to 1 month.

image

A simple sandwich with fig jam, goat cheese, bacon and spinach.

imageimageimageimage

Advertisement

Walnut Thumbprint Cookies

I absolutely love ground nuts in cookies and one of my favorite nuts to bake with are walnuts. Unlike other nuts, walnuts are earthy and slightly bitter, so they add a little more complexity to cookie recipes. They are also full vitamins and minerals and high in polyunsaturated fats, which are good for the heart. Adding ground walnuts to cookies is a good way to make them more healthy and this is a great and delicious recipe that is popular with both kids and adults. I took a traditional thumbprint cookie and gave it a nutty make-over by adding ground walnuts to the cookie dough and using homemade strawberry jam for the filling. It is a beautiful marriage of nuttiness and tartness.

As with most of my sweet recipes, this one has 1/3 less sugar than traditional cookie recipes. My kids can’t tell the difference, not to mention they make me feel less guilty when I eat them! If you like, you can substitute the the ground walnuts with ground hazelnuts when hazelnuts are in season. Happy baking!

Walnut Thumbprint cookies

Yield: About 2 dozen

1 1/4 cup unbleached all-purpose flour
1/4 cup of whole wheat flour
1/4 teaspoon of baking powder
1/2 teaspoon of Kosher salt
1/2 cup of ground toasted walnuts or toasted hazelnuts*
1/2 cup of unsalted butter, softened
1/3 cup of brown sugar
1/3 cup of granulated sugar
1 large egg
1 teaspoon of vanilla extract
Strawberry, raspberry, or apricot jam

1. In a small bowl, whisk together the two flours, baking powder and kosher salt. Set aside.

image

2. In a stand mixer, add the ground nuts, butter, and sugars and beat on medium speed for about 1 minute until fluffy.

image


3. Add the egg and vanilla extract and beat until blended.

image

4. Lower the speed to the lowest setting. Slowly add the flour mixture. Blend until just combined.

image

5. Refrigerate the dough for at least 3 hours (can be refrigerated up to 2 days).


6. Preheat the oven to 350°. Remove the dough from the refrigerator.

image

7. Using a 1 1/2 tablespoon scoop, portion out the dough so that all 24 scoops are even. Roll them into balls.

image


8. Place the dough balls on a parchment-lined baking sheet. Using your thumb, press in the center of each ball to create an indentation.

image


9. Add 1/2 teaspoon of your favorite jam in the center of each cookie dough.

image

10. Bake for 12-14 minutes. Cool on a wire rack for 15 minutes.

image

Refrigerator Strawberry Vanilla Jam

When strawberries are in season and plentiful at the farmers market, one of my favorite (and easiest) projects is to make strawberry jam. Not to be confused with preserves – which involves a specific preserving process – jam can just be jarred and will keep in the refrigerator for up to three weeks. I prefer to make my own jams because I find most store-bought versions to be too thick and too sweet, but one brand I do like is Bonne Maman, which is imported from France. I actually modeled my homemade jam after their preserves, which have the consistency and level of sweetness that I am looking for, and as a result my recipe uses 1/3 less sugar than most other recipes.

This recipe is relatively simple, but some attention is required during the active cooking process. The key to a successful jam is making sure you stir often so the sugars don’t burn on the bottom, and making sure not to overcook it. You want the jam to flow nicely when you spread it on bread, but not to be runny where it looks like a sauce. Testing the cooked jam on a cold plate will tell you what the consistency will be like once the jam cools.

This strawberry jam only uses five ingredients and can be made in less than 15 minutes, so you can make it whenever you run out. It also has lovely vanilla notes from the added vanilla seeds. Enjoy your jam session!

Refrigerator Strawberry Vanilla Jam

Yield: One 8-ounce jar

1 lb of fresh strawberries (washed, hulled, and sliced 1/4 thick) about 4 cups sliced.
2/3 cups of sugar
1 tablespoon of lemon juice
1 two-inch piece of vanilla bean
1/8 teaspoon of Fleur de Sel or flaky sea salt

image

1. Place a small plate in the freezer. Cut the vanilla bean in half lengthwise, down the middle. Scrape the seeds out using a small paring knife.

image

2. In a 12-inch copper or stainless steel pan, add the strawberries, sugar, lemon juice, and the seeds of the vanilla bean. Stir to combine.

image

3. Set on a burner at high heat. Cook for 10-12 minutes, stirring often. After 5 minutes, your mixture should have this consistency.

image

4. After about 9 minutes, remove the plate out of the freezer. At the 10 minute mark, test the jam’s consistency by placing a 1/2 teaspoon on the plate. It should be loose and not run down the plate. If it runs down the plate, cook for a couple more minutes, but don’t over cook. A good jam should not be too thick when refrigerated.

imageimage

5. Remove from heat and stir in the Fleur de Sel.

image

6. Spoon into a clean 8-ounce mason jar. Cool for 10 minutes. Add the lid and place in the refrigerator to chill. The jam keeps in the refrigerator for up to 3 weeks.

image