Monthly Archives: January 2017

Korean-Style Fried Chicken Wings

Super Bowl LI is just around the corner and thinking about it is making me crave fried chicken wings. Buffalo chicken wings with blue cheese dressing is the quintessential Super Bowl party food and I guarantee there will be a large platter at somebody’s Super Bowl party. For this Super Bowl Sunday, if you want to change things up, you can prepare this Korean version with a soy-garlic glaze. The chicken wings are crispy, sweet, salty, and garlicky with an umami kick. This recipe was inspired by my favorite chicken wings at Kyochon in Koreatown Los Angeles. There were many Kyochon take-out nights back when I lived in LA and ordered both soy-garlic and the spicy ones. I created recipes for both versions, but decided to share this soy-garlic wings since it’s more kid-friendly.

To ensure the perfect fried chicken wings, there are few important techniques: 1) Dry-brining ensures even seasoning through out each wing. 2) Keep the chicken wings as dry as possible before dredging them in cornstarch. This step helps create a thin crispy skin on each wing. 3) Keep the temperature as constant as possible. If you let the oil temperature drop too much, the chicken will get soggy. You may want to fry the wings in three batches, recalibrating the heat of the oil after each batch. Using a candy thermometer will help you get consistent results. Follow these tips and I guarantee you’ll have some of the best chicken wings ever. Enjoy!


Korean-Style Fried Chicken Wings

Yield: 18-20 wings

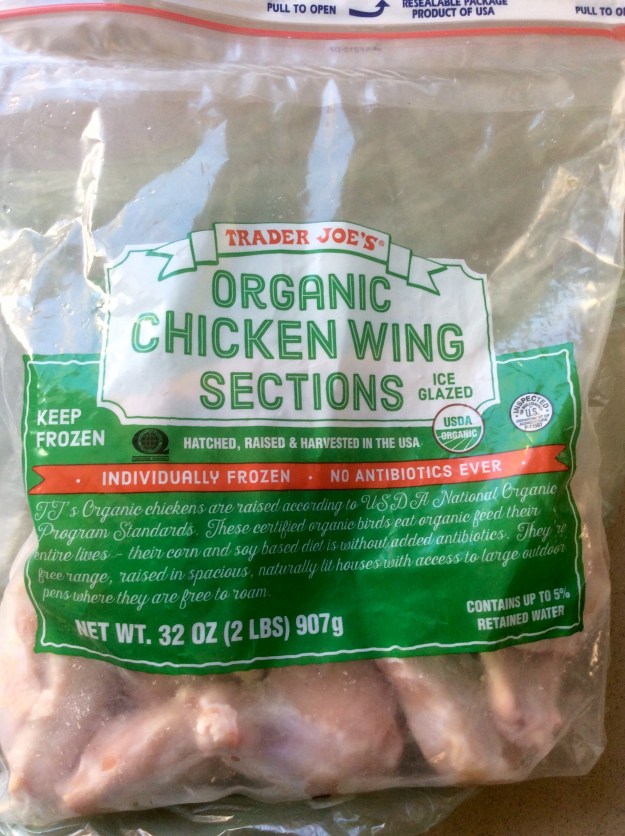
2 lbs of organic chicken wings, frozen or fresh

1 teaspoon of Kosher salt

1 teaspoon of sunflower oil or organic Canola oil

2 garlic cloves, minced

1/2 teaspoon grated of ginger

1/4 cup of organic soy sauce

1/4 cup of water

2 tablespoons of Mirin

2 tablespoons of brown sugar

1/4 teaspoon of freshly grated black pepper

1/4 teaspoon of sesame oil

2 cups of sunflower or organic canola oil

1/2 cup of cornstarch

Black sesame seeds, optional

Cilantro and red pepper slices for serving, optional

1. If using frozen wings, place them in the refrigerator overnight to thaw.

img_5426
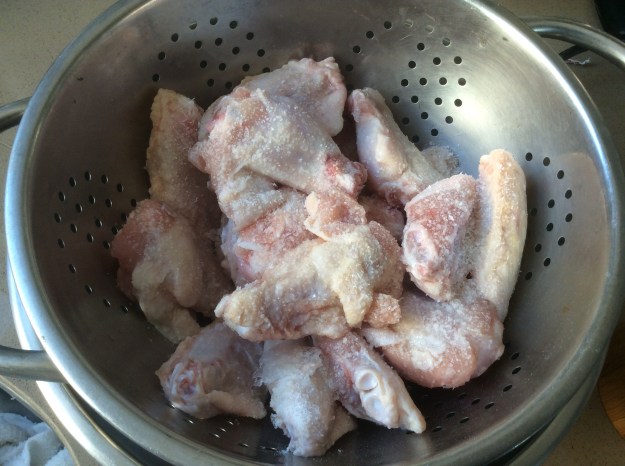
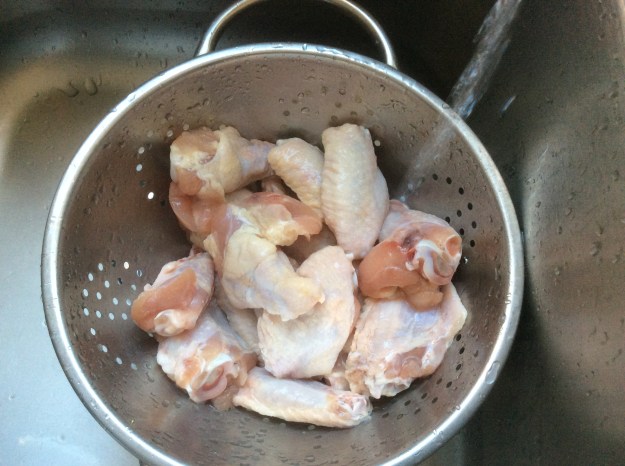
2. Place the chicken wings in a colander and drain any excess water. Place the colander over a large bowl. Sprinkle with 1 teaspoon of Kosher salt. Toss for even salt distribution.

img_5427

3. Loosely cover with plastic wrap and place in the refrigerator for 1 hour. This is the dry brining process.
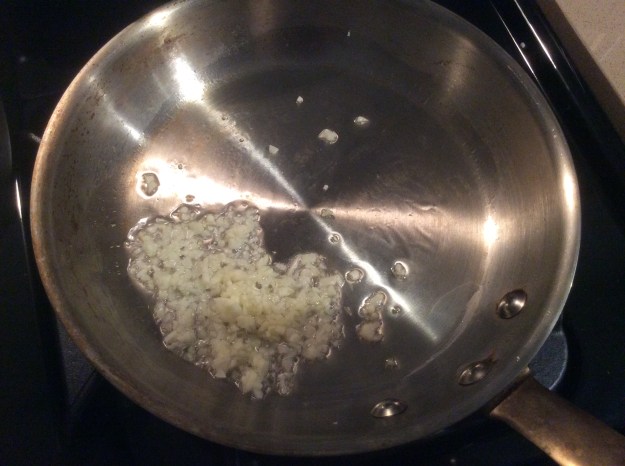
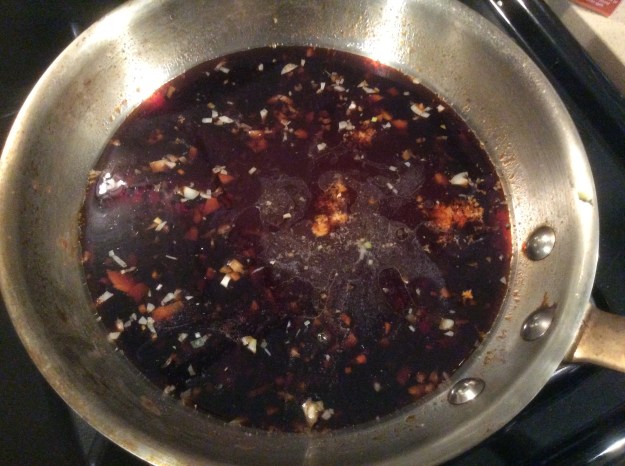
4. Meanwhile, make the soy-garlic glaze. Heat a small sauté pan to medium-low heat. Add the teaspoon of oil, then the garlic. Sauté for 30 seconds.

img_5430
5. Add the rest of the ingredients. Whisk and cook for about 5 minutes until mixture thickens a bit. Set aside.

img_5431
6. After one hour, rinse the chicken wings in cold water. Pat dry with paper towels.

img_5429img_5433

7. Bring 2 cups of oil to 350°, either in the deep fryer or a wok.

img_5435

8. Dredge the chicken wings in the cornstarch.  Shake off excess cornstarch before placing  them in the fryer.

img_5434
9. Once the oil is at the correct temperature, place 1/3 to 1/2 of the coated chicken wings in the oil. (Tip: fry the drumettes separately from the wingettes to ensure even cooking. The wingettes fry a couple minutes quicker.)

img_5438
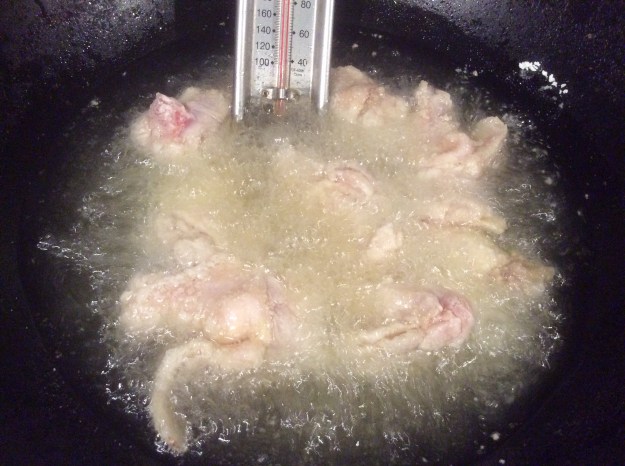
10. Deep fry for about 15 minutes or until crispy and golden. Turn them around a couple times with tongs for even browning.

img_5440

11. Transfer the fried chicken to a colander lined with paper towels. Return oil to 350° and repeat with another batch of chicken wings.

img_5451
12. Take the reserved soy-garlic glaze and brush each chicken wing with a barbecue brush until completely coated.

img_5452

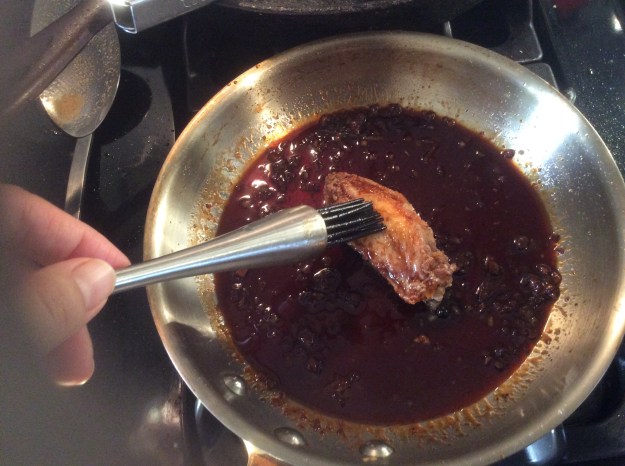
13. Place on a serving plate and serve immediately.

img_5458

Advertisement

Turmeric Almond Milk

Most of us had our fair share of holiday indulgences these past few weeks – overeating, drinking, taking naps and staying indoors to stay warm. Now that the New Year here, it’s time start eating right again and get back into shape. One of the resolutions on my list is to alter my diet and reduce the inflammation in my body. According to my dad, there are many things, both in our diet and environment, that can cause inflammation. He is a raw food vegan and a former Chinese herbalist who treats minor health issues with natural supplements and herbal extracts. Considering that he’s in his mid-70s without any ailments or major pain and isn’t on any medication, I consider him a pretty good source for this type of information. He has given me advice on different food products that help reduce inflammation and he was touting the health benefits of turmeric before it was all the rage.

Many pressed juice companies currently offer an anti-inflammatory drink with turmeric as one of the main ingredients. One of my favorite drinks with turmeric is the “Golden Milk” at Erehwon Natural Foods Market make with almond milk, turmeric, and other spices. It’s creamy and has lovely sweet spices, but it is pricey. Being that I am the recipe sleuth, I created my own version with the same flavor profile at a fraction of the cost. I used to buy my turmeric roots either at the Indian or Asian market but now you can find it at Sprouts and Trader Joe’s. Note that this recipe does require you to soak the almonds overnight, or you can purchase pre-made almond milk at the grocery store – just make sure it’s organic. Here’s to the beginning of a happy and healthy 2017. Enjoy!

Turmeric Almond Milk

Serves 2

2 cups of homemade organic almond milk (recipe below) or unsweetened almond milk

1 tablespoon of freshly grated turmeric

1/2 teaspoon of black peppercorns, crushed

6 cardamom pods, crushed

1/4 teaspoon of ground cinnamon, extra for serving

2 teaspoons of raw honey, optional

Sea salt

Freshly grated black pepper


1. In a medium saucepan, add the almond milk, turmeric, peppercorns, cardamom pods and ground cinnamon.

img_5412

2. Stir and bring it to a boil over medium-high heat. Once it comes to a boil, turn off the heat. Let the spices steep for 5 minutes.

img_5414img_5415

3. Place a small sieve over a glass bowl with a spout. Pour the steeped almond milk through the strainer. Add the honey if you’re using it.

img_5416

4. Divide into 2 serving glasses or cups. Sprinkle some cinnamon, some grated black pepper and a pinch of sea salt. Serve immediately.

img_5417


Homemade Organic Almond Milk

Yield: 4 1/2 cups


1 cup of organic raw almonds

4 1/2 cups of fresh spring water or filtered water

1/2 teaspoon of sea salt

1. Place the raw almonds, salt, and 2 cups of water in a bowl. Let it sit overnight.

img_5400

2. The next day, drain the almonds in a colander and give them a good rinse.

img_5402

3. In a large blender, add the almonds and 4 1/2 cups of fresh spring water. Blend on high speed for about until smooth, about 2 minutes. (Make sure your blender can handle all the water and almonds, otherwise, blend in 2 batches.)

img_5403img_5404
4 . Once the almond milk is ready, pour into a chinois or a fine mesh sieve over a large bowl.

img_5405img_5406

5. Transfer the almond milk to a glass jug. You can add a little vanilla extract or almond extract for more flavoring. The almond milk keeps in the refrigerator for up to 3 days.

img_5410

Shanghai-Style Sautéed Rice Cakes

It’s the 1st day of 2017. It is tradition in the Korean culture to eat rice cake soup (tteokguk or ddukgook). Come New Year’s day, my mom always had a piping hot bowl of rice cake soup with dumplings waiting for us at the table. It was comforting and delicious. Now that I live in the San Gabriel Valley, Chinese food has influenced my cooking greatly. The same rice cake ovalettes my mom used in her tteokguk is sautéed in with pork and napa cabbage in many of the local Chinese restaurants. The dish is more commonly known as shanghai-style rice cakes. I’ve always wanted to make this dish and so with the rice cake ovalettes that My mom bought me from the Korean market, I decided to make my version of this dish without the pork. I was pleased with the results and now sharing my recipe with you. The rice cakes are nice and chewy and full umami flavor from the mushrooms and oyster sauce. This recipe cooks quickly so prep all your ingredients in advanced. If you want to make the dish completely vegetarian, they offer a vegetarian version of the oyster sauce at your local Chinese market. Enjoy. (Mom, I saved the other half of the bag for tteokguk later tonight.)
Happy New Year!

Shanghai-Style Sautéed Rice Cakes

Serving size: 4

1 1/2 Tablespoons of oyster sauce or vegetarian oyster sauce
1 Tablespoon of organic soy sauce
1 teaspoon of chili oil*
1 teaspoon of Mirin
Sunflower seed or organic canola oil
2 garlic cloves, minced
8 ounces of fresh cremini or shiitake mushrooms, stems removed and sliced
Kosher salt, pinch
2 cups of chopped yu choy* or heirloom spinach
12 ounces of rice cake ovalettes*
Freshly grated black pepper
2 scallions, thinly sliced on a bias
1 red jalapeño pepper, thinly sliced (optional)

1. In a small bowl, add the oyster sauce, oyster sauce, chili oil, and Mirin. Stir well with a fork and set aside.

2. In a large pot add 2 quarts of water and bring it to boil. Meanwhile, heat a large sauté pan or wok to high heat.
Add 1 Tablespoon of oil. Add the chopped garlic and sauté for 15 seconds

3. Add the mushrooms and pinch of salt and sauté until most of the moisture evaporates, about 3 minutes. The mushrooms will be golden brown. Transfer the cooked mushrooms in a bowl and set aside.

img_5374img_5375

4. In the same pan, on high heat add 1 more Tablespoon of oil. Add the chopped choy. And sauté for 1 minute. Add the mushrooms back to the pan.

img_5376img_5377
5. Meanwhile, to the boiling water, add the rice cakes. Boil for one minute.

img_5378

6. Using a spider strainer, remove the boiled rice cakes and transfer them to the pan with mushrooms and yu chow.

img_5379

7. Add the oyster sauce mixture and some freshly grated black pepper.

img_5380

8. Sauté for one minute until all the rice cakes are coated with the sauce.

img_5382

9. Add the chopped scallions. Give the rice cakes a quick stir.

10. Transfer to a serving plate and top with sliced red peppers, if using. Serve immediately.

img_5389

* You can find most of these ingredients at your local Chinese markets.

img_5372img_5370img_5373