Category Archives: Poultry

Duck Confit Hash

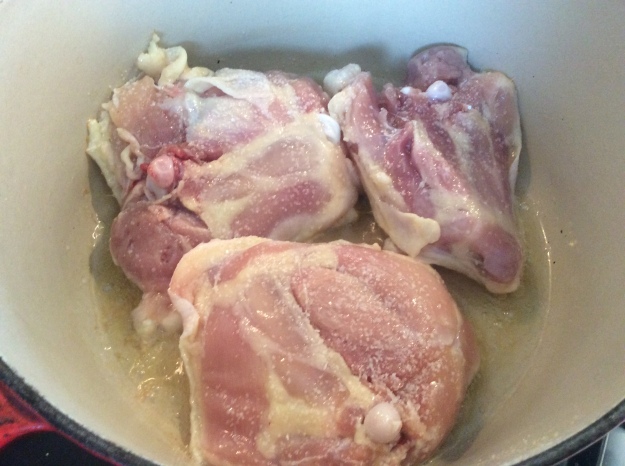
Duck leg confit is one of my favorite French dishes. The duck is slightly salty, mildly gamey, and has a crispy skin. In France, you will find duck confit on the menu of most brasseries. It is often served with crispy potatoes fried in duck fat and with a side salad. The process to make duck confit is a long one, which includes salt curing in the refrigerator for a couple of days and the poaching in its own fat for several hours. The duck is then pan-fried until the skin is crispy.

I’ve made duck confit in the past, but now for convenience sake, I buy it from my local specialty or gourmet shop. For my duck confit hash recipe, buying pre-made duck confit works beautifully. The recipe is relatively easy, and perfect for a special occasion like Mother’s Day Brunch. This recipe makes 2 servings, but you can double the recipe if you need more. Just remember, one duck leg confit and 4 ounces of potato per person. Enjoy!


Duck Confit Hash

Serving Size: 2

8 ounces of Yukon gold potato, 1 medium

Duck fat* or olive oil

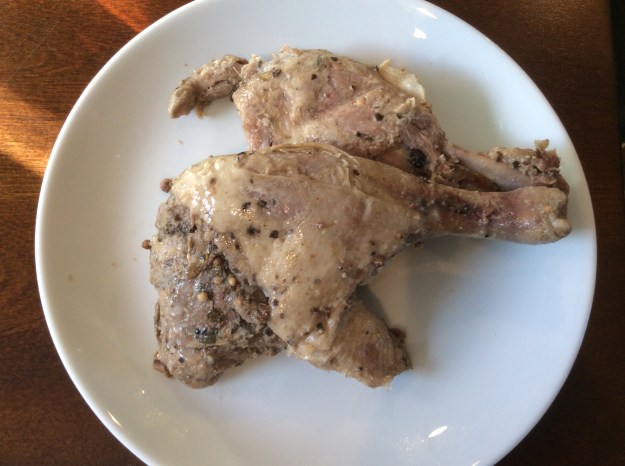
2 prepared duck leg confit, about 8 ounces with the bones*

2 cloves of garlic, minced

1 teaspoon of fresh time leaves, chopped

1/2 cup of reduced duck stock or veal stock**

Sea salt

Freshly grated black pepper

1 tablespoon of chopped Italian parsley (extra for garnish)

2 farm fresh eggs, poached soft

Cayenne for garnish, optional


1. Preheat oven to 425°.

2. Peel and cut the Yukon gold potatoes to 1 inch dice.

IMG_5806

3. Toss the potatoes with 1 tablespoon of melted duck fat or olive oil and sprinkle a little salt and freshly grated pepper. Transfer the potatoes to a sheet pan. Bake in the oven for about 20 minutes or until nice and crispy.

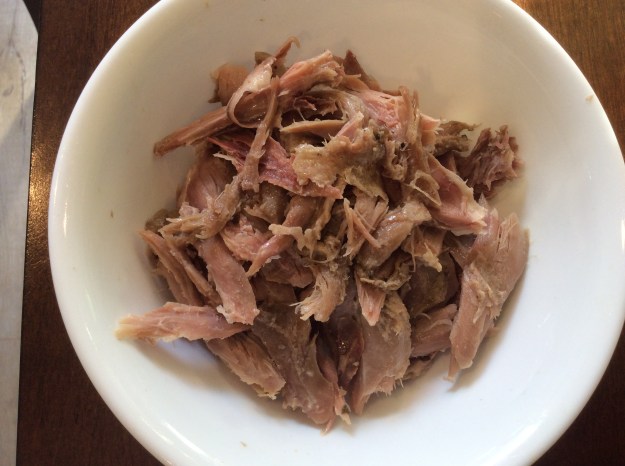
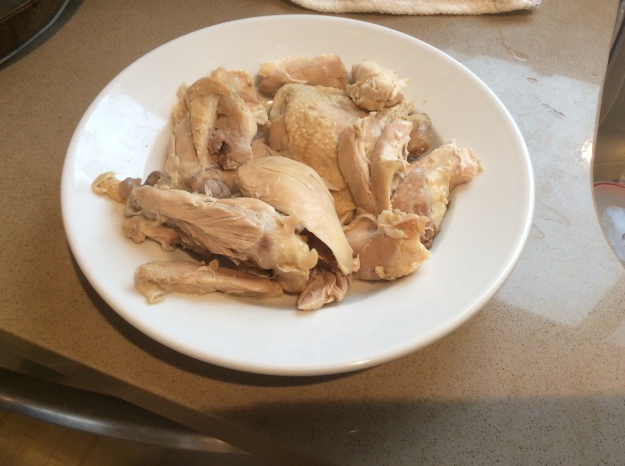
4. Meanwhile, hand shred the duck confit meat off the bone. You want the meat in bite-size pieces.

IMG_5807IMG_5809

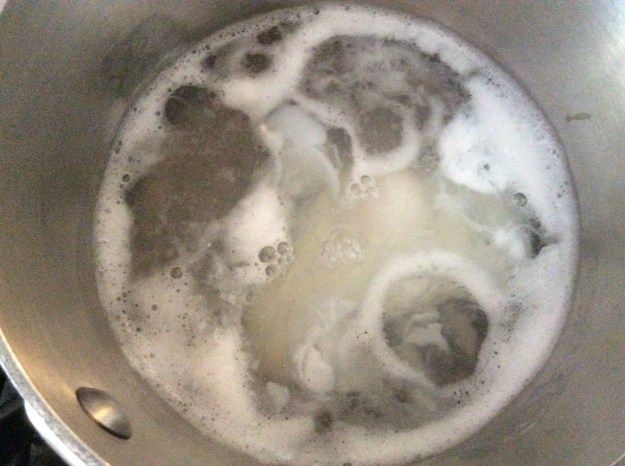
5. Poach the 2 eggs at this time for about 2 minutes. Place the poached eggs on a paper towel until ready to use. Set aside.

IMG_5820

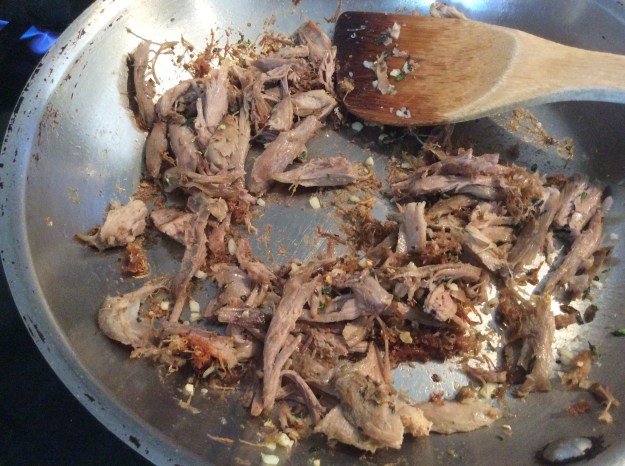
6. Heat a large sauté pan to medium-high. Add 1 tablespoon of duck fat or olive oil to pan. Add the garlic and sauté for 30 seconds.

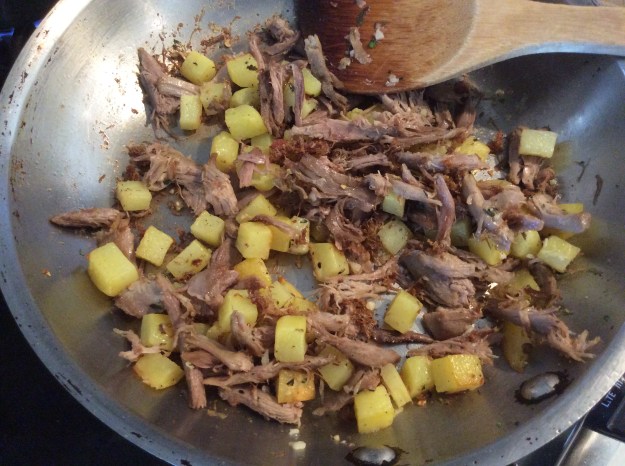
7. Add the duck confit meat and the chopped thyme. Sauté until the duck gets slightly crispy, about 2 minutes.

IMG_5812

8. Add the roasted potatoes and sauté for 1 more minute. Add the salt and pepper to taste.

IMG_5813

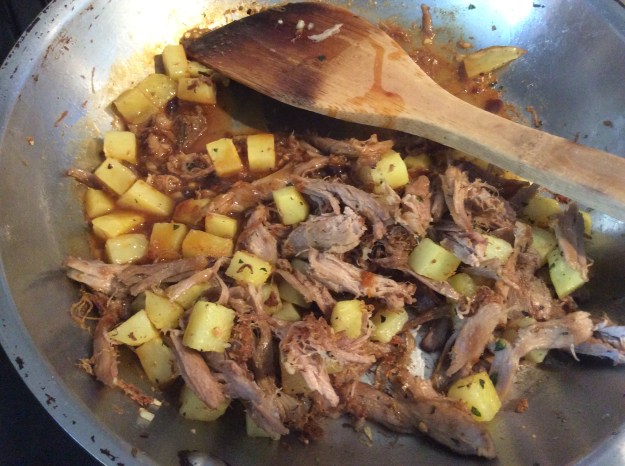
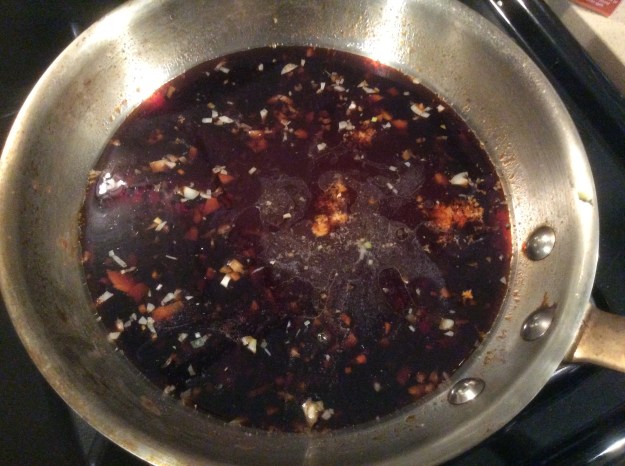
9. Pour the reduced stock and cook until the sauce is slightly thickened.

IMG_5814

10. Divide the hash in to serving bowls and top with a poached egg. Sprinkle cayenne pepper and parsley. Serve immediately.

IMG_5824

*Duck fat and duck leg confit can be purchased at a gourmet food store like Bristol Farms or Dean & Deluca, or online on Amazon. You can also purchase the duck leg confit in duck fat and get both ingredients in one purchase.

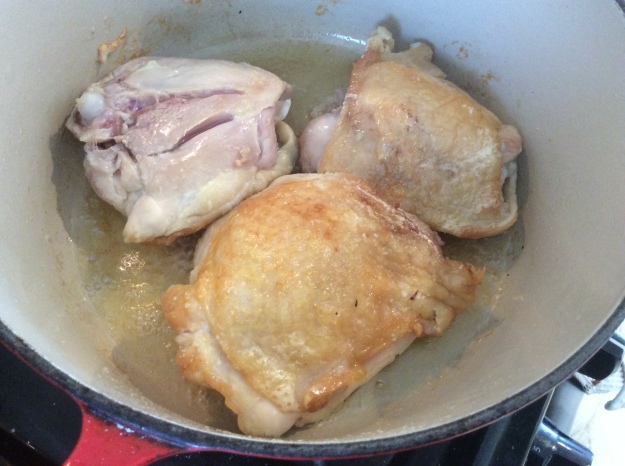
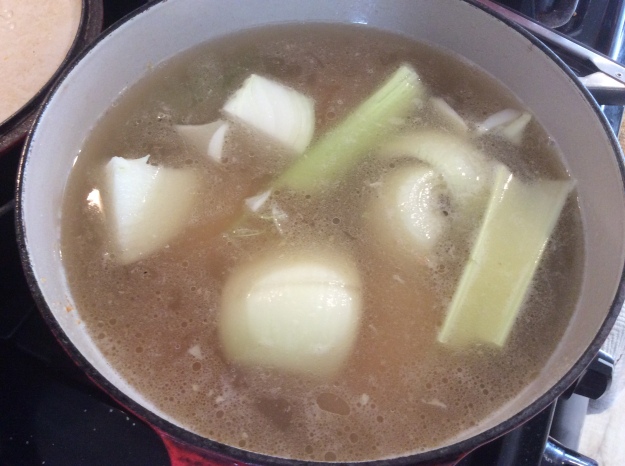
**Duck stock or veal stock can be purchased at your local gourmet food store. Make sure you purchase the frozen version without any salt. You can also use chicken stock if you can’t find duck or veal stock. Place 1 cup of stock in a small sauce pan. Cook on high heat until the stock is reduced by 1/2.

Advertisement

Gumbo Ya-Ya

One of my favorite culinary destinations is New Orleans, Louisiana. New Orleans is a melting pot of many immigrant cultures, but the French influence is quite apparent all around the city, but especially in the French Quarter. From the beignets at Cafe du Monde to escargot at Galatoire’s, the French culture is a major influence on their cuisine. And of course Mardi Gras is French for “Fat Tuesday”, the last day to eat rich and party before fasting for lent. Today, we celebrate Mardi Gras and it’s the perfect reason to share my gumbo recipe.

Gumbo is one of my favorite New Orleans dishes because it is delicious, spicy, hearty and full of great flavors. The key to a good gumbo is slow-cooked dark roux (a thickener made with butter and flour). In this recipe, the roux takes about an hour to cook. The original recipe for Gumbo Ya-Ya was created by the late Paul Prudhomme, who was an amazing New Orleans chef. This gumbo has chicken and andouille sausage (a firm Cajun sausage full of great spices), but if you can’t find andouille sausage, you can alway substitute Louisiana hot or mild links. This is not a quick recipe, but completely worth it in the end. I aways reserve making gumbo for special occasions and there’s no better time than Mardi Gras. Enjoy!

Gumbo Ya-Ya

Serving Size 4-6

2 lbs of organic chicken thighs

Kosher salt

1 tablespoon of sunflower oil or other neutral oil

10 cups of water

1 carrot, cut into 3 pieces

1 stalk of celery, cut in 3 pieces

1 onion, quartered

1 bay leaf

1/2 cup (1 stick) of unsalted butter

3/4 cup of Sonora wheat or unbleached all-purpose flour

1 bell pepper, small dice

1 sweet onion, small dice

1 celery stalk, small dice

2 garlic cloves, minced

1/2 teaspoon of fresh thyme leaves, finely chopped

1 tablespoon of Creole Seasoning  (can be store bought)

1/2 teaspoon of ground black pepper

1/2 teaspoon of chili powder

1/4 teaspoon of dried hot red pepper flakes

1 bay leaf

2 teaspoons of Kosher salt, more to taste

2 andouille sausages or Louisiana smoked hot links (about 10 ounces), cut into 1/4 inch-thick slices

1/2 teaspoon of file powder

3 cups of steamed long-grain rice, converted

Chopped parsley

Louisiana hot sauce for serving (optional)

1. Sprinkle the chicken thighs with a generous amount of Kosher salt on the skin side. Heat a large pot, preferably enamel coated cast-iron, to medium-high heat. Add the oil. Place chicken thighs in the pot, skin-side down. Sprinkle the other side of the chicken with more Kosher salt. Sear the chicken skin until it gets golden and crispy (about 5-7 minutes). Turn the chicken thighs over and cook for another 5 minutes.

img_5577img_5579

2. Remove the chicken thighs and place on a plate. Pour the chicken grease into a small Pyrex bowl or a heat-proof bowl and reserve for later. You should have about a 1/4 cup.

img_5581

3. Add the chicken thighs back to the pot, along with 10 cups of water, the carrots, celery, onion and bay leaf. Bring to a boil. Then reduce to a low simmer and place the lid on top. You will braise the chicken for about an hour.

img_5580

4. Meanwhile, heat another large pot to low heat. Add the butter and the reserved chicken grease into the pot. Once the butter is completely melted, gradually add in the flour while stirring with a wooden spoon. You will continue to stir and cook the roux for about 1 hour until you get a dark chocolate color. Don’t get tempted to leave the roux unattended. It is important to constantly stir throughout the whole process.

5. Check on the chicken. It should be tender, almost falling off the bone. Remove the chicken thighs using tongs, place on a plate and cover with plastic wrap. Quickly strain broth through a chinois (or a fine mesh sieve) into a large bowl and reserve the broth for the gumbo.

img_5597img_5589

6. Once the roux is nice and dark, add all the diced bell peppers. Stir for 1 minute. Add the diced onions and celery, stir for another minute. Add the garlic and chopped thyme and stir for 15 more seconds.

img_5593

7. Slowly add the broth to the roux mixture while stirring, two cups at a time, for a total of eight cups. (Save any remaining broth to thin out the gumbo later.) Add all the dry seasoning, bay leaf and the andouille sausage. Give it a good stir and bring to a boil.

img_5598

8. Reduce heat and simmer uncovered for 30 minutes, stirring occasionally. Make sure you skim the fat on the surface.

img_5600

9. While the gumbo is simmering, take the braised chicken and remove the meat off the bone, pulling it into to bite-sized shreds. Discard the bones.

10. After the gumbo has simmered for 30 minutes, add the file powder and the shredded chicken pieces. Add more broth or water if the broth is too thick. Give it gentle stir. Simmer for another 20 minutes.

img_5601

11. Taste for seasoning and adjust as need.

12. To serve, ladle the gumbo into shallow bowls. Add some steamed rice into the gumbo and sprinkle some chopped parsley on top. Serve with your favorite Louisiana hot sauce.

img_5613

Korean-Style Fried Chicken Wings

Super Bowl LI is just around the corner and thinking about it is making me crave fried chicken wings. Buffalo chicken wings with blue cheese dressing is the quintessential Super Bowl party food and I guarantee there will be a large platter at somebody’s Super Bowl party. For this Super Bowl Sunday, if you want to change things up, you can prepare this Korean version with a soy-garlic glaze. The chicken wings are crispy, sweet, salty, and garlicky with an umami kick. This recipe was inspired by my favorite chicken wings at Kyochon in Koreatown Los Angeles. There were many Kyochon take-out nights back when I lived in LA and ordered both soy-garlic and the spicy ones. I created recipes for both versions, but decided to share this soy-garlic wings since it’s more kid-friendly.

To ensure the perfect fried chicken wings, there are few important techniques: 1) Dry-brining ensures even seasoning through out each wing. 2) Keep the chicken wings as dry as possible before dredging them in cornstarch. This step helps create a thin crispy skin on each wing. 3) Keep the temperature as constant as possible. If you let the oil temperature drop too much, the chicken will get soggy. You may want to fry the wings in three batches, recalibrating the heat of the oil after each batch. Using a candy thermometer will help you get consistent results. Follow these tips and I guarantee you’ll have some of the best chicken wings ever. Enjoy!


Korean-Style Fried Chicken Wings

Yield: 18-20 wings

2 lbs of organic chicken wings, frozen or fresh

1 teaspoon of Kosher salt

1 teaspoon of sunflower oil or organic Canola oil

2 garlic cloves, minced

1/2 teaspoon grated of ginger

1/4 cup of organic soy sauce

1/4 cup of water

2 tablespoons of Mirin

2 tablespoons of brown sugar

1/4 teaspoon of freshly grated black pepper

1/4 teaspoon of sesame oil

2 cups of sunflower or organic canola oil

1/2 cup of cornstarch

Black sesame seeds, optional

Cilantro and red pepper slices for serving, optional

1. If using frozen wings, place them in the refrigerator overnight to thaw.

img_5426
2. Place the chicken wings in a colander and drain any excess water. Place the colander over a large bowl. Sprinkle with 1 teaspoon of Kosher salt. Toss for even salt distribution.

img_5427

3. Loosely cover with plastic wrap and place in the refrigerator for 1 hour. This is the dry brining process.
4. Meanwhile, make the soy-garlic glaze. Heat a small sauté pan to medium-low heat. Add the teaspoon of oil, then the garlic. Sauté for 30 seconds.

img_5430
5. Add the rest of the ingredients. Whisk and cook for about 5 minutes until mixture thickens a bit. Set aside.

img_5431
6. After one hour, rinse the chicken wings in cold water. Pat dry with paper towels.

img_5429img_5433

7. Bring 2 cups of oil to 350°, either in the deep fryer or a wok.

img_5435

8. Dredge the chicken wings in the cornstarch.  Shake off excess cornstarch before placing  them in the fryer.

img_5434
9. Once the oil is at the correct temperature, place 1/3 to 1/2 of the coated chicken wings in the oil. (Tip: fry the drumettes separately from the wingettes to ensure even cooking. The wingettes fry a couple minutes quicker.)

img_5438
10. Deep fry for about 15 minutes or until crispy and golden. Turn them around a couple times with tongs for even browning.

img_5440

11. Transfer the fried chicken to a colander lined with paper towels. Return oil to 350° and repeat with another batch of chicken wings.

img_5451
12. Take the reserved soy-garlic glaze and brush each chicken wing with a barbecue brush until completely coated.

img_5452

13. Place on a serving plate and serve immediately.

img_5458

Tom Kha Gai

Tom Kha Gai was one of the first Thai recipes l learned how to make back in college. This fragrant chicken coconut soup has a lovely balance of many flavors: spicy, savory, sour, and slightly sweet. The wonderful flavors come from the combination of a variety of ingredients: galangal root, Kaffir lime leaves, garlic, lemongrass, lime juice, fish sauce, chili paste and coconut milk. The coconut milk adds a level of creaminess without making the soup heavy. This Thai dish and a few others were taught to me by an incredibly talented Thai chef who was in the United States on a temporary work visa. Over the course of a few lessons, she taught me this dish along with several others, but unfortunately her visa expired and she had to return to Thailand. I am forever grateful to have met her and to have learned from her the basic foundations of cooking Thai food.

Over time, I made some modifications to this recipe. Instead of the traditional straw mushrooms that most Thai restaurants use in this soup, I added brown beech mushrooms. You can’t find fresh straw mushrooms in the US, only canned versions, and I find that the beech mushrooms are similar in size to the straw mushrooms and have a similar texture. Also, I marinate the chicken pieces and poach them prior to adding them to the soup, which gives the chicken a tender and velvety texture. It is an extra step, but I think it is well worth it in the end. Enjoy!

Tom Kha Gai

Serving Size: 4
8 ounces of boneless chicken breast, thinly sliced
1 Tablespoon of Mirin
1/4 teaspoon of baking soda
Kosher salt
8 ounces of Brown Beech mushrooms, trimmed and washed
1-2 teaspoons of Thai chili paste*
1 tablespoon of minced fresh lemongrass
1 clove of garlic, minced
3 cups of homemade chicken stock or low-sodium chicken broth
6 Kaffir lime leaves, divided
3 two-inch lemongrass stalks, bruised with back of a knife
5 slices of galangal, 1/4″ thickness
3 tablespoons of fish sauce (add more to taste), Red Boat or Three Crabs brand
2 teaspoons of organic sugar
1 1/2 cups of Thai coconut milk**
2 tablespoons of fresh lime juice and extra lime wedges for serving
Sea salt to taste
Red jalapeño slices
Thai bird chili slices, optional
Cilantro sprigs for serving

image

1. In a small bowl, add the sliced chicken and Mirin. Stir. Sprinkle the baking soda all over the chicken. Stir. Set a timer for 15 minutes. Don’t over marinate to ensure a perfect texture.

image

2. Add a quart of water in small pot. Add 1 tablespoon of Kosher salt. Bring to a boil. Add the mushrooms. Boil for 1 minute. Using a spider strainer, remove the mushrooms and transfer to a bowl.

imageimageimage

3. Bring the same water back to a boil. Add the marinated chicken, reduce heat to a simmer and poach for 1 minute. Turn off heat and set aside.

image

4. Heat a 2-quart pot to a medium-high heat. Add the chili paste, garlic, and minced lemongrass. Stir and cook for 1 minute. Pour in the chicken stock, add 3 Kaffir lime leaves and bring to a boil. Strain the stock and return stock to the pot.

image

imageimage

5. Add the lemongrass stalks, galangal, the fish sauce, sugar and coconut milk. Bring to a simmer. Add salt to taste.

6. Strain the poached chicken and add it to the soup along with the mushrooms and simmer for 1 more minute. Add the lime juice, 3 Kaffir lime leaves, a few slices of the red jalapeño, and the Thai bird chili (if you like it really spicy).

imageimage

7. Ladle in individual bowls with a couple sprigs of cilantro. Serve with extra lime wedge.

image

*You can find Thai chili paste at your local Thai or large Asian supermarket. Make sure you purchase Thai chili paste in soy bean sauce.

image

**Thai coconut milk is available in the Asian food isle at you local supermarket.

image


Ground Chicken with Thai Basil

I am a huge fan of anything spicy, but one of my favorite spicy cuisines is Thai food. I love the beautiful colors, layers of textures, and fragrant ingredients. Aromatic ingredients like curry, lemongrass, galangal, coconut milk, kaffir lime leaves, fish sauce all lead to a wonderful balance of flavors in their dishes. Every bite of Thai food is an explosion of salty, sweet, spicy, sour and umami flavors. It’s the kind of food I crave I want something bold and spicy!

I first learned how to cook Thai food from a Thai chef when I was in college. She was staying in Los Angeles on a temporary worker visa. I met her on a Mammoth ski trip, but instead of bringing ski clothes, she brought a large cooler full of Thai ingredients! There were sauces, spices, herbs, produce, protein, and homemade stock. She taught me how to make five different dishes that weekend, and everything she made was absolutely delicious. I was so excited during my cooking lessons, I didn’t even take notes! But amazingly all her instructions sank right into my brain and got stored in my long term memory (though I eventually transferred the recipes to paper).

Here is one of the five recipes she shared with me, which is known as Pad Kra Pao Kai in Thai restaurants. It is made with ground chicken and Thai basil and is easy to prepare, but it does require a few ingredients from the Asian market. Her recipe calls for 3-5 chilies, but only I added one in this recipe so my kids won’t burn their tongue. You if like it extra spicy you can add a couple more. Enjoy!

Ground Chicken with Thai Basil

Serving Size: 4

2 tablespoons of sunflower oil
2 heaping tablespoons of chopped garlic (about 5 cloves)
12 ounces of organic ground chicken
1 Thai Bird’s Eye Chili, thinly sliced crosswise (optional)
1/2 cup of red bell pepper, sliced in strips
1/2 cup of bamboo shoots, sliced in strips (fresh or canned)*
2 tablespoons of fish sauce (Three Crabs or Red Boat brand)
2-3 tablespoons of oyster sauce
1 tablespoon of soy sauce
1 teaspoon of organic sugar
1 teaspoon of sweet paprika
1/2 cup of chicken stock, cold
1 teaspoon of organic corn starch (Rapunzel brand)
1 1/2 cups of Thai basil leaves

image
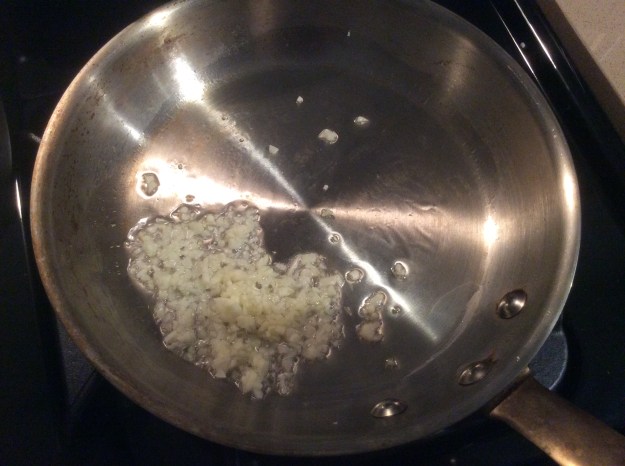
1. Heat a wok on high. Add 2 tablespoons of oil. Add the garlic, sauté for 10 seconds. Then add the ground chicken all at once. Cook for about three minutes.

image

2. Add the Thai chili (if using) and red bell peppers and cook for 1 more minute.

image

3. Add the bamboo shoots and stir fry for 1 more minute.

image

4. Add the fish sauce, 2 tablespoons of the oyster sauce, soy sauce, sugar and the sweet paprika. Stir to combine. Taste to see if you need the additional tablespoon of oyster sauce.

image

5. Add the cornstarch to the chicken stock and stir to create a slurry. Add the mixture to the chicken and stir to combine. Cook until the mixture begins to thicken.

6. Stir in the Thai basil.

image

7. Remove from heat. Serve with rice and one egg, sunny side up.

*Sometimes you can find the fresh bamboo shoots in the produce section. The canned version comes sliced in strips. If you’re using the one from the can, make sure you blanch the bamboo shoots. Boil in water for one minute then shock in ice water. Drain and set aside until ready to use.