Category Archives: Side Dish

Kimchi-Jeon (Kimchi Pancakes)

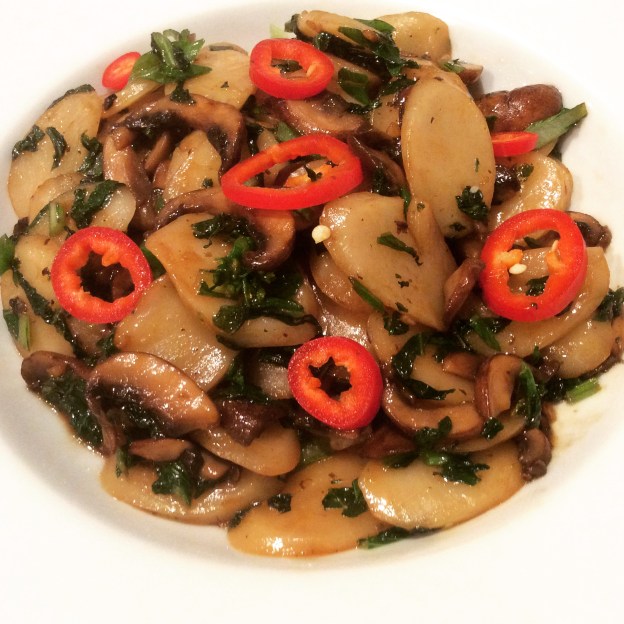
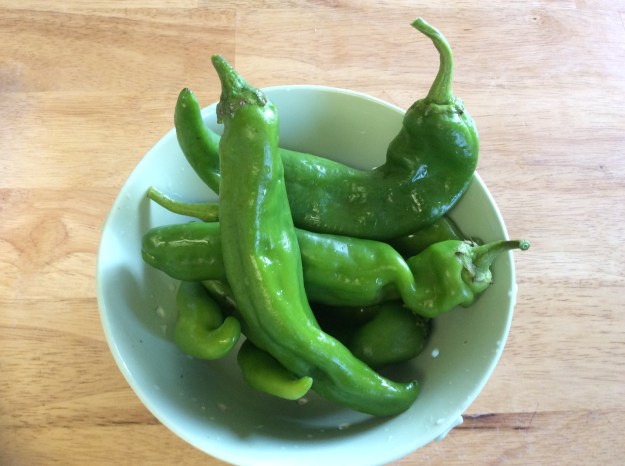
Korean restaurants serve complimentary side dishes called banchan whenever you order a main dish. Occasionally, you will get a savory pancake served along side the assorted banchan. The most common style of pancake is pa-jeon (scallion pancake) but sometimes, if you get lucky, they will serve complimentary kimchi-jeon (kimchi pancake) instead. Kimchi-jeon is my favorite Korean pancake because of the heat level and intense flavor. I have fond memories of my mom making a huge tower of kimchi-jeon for lunch. My brothers and I would eat them until we were completely stuffed.

Here is an updated version of mom’s recipe. In my recipe, I sauté the onions prior to adding them to the batter to mellow out their sharp bite and to add natural sweetness to the kimchi-jeon. If you don’t like your kimchi-jeon too spicy, you can replace some of the kimchi juice with an equal amount of water. In that case, you should also add a pinch more salt. This recipe only makes two pancakes, unlike my mom’s recipe which can feed an army. I like to serve it as part of a larger Korean meal with other banchan. Enjoy!

Kimchi-Jeon (Kimchi Pancakes)

Yield: 2 large pancakes (4 servings as an appetizer)


Sunflower seed oil or organic canola oil

1/4 cup of chopped onions

1/2 cup of unbleached all-purpose flour

1/4 cup of kimchi juice

2 tablespoons of water

1 large egg

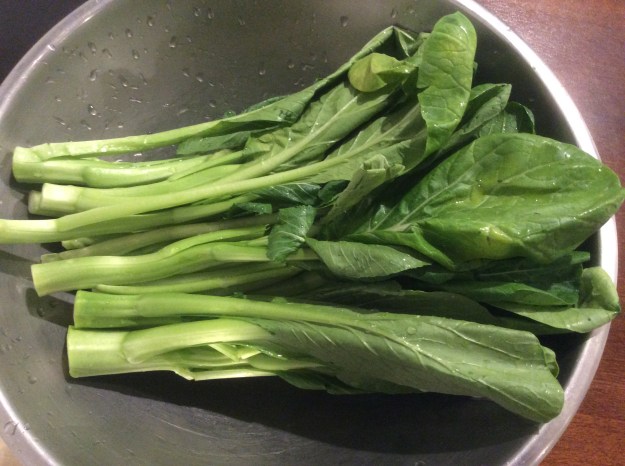
3/4 cup of chopped kimchi

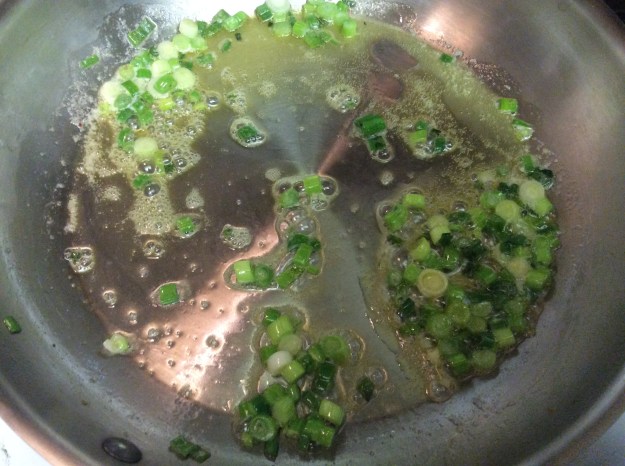
2 scallions, sliced crosswise

1/2 teaspoon of salt

Freshly ground black pepper

1 teaspoon of sesame oil

Black sesame for garnish, optional

Organic soy sauce for serving


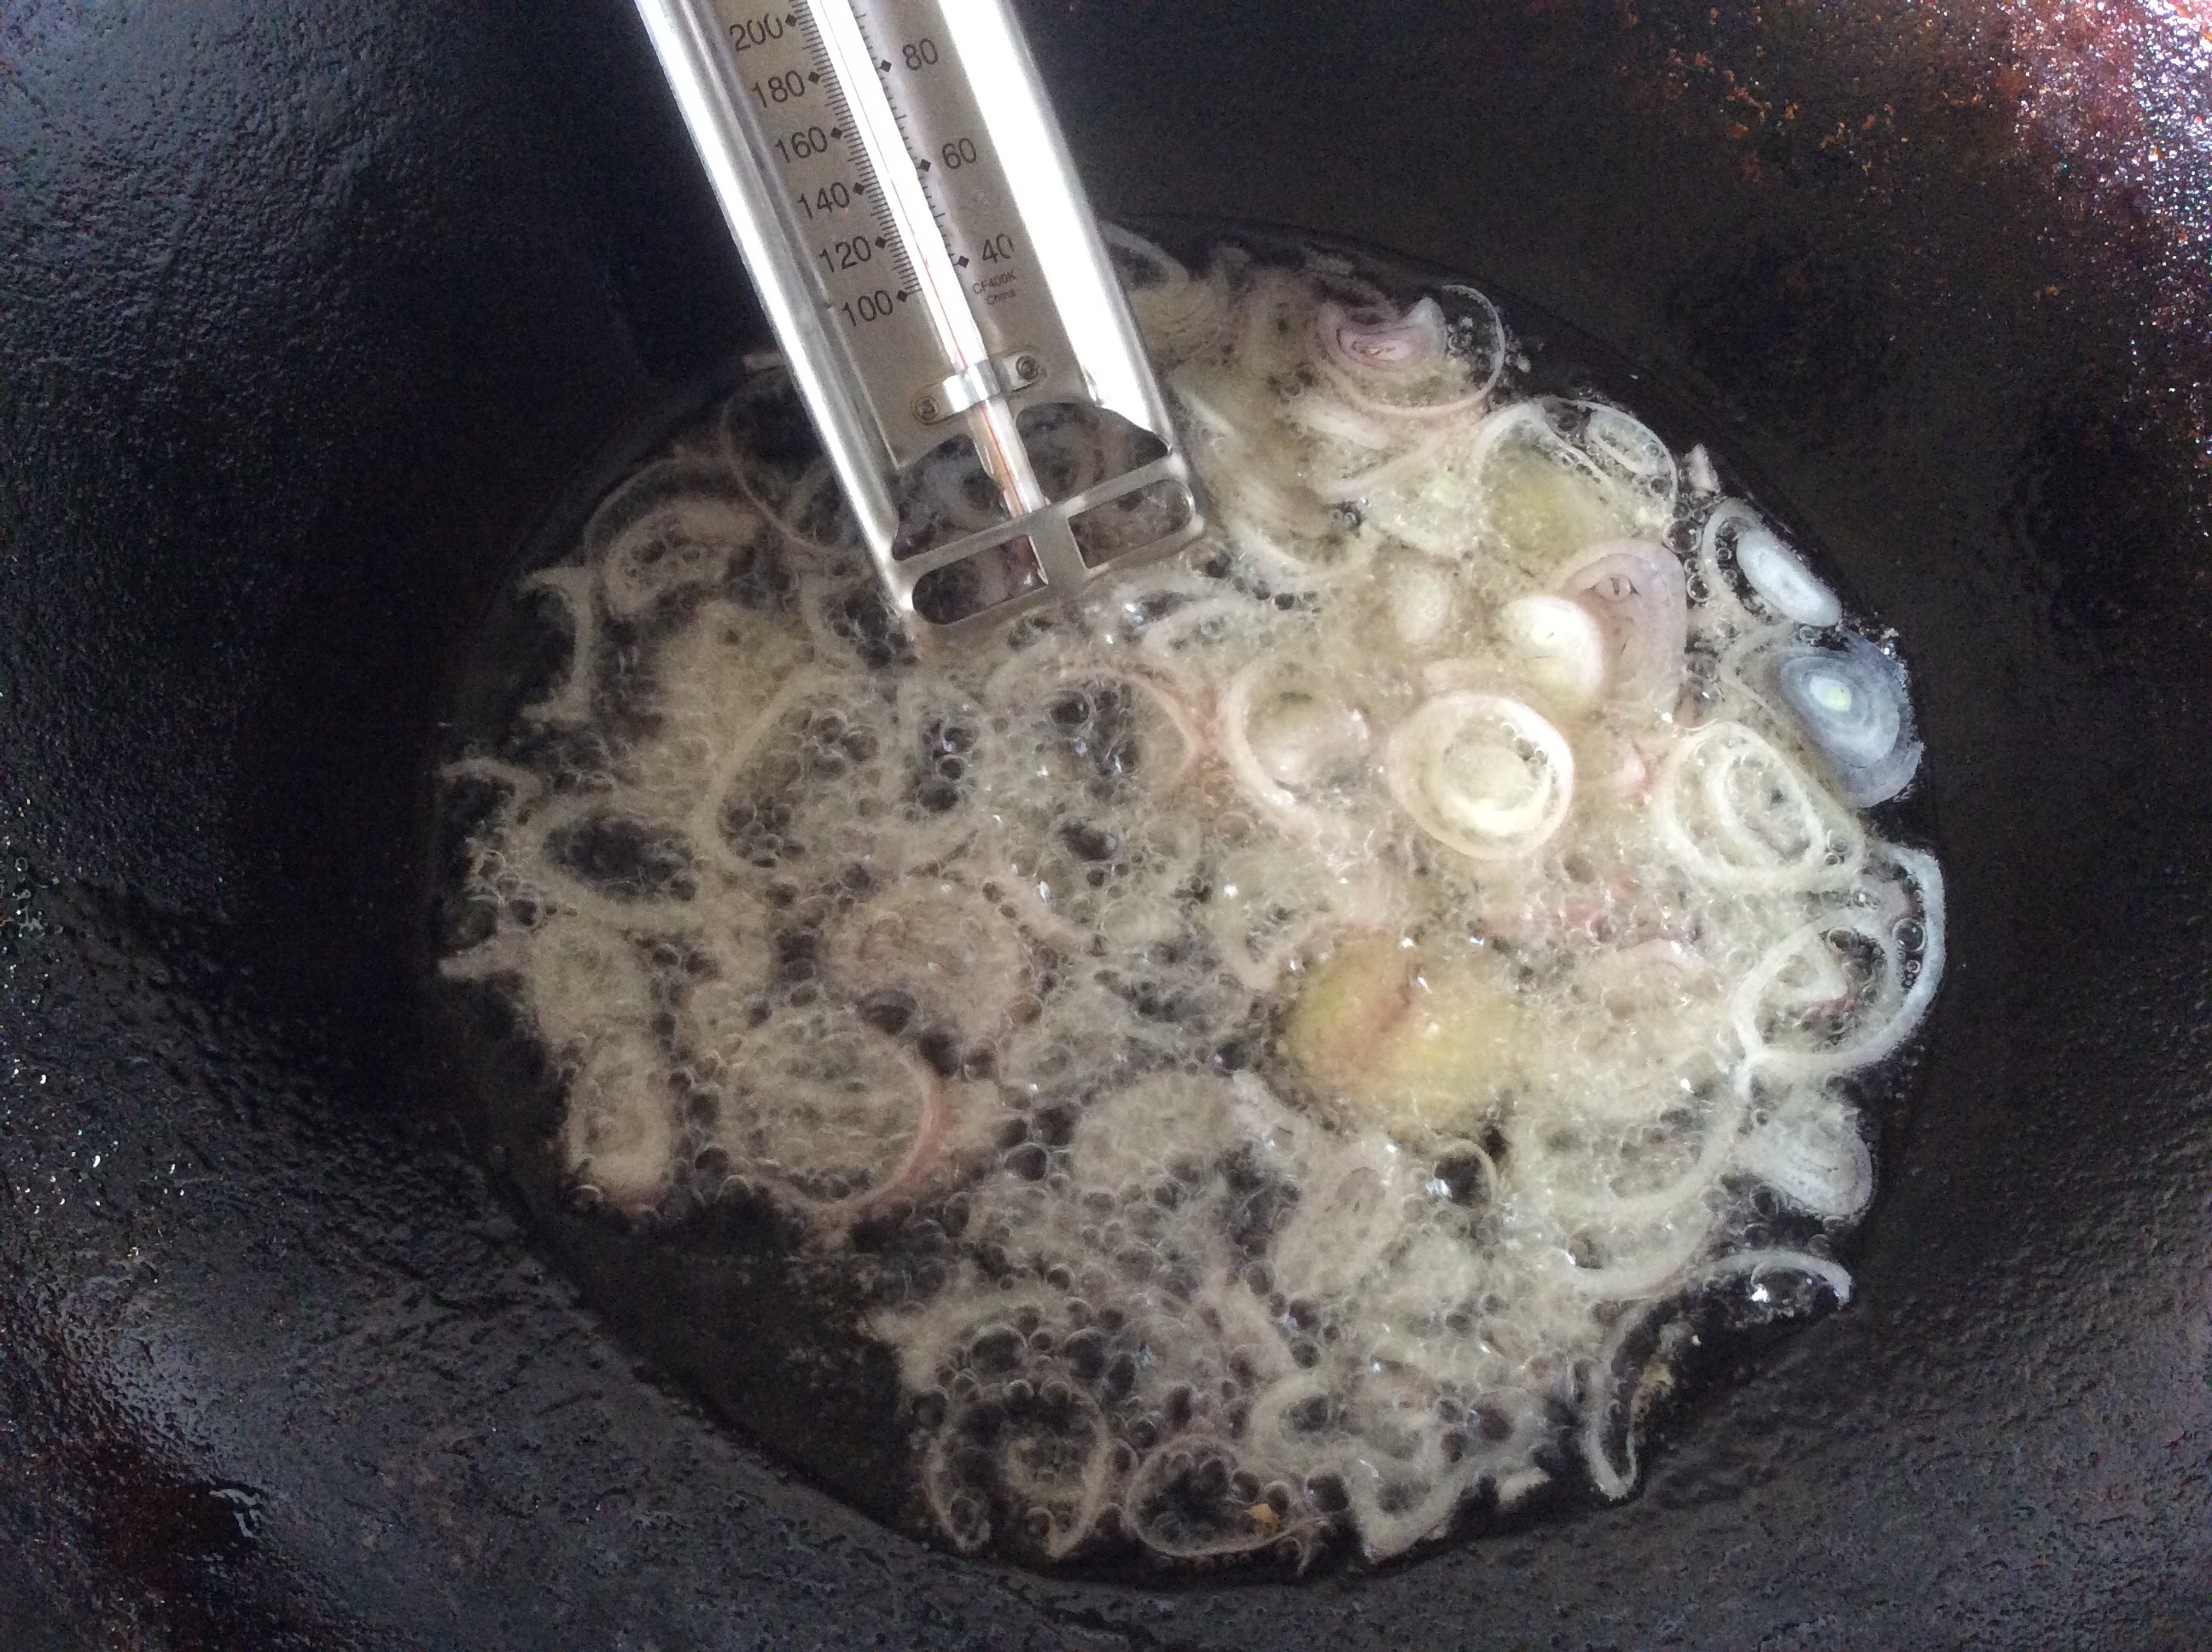
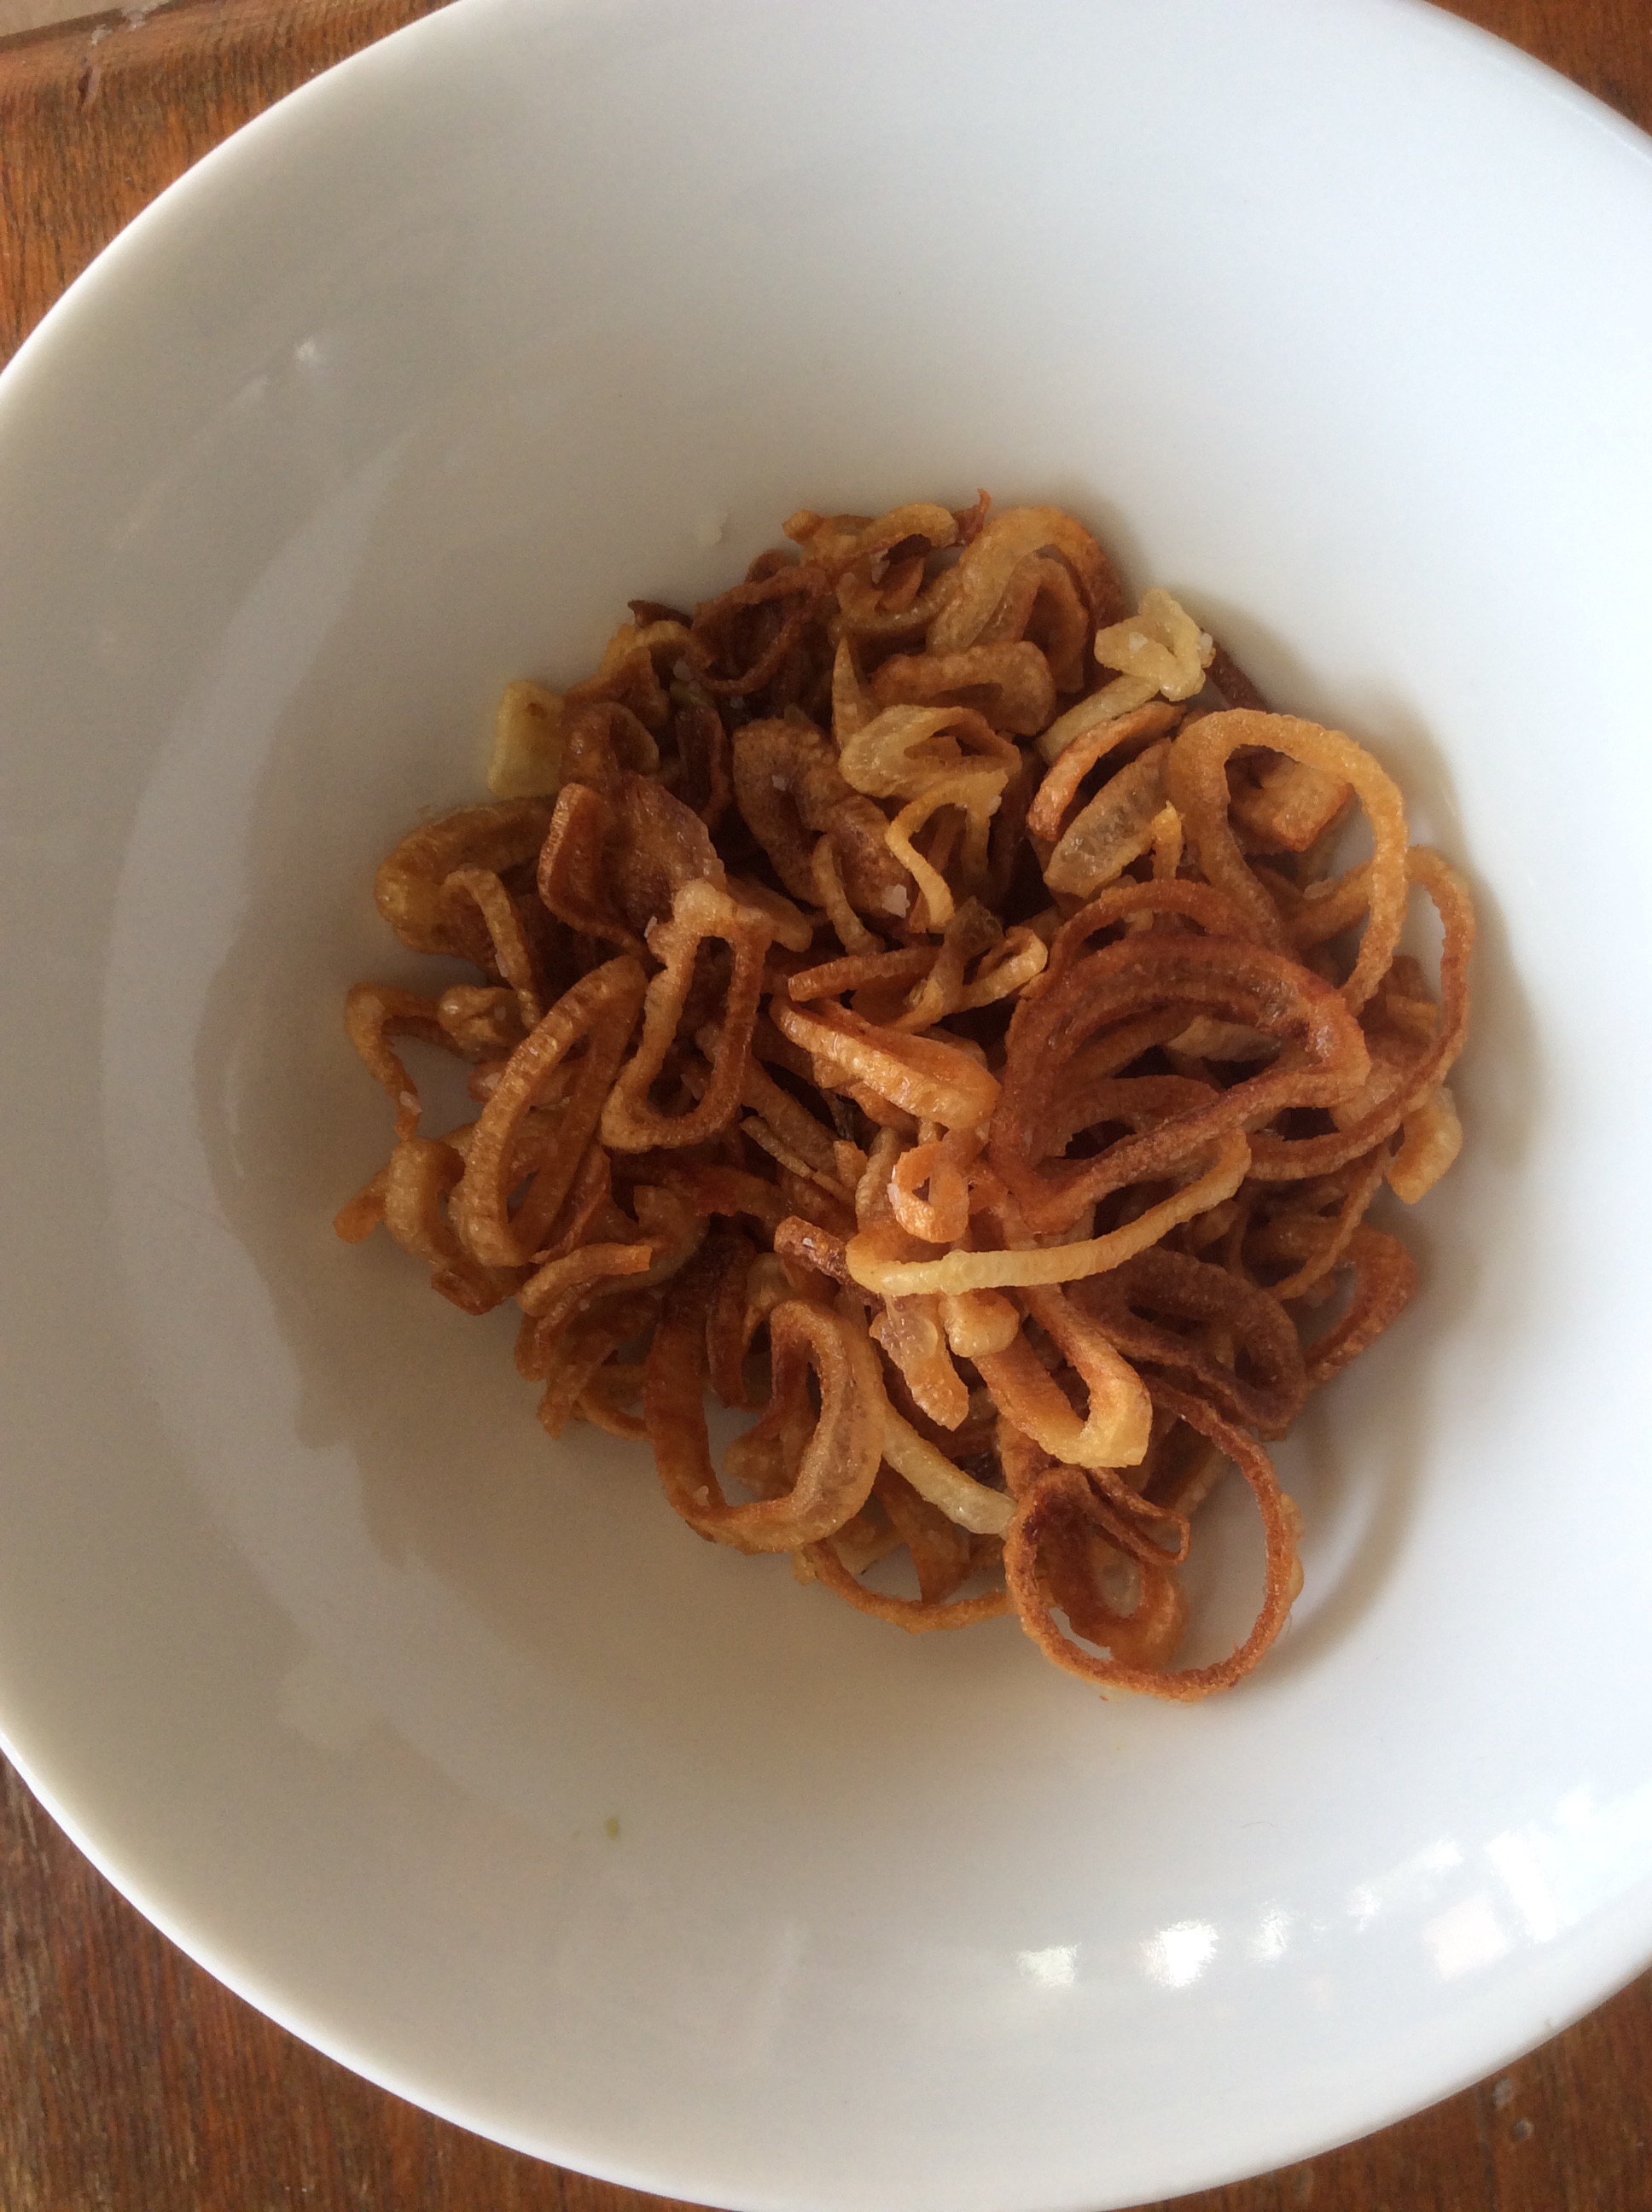
1. Heat a medium sauté pan to medium-low heat. Add 1 teaspoon of oil. Add the the chopped onions. Sauté for 3 minutes. Transfer to a plate.

IMG_5635
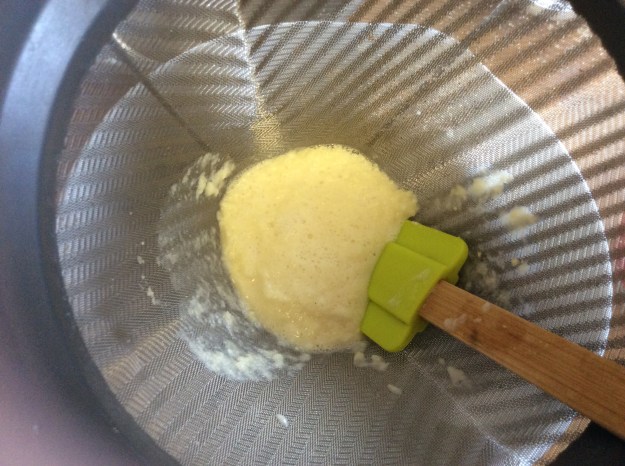
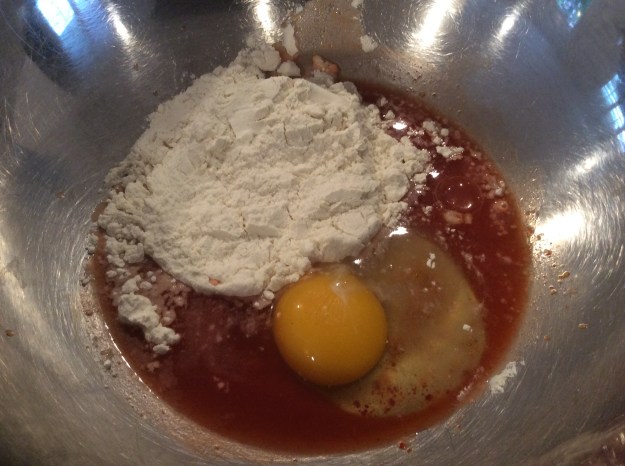
2. In a large bowl, add the flour, water, kimchi juice, and egg. Whisk well.

IMG_5637

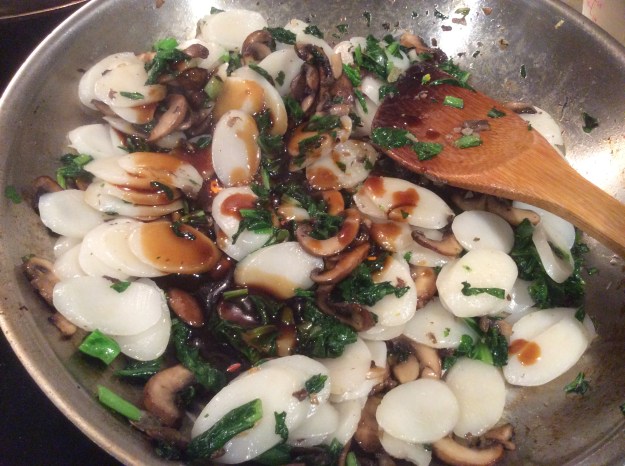
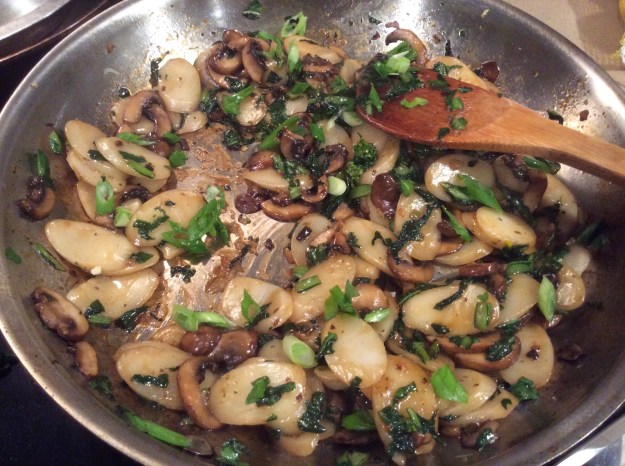
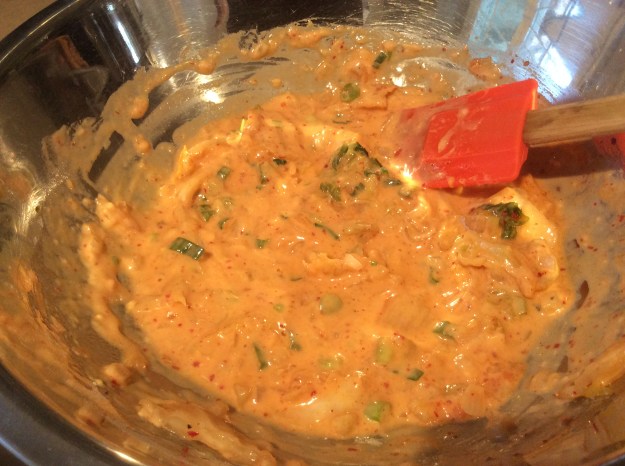
3. Add the chopped kimchi, cooked onions, scallions, salt, black pepper, and sesame.

IMG_5638

IMG_5639

4. Heat a cast iron or heavy bottom frying pan to medium heat. Add a couple tablespoons of oil.

5. Add a ladle full of batter and spread to flatten and evenly distribute the kimchi.
Fry for 2 minutes or until golden brown.

IMG_5641

6. Flip over and fry the other side for 2 more minutes. Transfer to a plate.
Repeat to with the 2nd pancake.

IMG_5657.JPG

 
7. Using kitchen scissors, cut each pancake into bite-sized pieces. Sprinkle black sesame seeds on top. Serve with soy sauce. They are best eaten when warm.

Advertisement

Shanghai-Style Sautéed Rice Cakes

It’s the 1st day of 2017. It is tradition in the Korean culture to eat rice cake soup (tteokguk or ddukgook). Come New Year’s day, my mom always had a piping hot bowl of rice cake soup with dumplings waiting for us at the table. It was comforting and delicious. Now that I live in the San Gabriel Valley, Chinese food has influenced my cooking greatly. The same rice cake ovalettes my mom used in her tteokguk is sautéed in with pork and napa cabbage in many of the local Chinese restaurants. The dish is more commonly known as shanghai-style rice cakes. I’ve always wanted to make this dish and so with the rice cake ovalettes that My mom bought me from the Korean market, I decided to make my version of this dish without the pork. I was pleased with the results and now sharing my recipe with you. The rice cakes are nice and chewy and full umami flavor from the mushrooms and oyster sauce. This recipe cooks quickly so prep all your ingredients in advanced. If you want to make the dish completely vegetarian, they offer a vegetarian version of the oyster sauce at your local Chinese market. Enjoy. (Mom, I saved the other half of the bag for tteokguk later tonight.)
Happy New Year!

Shanghai-Style Sautéed Rice Cakes

Serving size: 4

1 1/2 Tablespoons of oyster sauce or vegetarian oyster sauce
1 Tablespoon of organic soy sauce
1 teaspoon of chili oil*
1 teaspoon of Mirin
Sunflower seed or organic canola oil
2 garlic cloves, minced
8 ounces of fresh cremini or shiitake mushrooms, stems removed and sliced
Kosher salt, pinch
2 cups of chopped yu choy* or heirloom spinach
12 ounces of rice cake ovalettes*
Freshly grated black pepper
2 scallions, thinly sliced on a bias
1 red jalapeño pepper, thinly sliced (optional)

1. In a small bowl, add the oyster sauce, oyster sauce, chili oil, and Mirin. Stir well with a fork and set aside.

2. In a large pot add 2 quarts of water and bring it to boil. Meanwhile, heat a large sauté pan or wok to high heat.
Add 1 Tablespoon of oil. Add the chopped garlic and sauté for 15 seconds

3. Add the mushrooms and pinch of salt and sauté until most of the moisture evaporates, about 3 minutes. The mushrooms will be golden brown. Transfer the cooked mushrooms in a bowl and set aside.

img_5374img_5375

4. In the same pan, on high heat add 1 more Tablespoon of oil. Add the chopped choy. And sauté for 1 minute. Add the mushrooms back to the pan.

img_5376img_5377
5. Meanwhile, to the boiling water, add the rice cakes. Boil for one minute.

img_5378

6. Using a spider strainer, remove the boiled rice cakes and transfer them to the pan with mushrooms and yu chow.

img_5379

7. Add the oyster sauce mixture and some freshly grated black pepper.

img_5380

8. Sauté for one minute until all the rice cakes are coated with the sauce.

img_5382

9. Add the chopped scallions. Give the rice cakes a quick stir.

10. Transfer to a serving plate and top with sliced red peppers, if using. Serve immediately.

img_5389

* You can find most of these ingredients at your local Chinese markets.

img_5372img_5370img_5373

Cauliflower, Arugula, and Pomegranate Salad

My first job out of culinary school was working as a Garde Manger, a fancy French name for the chef of cold foods such as appetizers, salads, sandwiches, etc. It is an entry-level position that is offered to most recent culinary graduates. During my short stint working as a Garde Manger, I became an expert at making salads. Making salads is all about balance and creating layers of textures. I loved adding fresh seasonal produce in the salads: artichokes in the spring, peaches in the summer, roasted butternut squash during the fall, and persimmons in the winter. It was a fun challenge to incorporate seasonal ingredients and come up with new salad ideas.

In the spirit of the holidays, I offer you a lovely seasonal salad highlighting cauliflowers and pomegranate seeds. This vegetarian salad is crunchy, sweet, tart, and nutty. It’s also very pretty with Christmas colors of white, red and green. It’s a perfect salad to serve at your holiday meal or to take to a holiday potluck, as it will offset some of the greasy and heavy food at the table. Make sure you keep the toasted almonds, pomegranate seeds and dressing separate if taking to a party and assemble it on site. Enjoy!

Cauliflower, Arugula, and Pomegranate Salad

Serving Size: 6-8

12 ounces of organic cauliflower (about 1/2 head)

2 ounces of arugula leaves

1/2 cup of golden raisins

2/3 cup of pomegranate seeds*

1/3 cup of Parmigiano-Reggiano cheese shavings

1/3 cup of sliced almonds, toasted**

Vinaigrette (recipe below)

1. Slice the cauliflower into 1/4 inch pieces. You can use a mandolin, if you have one, to create uniform slices. Place them in a large salad bowl.

img_5213img_5216img_5217

2. Add the arugula, golden raisins, pomegranate seeds, Parmigiano-reggiano cheese, and the almonds.

img_5220img_5222

3. Dress the salad with the vinaigrette and toss lightly, making sure you don’t bruise the arugula. You may not need to use all of the dressing.

img_5235

4. Serve immediately.

*You can find pomegranate seeds at Trader Joe’s. They did all the  hard work for us.

img_5236


** Toast raw almond slices in the oven at 350° for 5-8  minutes


Vinaigrette Recipe

1/4 cup of red wine vinegar

1 teaspoon of finely chopped shallots

2 teaspoons of Dijon Mustard*

2 teaspoons of honey

2 tablespoons of extra virgin olive oil

1 teaspoon of sea salt

Freshly grated black pepper


1. Add all the ingredients in a mason jar or a dressing jar.

img_5225

2. Top with lid and shake until the dressing is emulsified and not separated. (Alternatively, whisk all the ingredients in a bowl until emulsified.)

3. If not using right away, you can store it in the refrigerator for up to 3 days.

*Trois Petits Cochon’s Dijon mustard not too spicy, so it is wonderful to add to dressings.

img_5227


Sautéed Corn with Dried Shrimp

With Thanksgiving around the corner, fresh corn is plentiful at your local supermarket and at the farmers market. When I find heirloom corn at the farmers market, I get excited about all the different things I might make with it – Johnny cakes with fresh corn, creamed corn with tarragon, cornbread with bacon – but every so often I want corn with Asian flavors. With that in mind, here is a unique corn recipe inspired by the Vietnamese street food Bap Xao Tom Bo. You can find this popular buttery shrimp and corn dish at mobile food stands in the streets of Saigon. In the traditional recipe, the corn is sautéed in butter, then small dried shrimp is added, followed by a little fish sauce, green onion, and finally a little hot sauce. Also, the dried shrimp is traditionally sautéed without soaking them first. In my version, I prefer to soak the dried shrimp in hot water to mellow out the shrimp flavor and to soften them a bit, otherwise I think the shrimp flavor can be a bit overpowering. I also add a little soy sauce and dark caramel sauce to balance out the fish sauce. Finally, I add fried shallots for a crispy texture. This corn dish is best eaten right away. Enjoy!

Sautéed Corn with Dried Shrimp

Serving Size: 4
3 tablespoons of unsalted butter
5 scallions, thinly sliced
1 lb of fresh cut or frozen organic corn*
10 small dried shrimp (soaked in hot water for 20 minutes and chopped)**
1 tablespoon of fish sauce
1 teaspoon of organic soy sauce
Freshly grated black pepper
1-2 teaspoon of Sambal Oelek (garlic chili sauce), more for serving***
1/2 tablespoon of Vietnamese caramel sauce (optional)
1/4 cups of fried shallots

1. Heat a large sauté pan over medium-low. Add the butter and half of the scallions. Sauté for about 2 minutes.

image

2. Add the dried shrimp (after it is soaked and chopped). Sauté for 1 minute.

image

imageimage

3. Add the corn and increase the heat to medium-high. Sauté for 2 more minutes (3-4 minutes for frozen corn).

image

4. Add the fish sauce, soy sauce, a couple of turns of the pepper mill, chili sauce, and caramel sauce. Sauté for 30 more seconds. Add the remaing scallions and sauté for 30 more seconds.

image

5. Divide among 4 bowls and top with fried shallots and serve with extra chili sauce.

image

*If using fresh corn try to find heirloom corn at your local farmers market. Most corn sold at the supermarket tend to be genetically modified.

**Dried shrimp can be found at most Asian supermarkets. Store the remaining shrimp in an airtight freezer bag.

image

***Sambal Oelek or garlic chili sauce are available at most Asian supermarkets.

image.jpeg

Hatch Chile Corn Pudding

New Mexico is one of the most beautiful and unique places I’ve visited in the US. When I visited back in the 90s, I fell in love with the adobe houses, turquoise jewelry, art, and Southwestern cuisine. One of the reasons I enjoyed the food in New Mexico is the presence of lots of roasted Hatch green chile peppers in their dishes. Hatch green chiles are grown in the Hatch Valley of Northwest New Mexico along the Rio Grande river. Unlike other Anaheim or pasilla peppers, Hatch green chiles have a more intense flavor when roasted. The roasted peppers are delicious in so many dishes: stewed pork, quesadillas, green chili, salsa, etc. Since it’s Hatch chili season and corn is readily available at the farmers market, I bring you this corn pudding recipe.

Corn pudding is easy to assemble and bake. Most of the time is taken up by roasting, peeling and chopping the peppers. You can roast the peppers a day in advance. Unlike most recipes, I purée half of the corn to make corn milk to add to the pudding. It helps naturally thicken the pudding and adds more corn flavor. The Hatch green chiles add a little heat and lovely roasted flavor. This corn pudding recipe is a great side dish to roasted pork or chicken. Make it before the Hatch green chile season is over. Enjoy!

Hatch Chile Corn Pudding

Serving Size – 6 as a side dish

4 cups of fresh or frozen corn kernels* (about 5-6 ears, preferably non-GMO or organic)
1/8 cup of water
2/3 cup of roasted Hatch chile with sautéed onions (recipe below)
1/2 cup of heavy cream
2 large eggs, beaten well
3/4 teaspoon of Kosher salt
Freshly ground black pepper
1 tablespoon of unbleached all-purpose flour
1/2 cup of grated mild white cheddar
Chopped Italian parsley for garnish

1. Preheat oven to 325°.

2. Take 2 cups of the corn kernels and 1/8 cup of water and purée in a blender until smooth.

image


3. Pour the puréed corn into a chinois or a fine mesh strainer over a medium bowl. Using a rubber spatula or wooden paddle, push down on the solids to push out as much of the liquid as possible. You should have about 2/3 cup of corn milk.

imageimage

4. Place the corn milk, the remaining 2 cups of corn, roasted Hatch chiles, heavy cream, beaten eggs, salt, pepper. Stir well with a rubber spatula.

image

5. Sift in the flour and gently stir to prevent it from clumping.

6. Using a baking spray or softened butter, grease the bottom and the sides of a 1 quart earthenware baking dish. Pour the corn pudding mixture into the dish.

image

7. Sprinkle the grated cheddar evenly over the top.

image

8. Place in the oven and bake 35 to 40 minutes, until golden brown on top.

image

9. Sprinkle chopped parsley on top and for 10 minutes. Serve with your favorite roasted pork or chicken recipe.

image

*If using frozen corn kernels, thaw them in advanced.

Roasted Hatch Chile Peppers

8 Hatch green chiles peppers, mild or medium
Olive oil
1 medium onion, chopped small diced
3 cloves of garlic minced
Kosher salt
Freshly grated black pepper

1. Place Hatch chilies on a aluminum-lined baking sheet.

image

2. Broil on the top rack for about 3 to 4 minutes or until the skin begins to blacken. Using tongs, turn over the peppers and broil the other side for an additional 3 minutes or until the skins begins to blacken.

image

3. Transfer the roasted peppers to a medium bowl. Cover with plastic wrap and let sit for 15 minutes.

image

4. Meanwhile, heat a large sauté pan on medium. Add a tablespoon of olive oil. At the onion, the garlic and pinch of salt. Sauté until soft and translucent (about 10 minutes). Turn off the heat.

image

5. Uncover the plastic wrap off of the bowl of peppers. Using disposable gloves, remove the skins of peppers. They should slip right off.

image


6. Using a knife slit open each of the peppers on the cutting board. Using the back of the knife, slide the seeds off.

image

7. Chopped the roasted peppers into 1/2 inch pieces.

image

8. Add the peppers into the pan with the cooked onions and garlic. Sauté on medium heat for two minutes. Add salt and pepper to taste.

image

9. The roasted peppers are ready to add in corn pudding, scrambled eggs, quesadillas, grilled cheese, cornbread, burgers, etc. The roasted Hatch chiles can be stored in the refrigerator for up to 3 days.

Fried Brussels Sprouts and Shallots with Asian Dressing

Thanksgiving is one of my favorite holidays of the year. It’s the one meal I get really excited about cooking. I usually spend a day planning the menu, a couple of days prepping the ingredients, and several hours cooking in the kitchen. Aside from the turkey or ham that is central to the meal, there are side dishes that my family looks forward to every year: roasted Brussels sprouts, savory pain de mie stuffing, cauliflower gratin, among others. My family raves about how yummy everything tastes and it puts a smile on my face. Cooking is a true labor of love.

But cooking a Thanksgiving meal wasn’t always easy or fun for me. I remember my humble beginnings, cooking my first Thanksgiving meal back when I was in junior high. My immediate family and my Korean neighbors (there were a total of 20 guests) were excited about their first traditional Thanksgiving dinner…only to learn the centerpiece of the meal was missing from dinner table. I completely miscalculated the cooking time of a 22 lb. turkey and it still had a couple more hours left to cook in the oven when everyone arrived. Since my guests were hungry, they ate the stuffing, candied yams, and mashed potatoes while the turkey was still roasting. A couple of guests even ran back to their places and brought over some rice, kimchee and several ban chan for the table. When the turkey finally came out of the oven, it ended up being dry and pretty bland, a major disappointment after such a long wait. I felt awful and vowed to never make the same mistake again. Next year, the turkey was ready early!

As we ramp up for Thanksgiving this year, I will be posting a couple of my favorite side dishes. Here is a great Brussels sprouts dish with an Asian twist. It is flavorful, has a hint of heat and different layers of texture. This will be a great addition to any Thanksgiving table.

Fried Brussels Sprouts and Shallots with Asian Dressing

Serving Size: 6-8 as a side dish

2 tablespoons of organic soy sauce
1 tablespoon of fish sauce (Three Crabs brand)
2 tablespoons of organic sugar
1 teaspoon of Asian chili paste (Sambal Oelek)
1 large clove of garlic, minced
1 tablespoon of lemon juice
3 shallots, thinly sliced
2 cups of vegetable oil (sunflower oil)
Sea salt
1 pound of Brussels sprouts, quartered
¼ cup of toasted sliced almonds

1. In a small saucepan, combine the soy sauce, fish sauce, sugar, chili paste, and garlic. Cook over medium heat until the sugar is dissolved and the sauce thickens a bit (about 5 minutes).
2. Remove the sauce from heat, add the lemon juice and set aside to cool.
3. Place 2 cups of oil in a wok or a deep fryer. Bring the temperature to 275°.

image
4. Add all the shallots at once and fry for about 8-10 minutes or until the shallots are golden brown.
5. Remove from the oil with a slotted spoon or spider strainer and place in a colander lined with paper towels. Sprinkle with sea salt and set aside.

image
6. Increase the heat of the oil to 350°.
7. Add ¼ of the Brussels sprouts to the oil and fry for about 3 minutes or until golden brown. Transfer to a colander lined with paper towels. Repeat this process 3 more times. (Make sure you bring the oil temperature back to 350° each time before adding the Brussels sprouts.)

image
8. Transfer all the fried Brussels sprouts to a large bowl. Add the toasted almonds.
9. Add 2 tablespoons of the sauce and toss to coat. Taste to see if it needs more sauce. If so, add one more tablespoon of the sauce and toss to coat.

image
10. Transfer to a serving bowl. Top with shallots and serve.