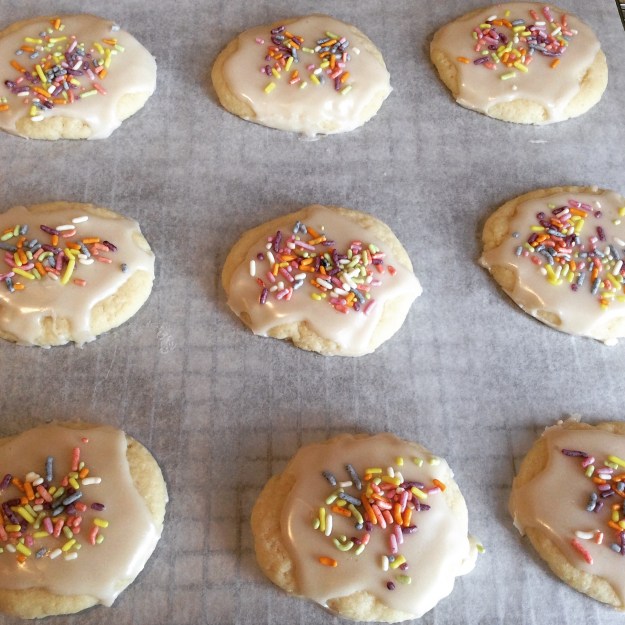
For this Easter, instead of making traditional vanilla iced sugar cookies, I created a cookie recipe based on one of my favorite flavors: almond. These cute iced almond cookies are moist, not too sweet and have a lovely almond flavor. In addition to almond extract, I added almond flour for more texture, and I also added natrural-dye sprinkles so the cookies will appeal to kids. Finally, this recipe only uses egg whites, which lightens the cookie dough. The recipe is very easy to follow and doesn’t even require a cookie-cutter!
If you love almond flavor, you’ll love these cookies. Enjoy and Happy Easter!
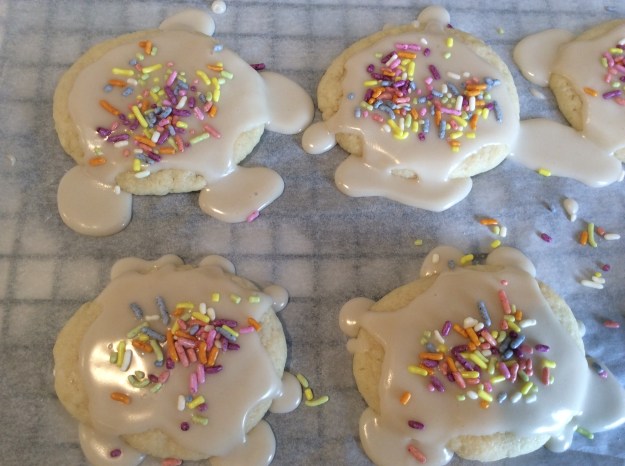
Almond Easter Egg Cookies
Yield: 1 dozen
3/4 cup of unbleached all-purpose flour
1/4 cup of almond flour
1/4 teaspoon of Kosher salt
6 tablespoons of unsalted butter, softened
1/3 cup of granulated sugar
1 egg white
1 teaspoon of almond extract
3/4 cup of organic confectioners sugar
1 tablespoon of whole milk
1 teaspoon of almond extract
India Tree natural dye sprinkles
1. Heat the oven to 375 degrees. Place a parchment paper on a cookie sheet. Set aside.
2. In a medium bowl, whisk the flour, almond flour and salt. Set aside.

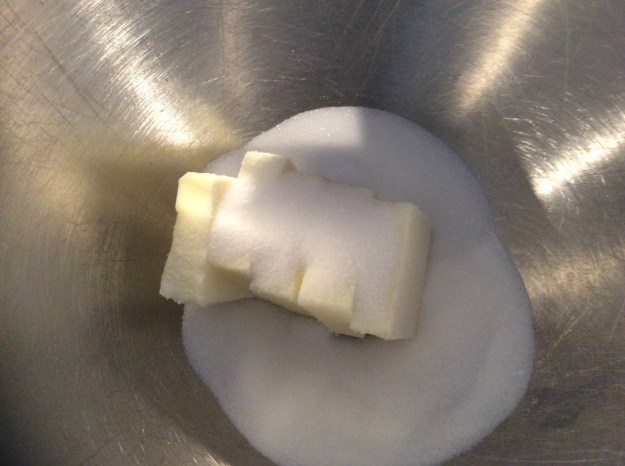
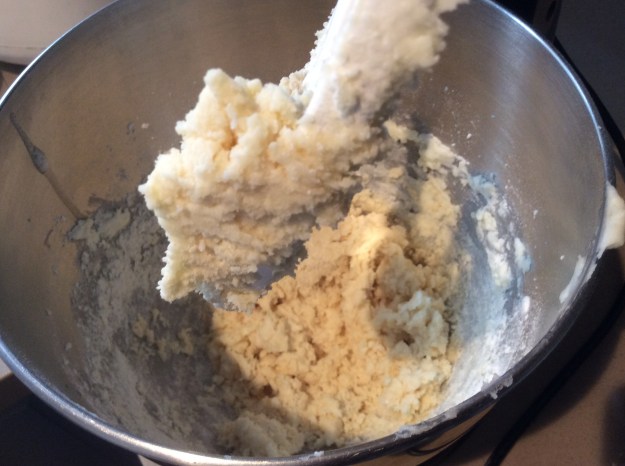
3. In a stand mixer with a paddle attachment, add the butter and sugar. Beat on medium until light and fluffy, about 3 minutes.
4. Meanwhile, whisk the egg white until frothy.

5. Add the beaten egg white and the almond extract to the butter and sugar. Beat until just combined.
6. Reduce the speed to low and add the flour mixture until just combined.
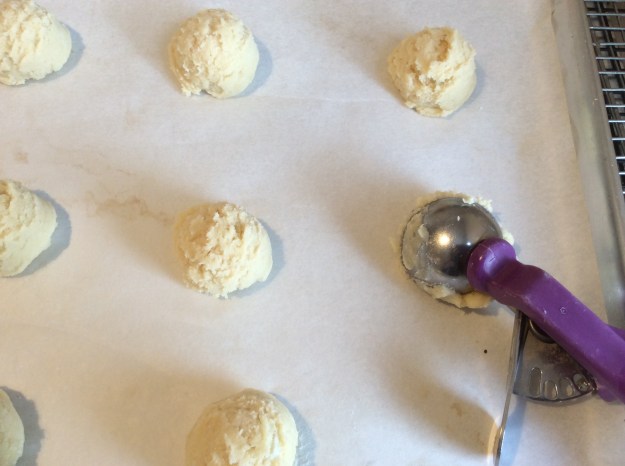
7. Using a 1 1/2 tablespoons scoop, portion out 12 balls on the cookie sheet.
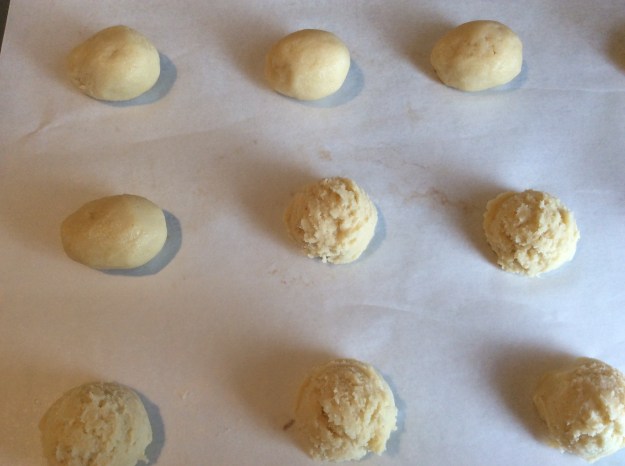
8. Roll each ball and shape to resemble a small egg.
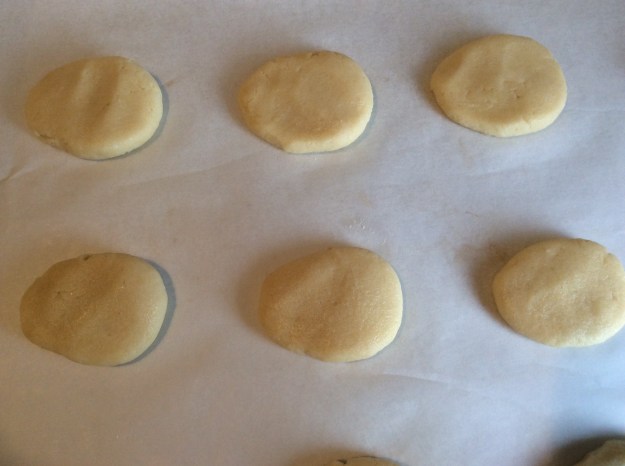
9. Using the palm of your hand, press down to flatten. Bake for 10-11 minutes.
10. Remove from the oven. Cool for about 10 minutes.

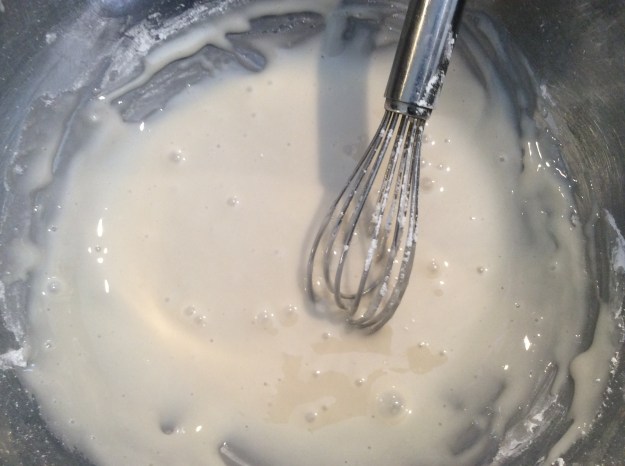
11. Meanwhile, whisk the confectioners sugar, milk, and almond extract to make the icing. Have your sprinkles ready.

12. Spoon some icing on each cookie and top with some sprinkles (You will want to add the sprinkles before the icing sets.)

13. Let the icing harden. Serve the cookies with cold milk, coffee, or tea.