One of my favorite culinary destinations is New Orleans, Louisiana. New Orleans is a melting pot of many immigrant cultures, but the French influence is quite apparent all around the city, but especially in the French Quarter. From the beignets at Cafe du Monde to escargot at Galatoire’s, the French culture is a major influence on their cuisine. And of course Mardi Gras is French for “Fat Tuesday”, the last day to eat rich and party before fasting for lent. Today, we celebrate Mardi Gras and it’s the perfect reason to share my gumbo recipe.
Gumbo is one of my favorite New Orleans dishes because it is delicious, spicy, hearty and full of great flavors. The key to a good gumbo is slow-cooked dark roux (a thickener made with butter and flour). In this recipe, the roux takes about an hour to cook. The original recipe for Gumbo Ya-Ya was created by the late Paul Prudhomme, who was an amazing New Orleans chef. This gumbo has chicken and andouille sausage (a firm Cajun sausage full of great spices), but if you can’t find andouille sausage, you can alway substitute Louisiana hot or mild links. This is not a quick recipe, but completely worth it in the end. I aways reserve making gumbo for special occasions and there’s no better time than Mardi Gras. Enjoy!
Gumbo Ya-Ya
Serving Size 4-6
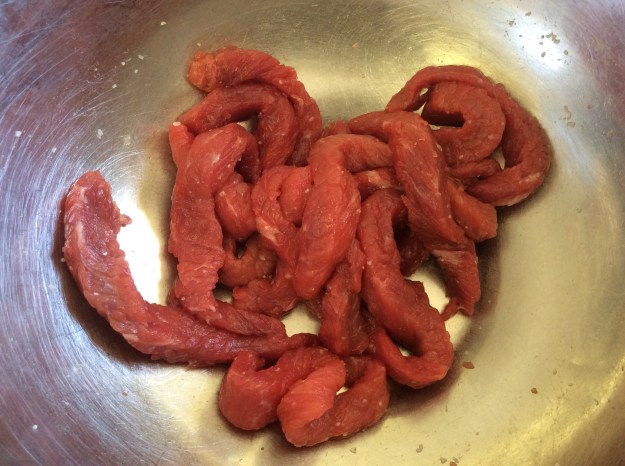
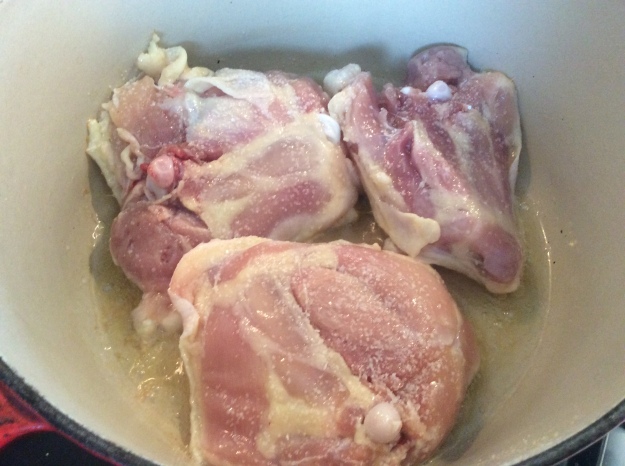
2 lbs of organic chicken thighs
Kosher salt
1 tablespoon of sunflower oil or other neutral oil
10 cups of water
1 carrot, cut into 3 pieces
1 stalk of celery, cut in 3 pieces
1 onion, quartered
1 bay leaf
1/2 cup (1 stick) of unsalted butter
3/4 cup of Sonora wheat or unbleached all-purpose flour
1 bell pepper, small dice
1 sweet onion, small dice
1 celery stalk, small dice
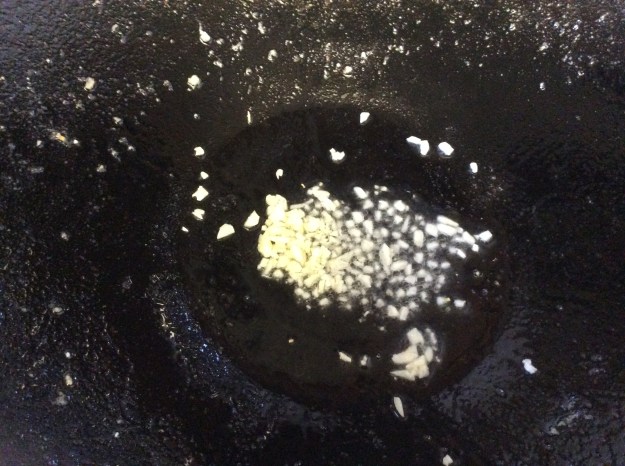
2 garlic cloves, minced
1/2 teaspoon of fresh thyme leaves, finely chopped
1 tablespoon of Creole Seasoning (can be store bought)
1/2 teaspoon of ground black pepper
1/2 teaspoon of chili powder
1/4 teaspoon of dried hot red pepper flakes
1 bay leaf
2 teaspoons of Kosher salt, more to taste
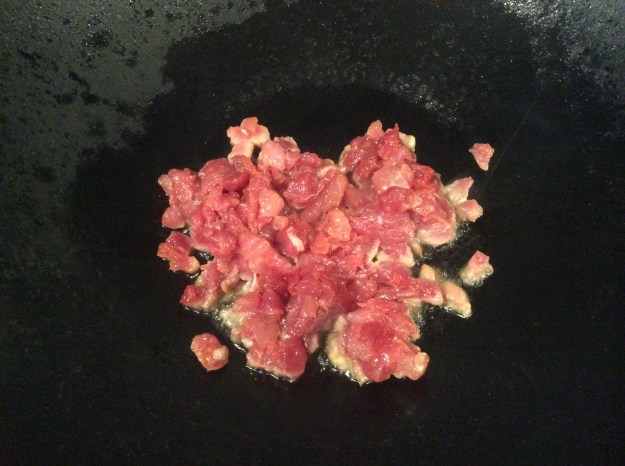
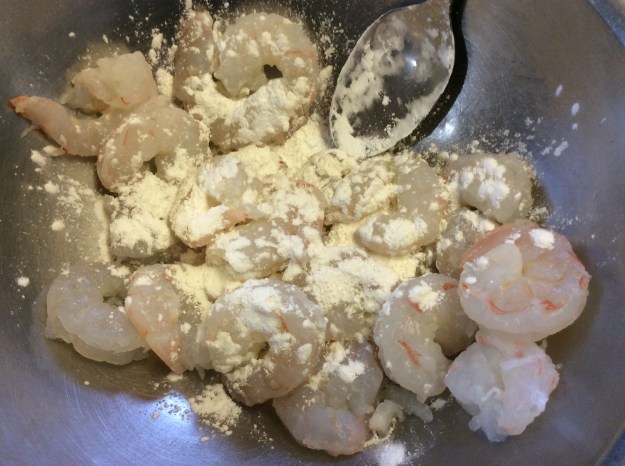
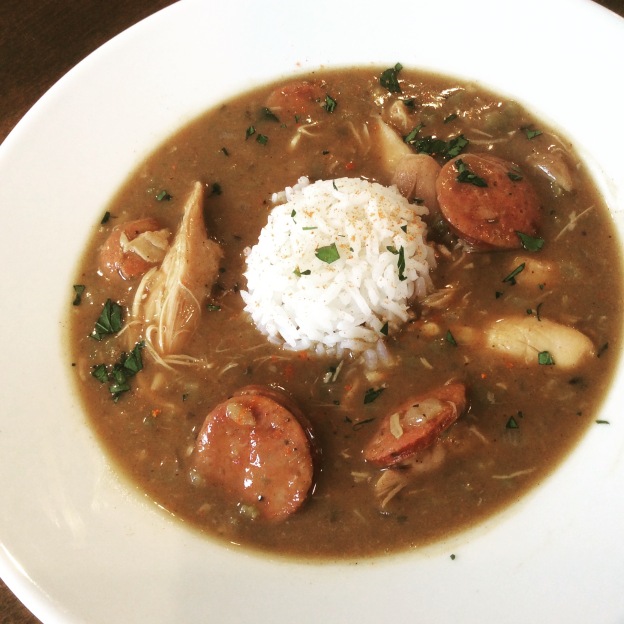
2 andouille sausages or Louisiana smoked hot links (about 10 ounces), cut into 1/4 inch-thick slices
1/2 teaspoon of file powder
3 cups of steamed long-grain rice, converted
Chopped parsley
Louisiana hot sauce for serving (optional)
1. Sprinkle the chicken thighs with a generous amount of Kosher salt on the skin side. Heat a large pot, preferably enamel coated cast-iron, to medium-high heat. Add the oil. Place chicken thighs in the pot, skin-side down. Sprinkle the other side of the chicken with more Kosher salt. Sear the chicken skin until it gets golden and crispy (about 5-7 minutes). Turn the chicken thighs over and cook for another 5 minutes.
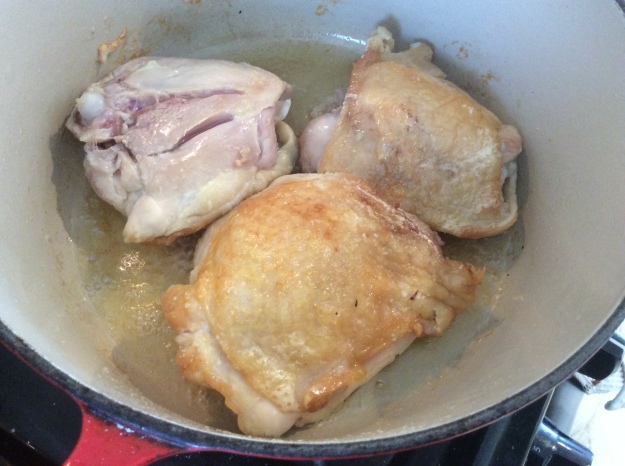
2. Remove the chicken thighs and place on a plate. Pour the chicken grease into a small Pyrex bowl or a heat-proof bowl and reserve for later. You should have about a 1/4 cup.
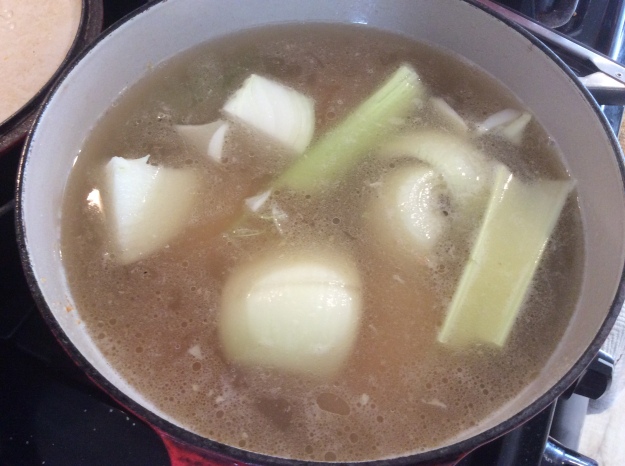
3. Add the chicken thighs back to the pot, along with 10 cups of water, the carrots, celery, onion and bay leaf. Bring to a boil. Then reduce to a low simmer and place the lid on top. You will braise the chicken for about an hour.
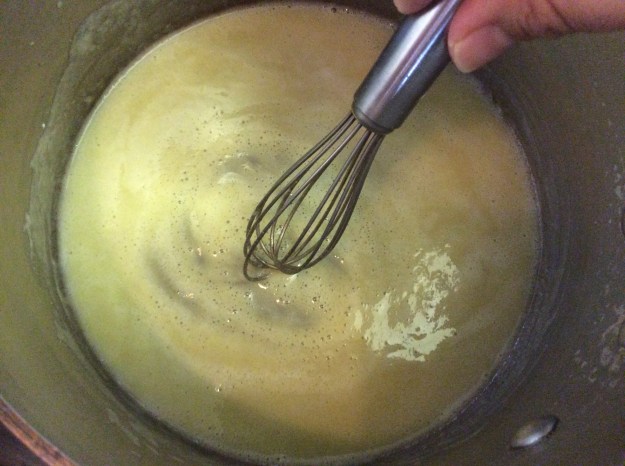
4. Meanwhile, heat another large pot to low heat. Add the butter and the reserved chicken grease into the pot. Once the butter is completely melted, gradually add in the flour while stirring with a wooden spoon. You will continue to stir and cook the roux for about 1 hour until you get a dark chocolate color. Don’t get tempted to leave the roux unattended. It is important to constantly stir throughout the whole process.


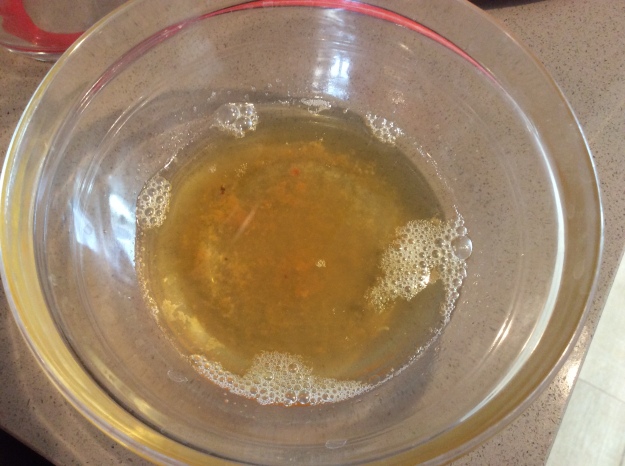
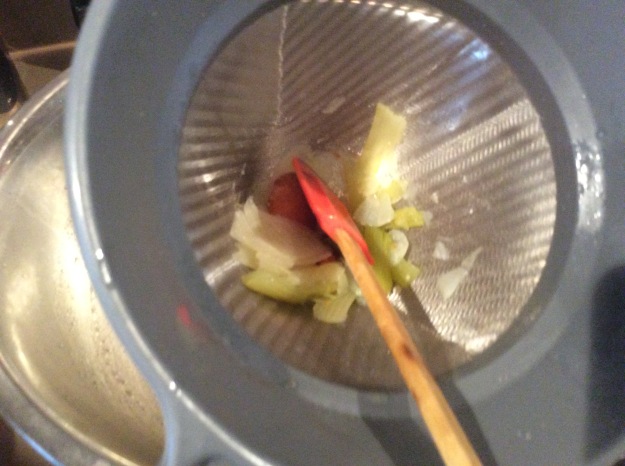
5. Check on the chicken. It should be tender, almost falling off the bone. Remove the chicken thighs using tongs, place on a plate and cover with plastic wrap. Quickly strain broth through a chinois (or a fine mesh sieve) into a large bowl and reserve the broth for the gumbo.
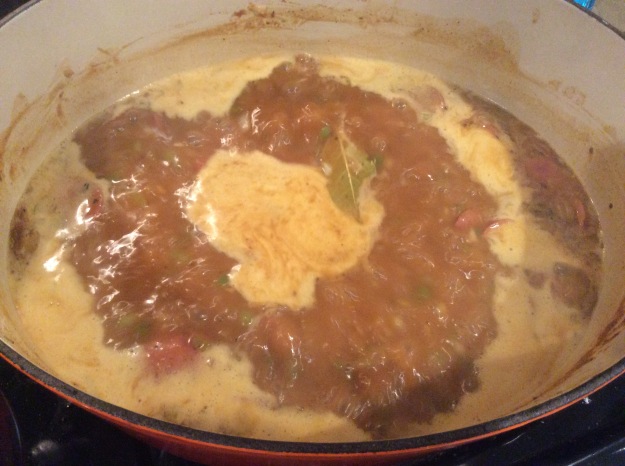
6. Once the roux is nice and dark, add all the diced bell peppers. Stir for 1 minute. Add the diced onions and celery, stir for another minute. Add the garlic and chopped thyme and stir for 15 more seconds.

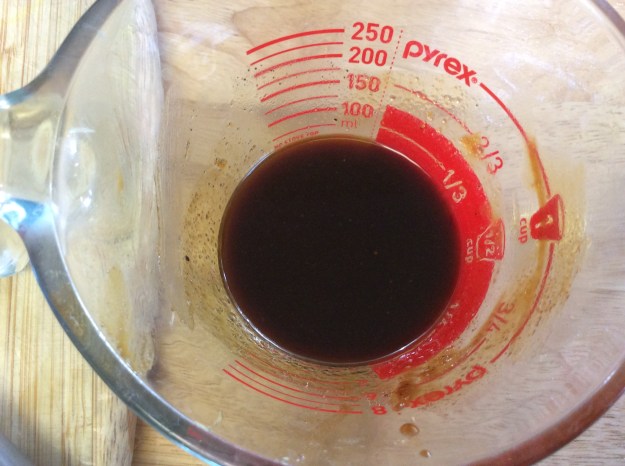
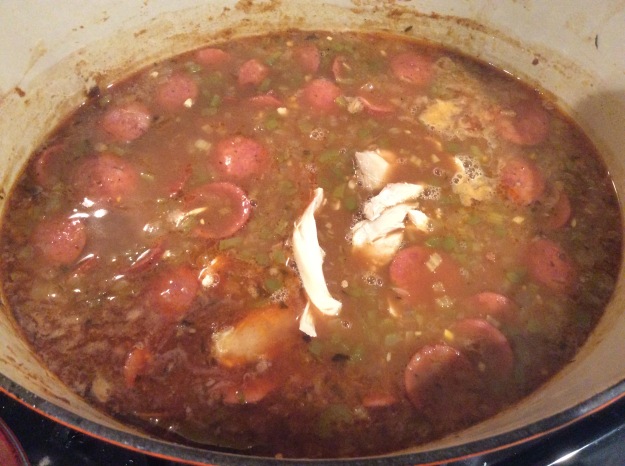
7. Slowly add the broth to the roux mixture while stirring, two cups at a time, for a total of eight cups. (Save any remaining broth to thin out the gumbo later.) Add all the dry seasoning, bay leaf and the andouille sausage. Give it a good stir and bring to a boil.
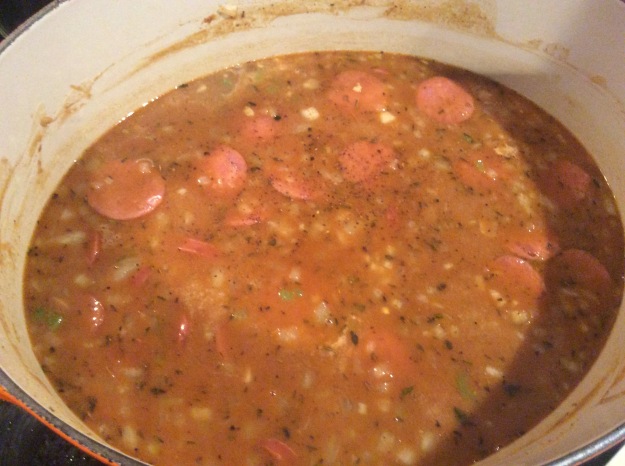
8. Reduce heat and simmer uncovered for 30 minutes, stirring occasionally. Make sure you skim the fat on the surface.
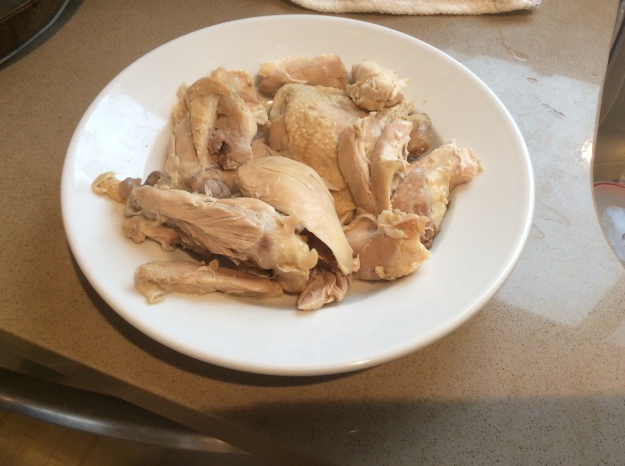
9. While the gumbo is simmering, take the braised chicken and remove the meat off the bone, pulling it into to bite-sized shreds. Discard the bones.
10. After the gumbo has simmered for 30 minutes, add the file powder and the shredded chicken pieces. Add more broth or water if the broth is too thick. Give it gentle stir. Simmer for another 20 minutes.
11. Taste for seasoning and adjust as need.
12. To serve, ladle the gumbo into shallow bowls. Add some steamed rice into the gumbo and sprinkle some chopped parsley on top. Serve with your favorite Louisiana hot sauce.