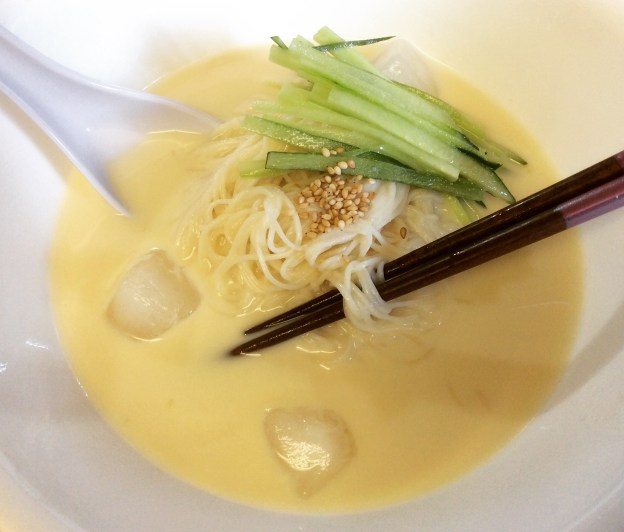
Koreans love cold noodle soups during the summer. One of the most popular Korean cold noodle dishes is naeng myun, which is made with beef broth and buckwheat noodles. Kongguksu, a distant cousin of naeng myun, is made with chilled soy milk and somen noodles. Every summer, when my mom made kongguksu, it always put a smile on my face. I’ve had many versions of kongguksu and have yet to try one better than my mom’s. Most restaurants blend the cooked soybeans but don’t strain it, resulting in a thick, clumpy soup, but my mom adds an extra step and strains the puréed beans in a cheesecloth, yielding a smooth and silky broth. After learning how to prepare kongguksu from my mom, I wrote down the recipe and added it to my repertoire. Note that the recipe requires the soybeans to soak overnight, so please add a day to your prep time.
For those who are only interested in the homemade soy milk portion of the recipe, you will end up with with two quarts. You can easily cut this recipe in half to make 1 quart. To make a sweet soy milk for use in cereal or coffee, add a little superfine sugar and vanilla extract. To make Taiwanese salty soy milk, heat the prepare soy milk, add pork song, Chinese donuts, preserved vegetables, fried shallots, and scallions. Enjoy!
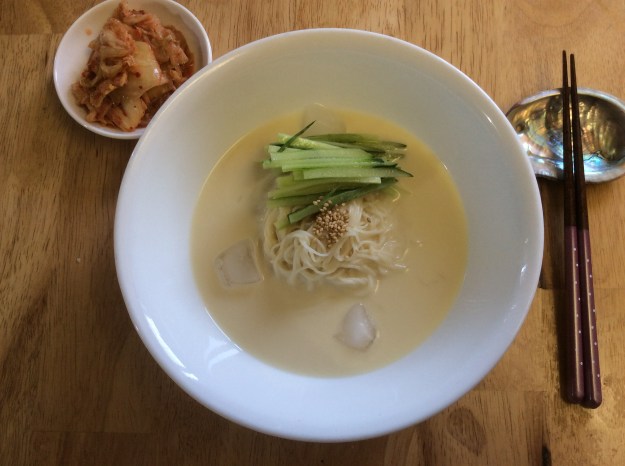
Kongguksu (Chilled Soy Milk Noodle)
Yield: 2 quarts of soy milk for 4 bowls of noodles.
1 pound of dried organic soy beans*
Superfine sea salt, to taste
1 package of organic somen noodles, 9.5 ounces*
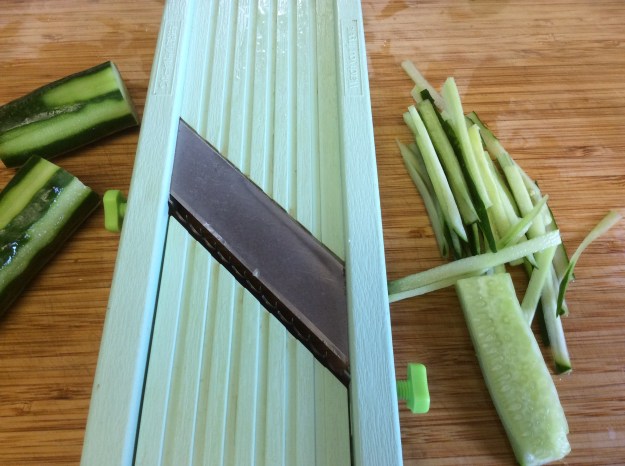
1 large Japanese cucumber
2 teaspoons of toasted sesame seeds*
12 small ice cubes
Kimchee for serving
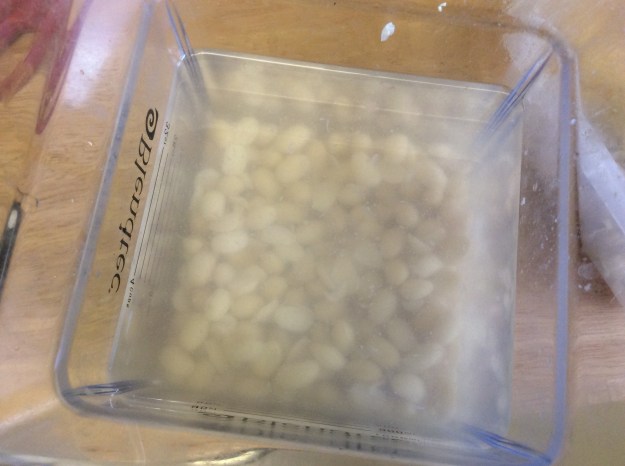
1. Soak the soybeans in water overnight in 10 cups of water.

2. The next morning, strain the soybeans and rinse well.


3. Put the soy beans in a large pot and place enough cold water to cover 1 1/2 inches above the beans.

4. Bring to a boil and skim the impurities during the boiling process.

5. Reduce to a simmer. Cook the beans uncovered for about 25 minutes.
6. Turn off the heat and leave the pot sitting on the stove top for 10 more minutes.
7. Strain the beans and give them a quick rinse.
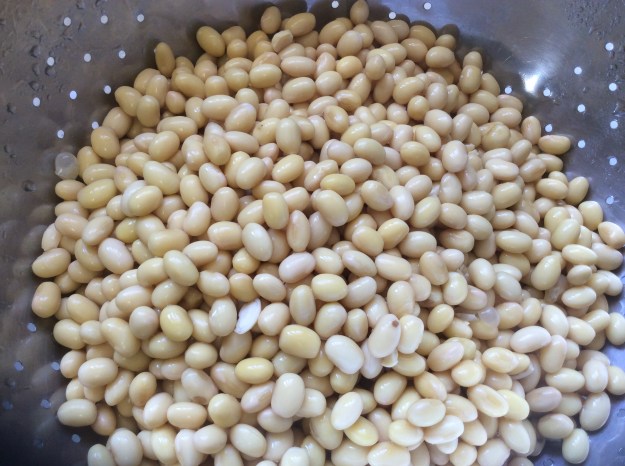
8. Rub the beans together and try to remove as many skins as possible.


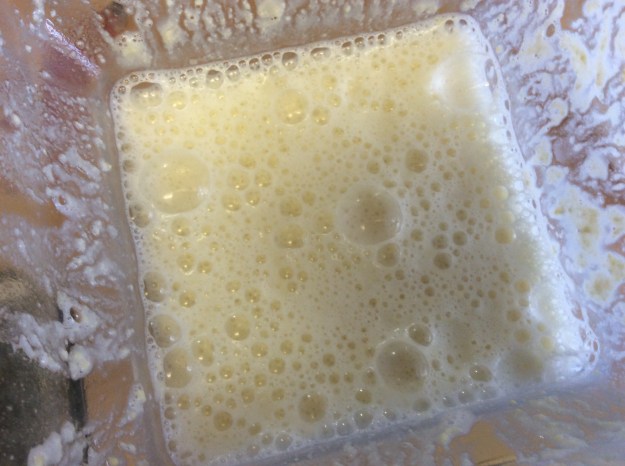
9. Place 2 cups of beans and 3 cups of water in a blender and purée on high until smooth. (This will be about 1/3 of the cooked beans.) Transfer the puréed beans to a large bowl and repeat this process 2 more times.
10. Pour the puréed soybean liquid into a chinois or cheese cloth over a large bowl. Strain, using a large paddle or spoon to push down the solids to push out as much of the liquid as possible. Discard the solids.
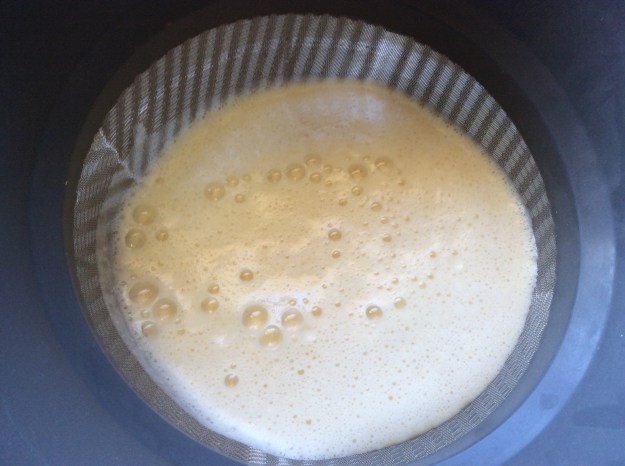


11. You should have about 2 quarts of soy milk. Add sea salt to taste.

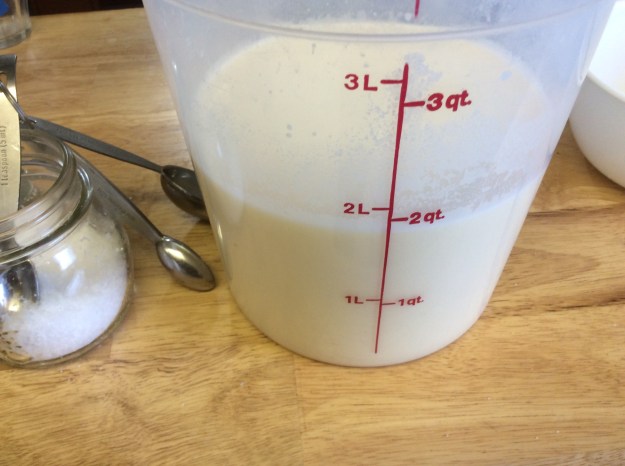
12. Cover and store the soy milk in the refrigerator until it gets cold. You can store the salted say milk in the refrigerator for up to 5 days.
13. Cut the cucumber into 2-inch strips using a mandolin, and discard the center with the seeds. Set aside.
14. Bring a large pot of water to boil. Add the somen noodles and boil for 2 minutes. Rinse noodles in cold water.

15. To assemble the kongguksu, divide the noodles equally in 4 large bowls. Ladle some soy milk over the noodles. Place 3 ice cubes and some sliced cucumbers into the bowl and sprinkle in 1/2 teaspoon of sesame seeds. Serve with kimchee.

*You can find these ingredients at most Korean or Japanese markets.


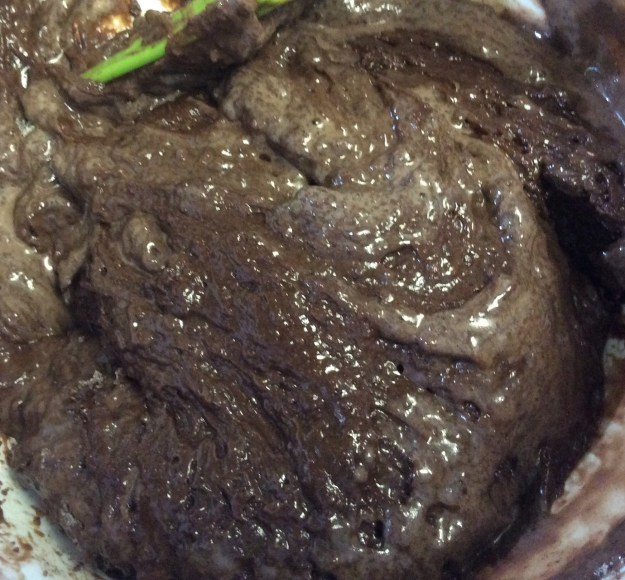
 6. Set the mixer on low speed. Slowly add the in the dry ingredients until just a few streaks of flour is visible. Turn off the mixer and release the bowl.