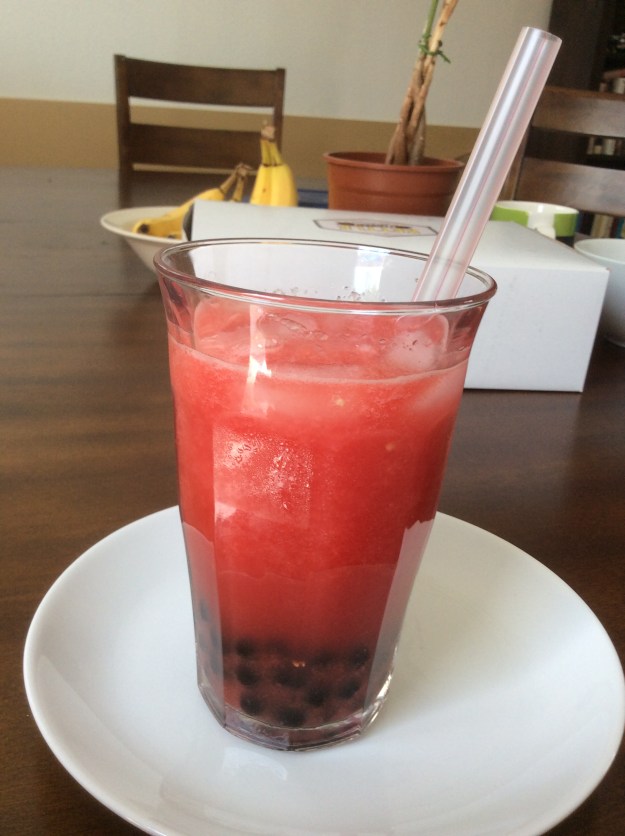
Boba drinks (also referred to as bubble tea) are popular refreshing Taiwanese beverages with black tapioca pearls. These dark pearls are the size of little marbles with a chewy, gummy texture and come with oversized straws to accommodate the little balls. The boba pearls are often made of sweet potato starch and provides texture to these drinks. They are served in iced teas, iced coffee, fruit juices, slushies, and smoothies. These drinks are so popular in the San Gabriel Valley, you can find a boba cafe on every other block. Popular boba cafes like Tea Station, Ten Ren, and Half & Half will have lines out the doors on hot summer nights. I’m guilty of waiting in one of those ridiculous lines.
My first introduction to a boba drink was back in the early 1990’s when my friend treated me to a delicious Taiwanese meal. Back then, boba drinks were only available in select restaurants and not in specialty cafés. One of the few places that served boba was a small Taiwanese resaruant called Old Country Café in Alhambra, California. They served delicious Taiwanese food and their specialty drink was the watermelon boba, and I spent many weekends during my college days visiting the Old Country Café. Now that the summer is here and the watermelon is sweet, I thought it would be a perfect time to share my watermelon boba recipe. It tastes just like the ones I’ve had at Old Country Café – refreshing and delicious. Enjoy!
Watermelon Boba
Yield: 6 drinks
1 cup of organic sugar
1 cup of water
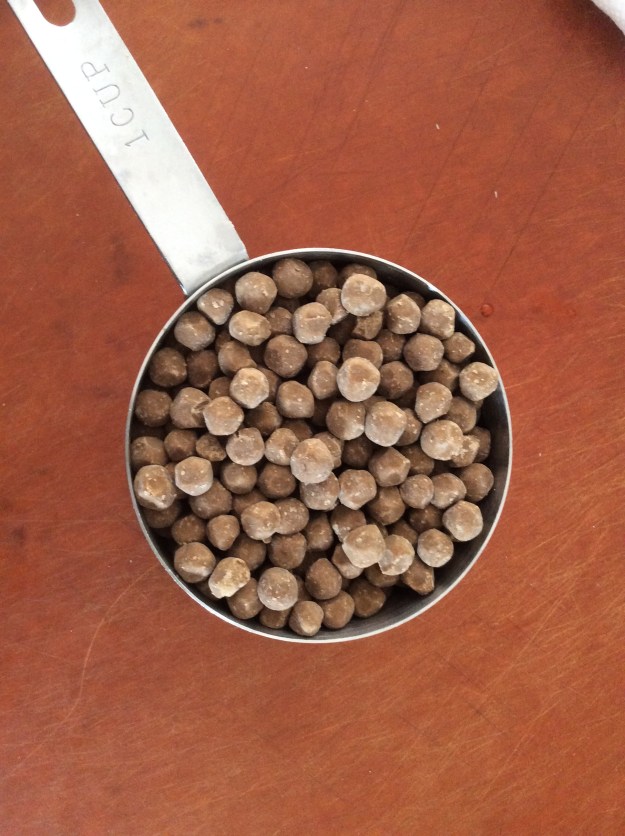
1 cup of boba pearls (large tapioca pearls)*
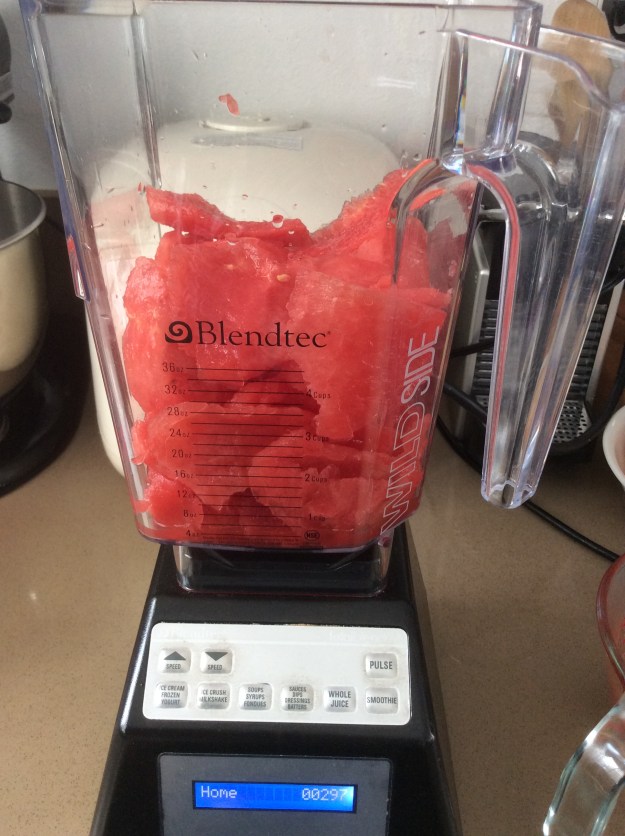
1 small watermelon (or 8 cups of chopped watermelon chunks)
Pinch of sea salt
Ice cubes
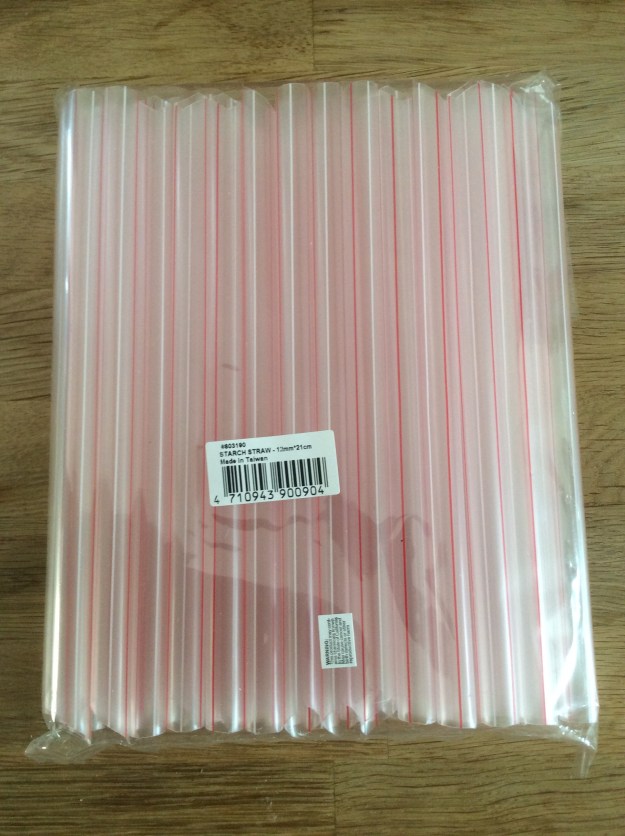
Boba straws*
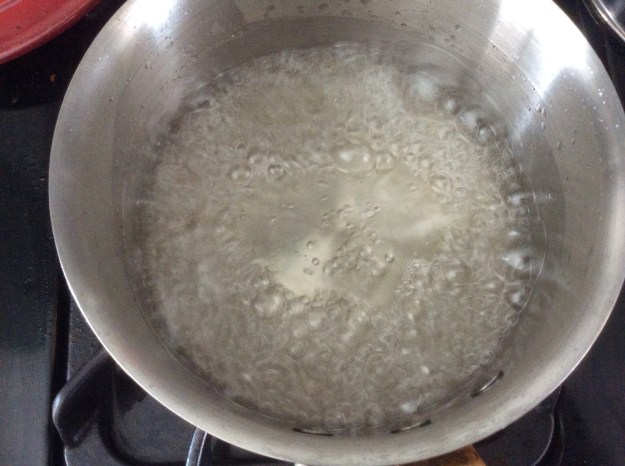
1. To make the simple syrup, add the sugar and 1 cup of water to a small sauce pan and bring to a boil until the sugar is completely dissolved, about 5 minutes. Transfer to a bowl and place in the refrigerator until ready to use.

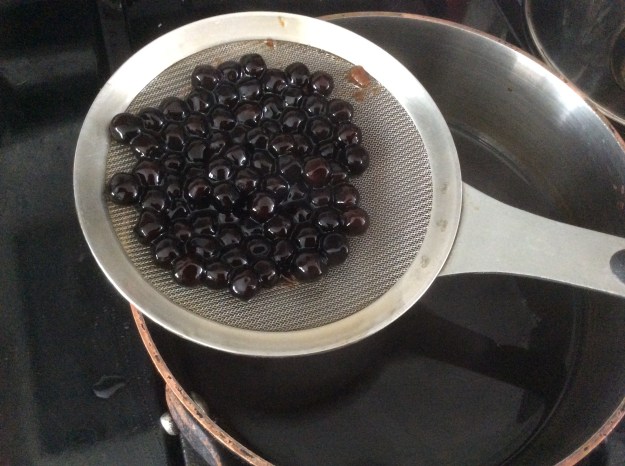
2. To cook the boba, bring 6 cups of water to a boil in a large sauce pan over medium-high heat. Once the water boils, add the boba pearls and give it a gentle stir. Once the boba pearls float to the top, reduce the heat to a simmer.
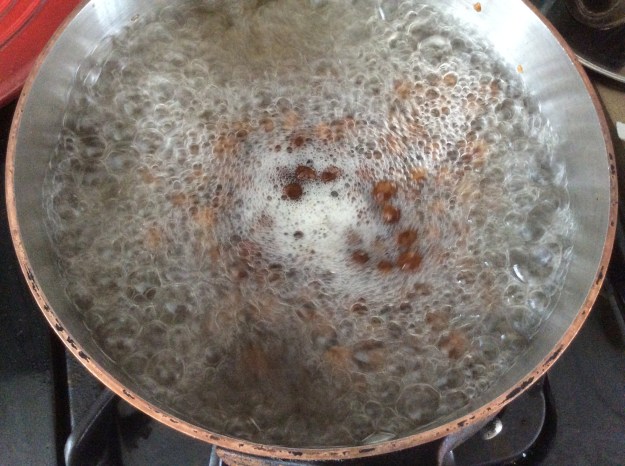
3. Cook for about 20 minutes, stirring every 3 minutes. Make sure to stir gently so as not to break up the pearls.

4. Turn off the heat and let sit for about 25 minutes.
5. Meanwhile, make the water melon juice. Take out the simple syrup from the refrigerator. Add about half of the watermelon pieces, 1/4 to 1/3 cup of the syrup (depending on your preference for sweetness and the ripeness of the watermelon) and a pinch of salt to a blender. Press the smoothie button, or blend until smooth. Pour into a pitcher.
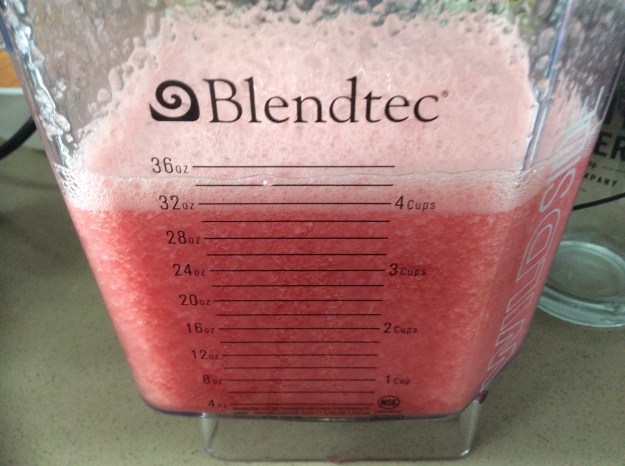
6. Repeat the process with the remaining watermelon pieces.
7. To assemble, using a handheld strainer, remove the boba out of the water. Divide among 6 large glasses.

8. Add some ice cubes to each glass.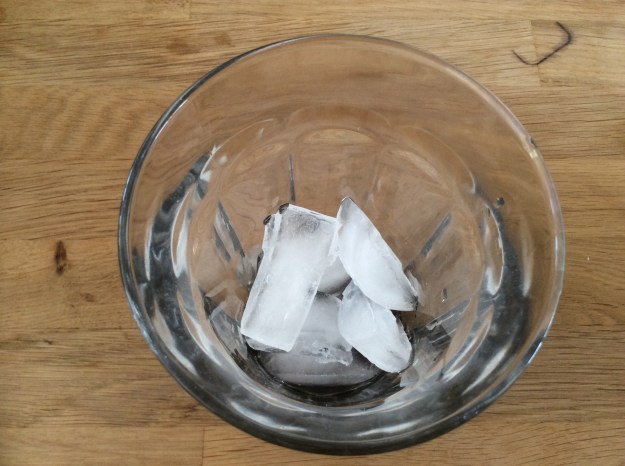
9. Give the watermelon juice a good stir and pour evenly among the 6 glasses. Add the boba straw and serve.

*You can find boba pearls and boba straws at most Chinese supermarkets. Note: If you purchase quick cooking boba, follow the instructions on the package.