Category Archives: Cakes

Chocolate Almond Madeleines

When I was in culinary school, the baking course was my least favorite class. My instructor was a wonderful teacher and incredibly talented, but the pace was very slow and I wasn’t much of dessert fan then. That quickly changed after I had my first child. I developed an insatiable sweet tooth and was craving pastries all the time. Not just any pastries, mind you, but the expensive kind from French Patisseries: macarons, croissant aux amandes, and financiers. The common ingredient in all these pastries is almond flour. As I have mentioned in my previous posts, I love almond-flavored desserts. Today, I share a madeleine recipe with all the flavors of a financier – brown butter almond cakes.

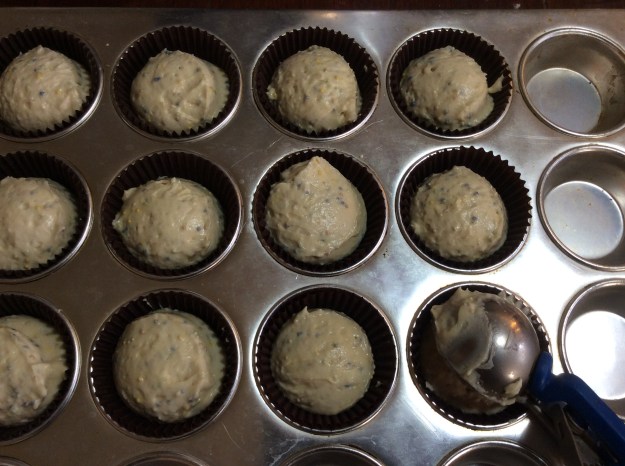
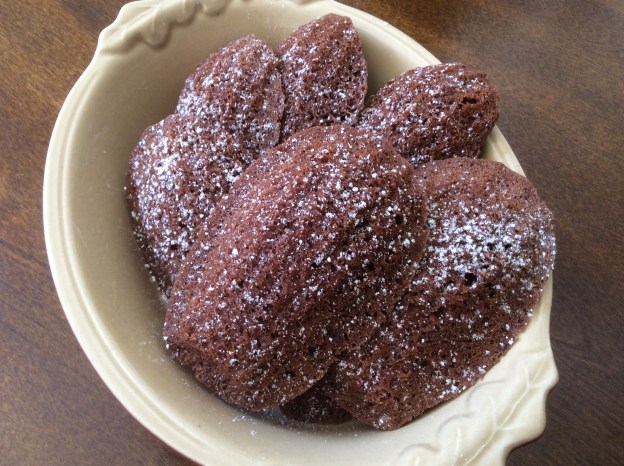
These little mini cakes in madeleine molds are light and airy with crispy edges from the egg whites. They are also nutty from the ground almonds and the brown butter, and the cocoa powder takes it up another notch. Essentially, these are financiers in fancy molds. These little cakes will not have the traditional Madeleine hump so they will be done when the top is no longer shiny. If you don’t have madeleine pans, you can bake these in mini muffin tins. The texture will be a little denser, but still just as delicious. Enjoy!

Chocolate Almond Madeleines

Yield: 36 little cakes​

1 stick of unsalted butter (1/2 cup)
1/3 cup of unbleached all-purpose flour
2/3 cup of Super-Fine Almond Flour, like Bob’s Red Mill
2 tablespoons of Dutch processed cocoa powder (preferably Valrhona)
1 ½ teaspoons of baking powder
¼ teaspoon of flaky sea salt
2/3 cup of egg whites at room temperature, (about 4 large egg whites)
¾ cup of granulated sugar
2 teaspoons of vanilla extract
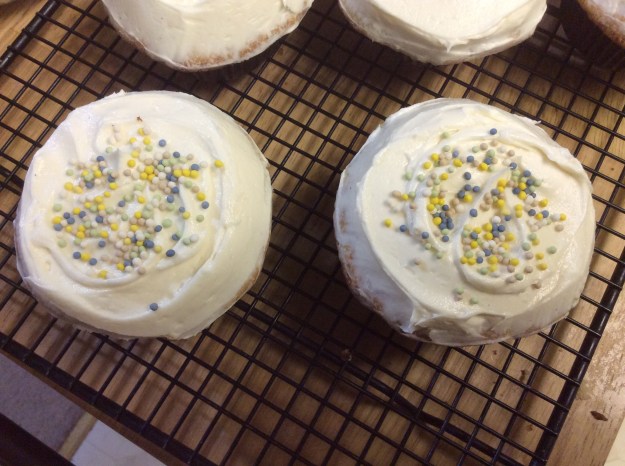
Confectioner’s sugar for dusting, optional
Baking spray
Madeleine molds or mini muffin tins

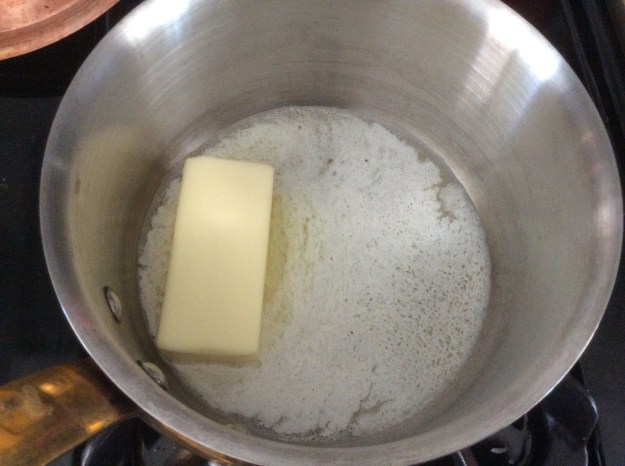
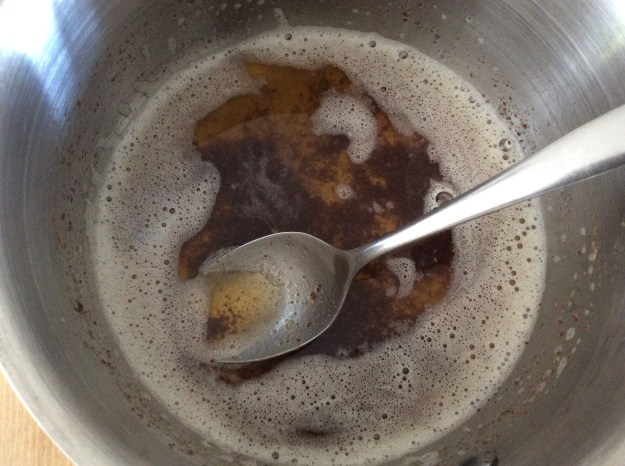
1. Add butter to a small sauce pan and cook at medium heat for 5-7 minutes, stirring occasionally. You want to keep a watchful eye until you see small brown specks on the bottom of the pan. It will have a nice nutty aroma. Once you hit this point, you want to remove the pan off the burner and transfer to a bowl to stop the cooking process. Set aside.

IMG_5981IMG_5982

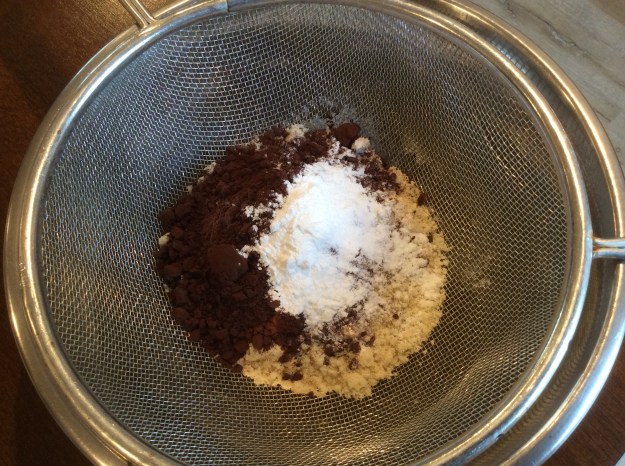
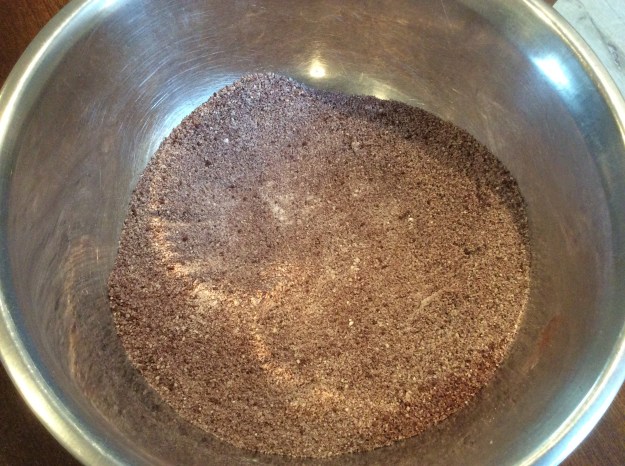
2. Sift the flour, ground almonds, cocoa powder, and baking soda  in a seive over a medium bowl to remove any lumps from the ground almonds and cocoa powder. Whisk and set  aside.

IMG_6058IMG_6060

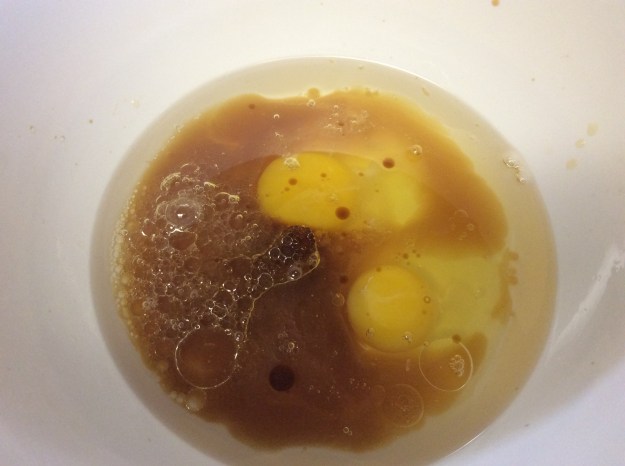
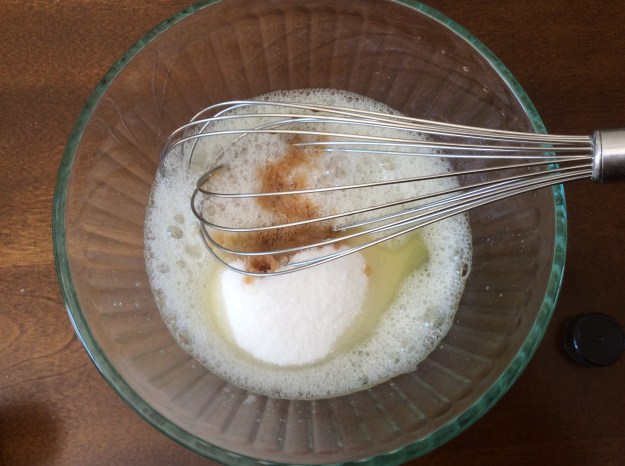
3. In a medium mixing bowl, whisk the egg whites and salt until frothy.

IMG_5988

4. Add the sugar and vanilla extract and whisk until just combined.

IMG_5990

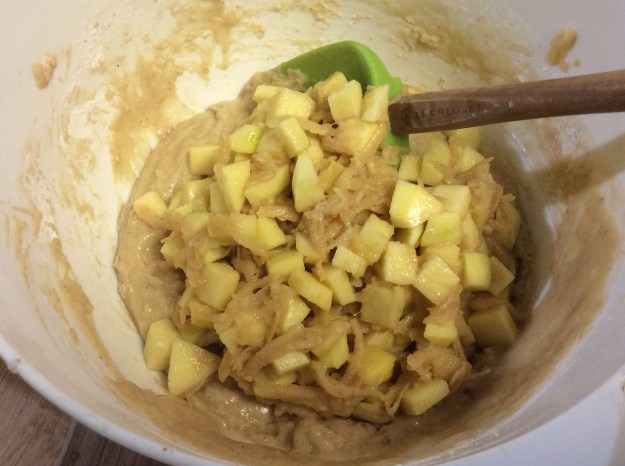
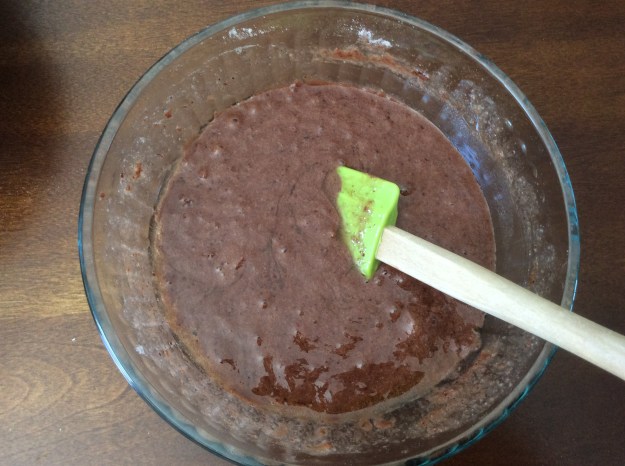
5. Using a rubber spatula, fold in the flour mixture until just combined.

IMG_5991IMG_5992

6. Take the brown butter and pour it in the batter, folding gently until just combined.

IMG_5993IMG_5994

7. Cover and place in the refrigerator for at least 2 hours.

IMG_5996.JPG

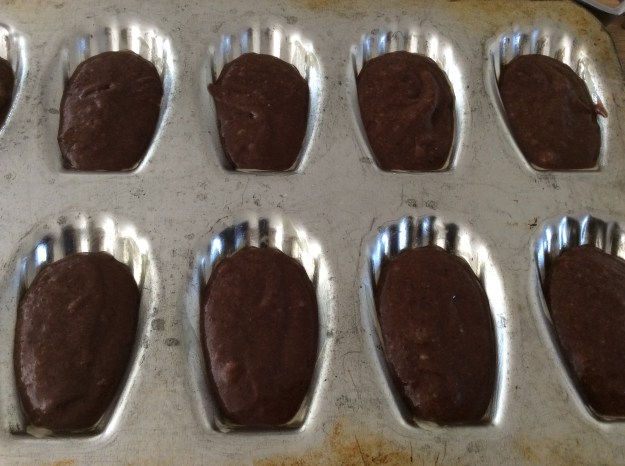
8. Heat the oven to 350 degrees. Grease the madeleine molds with the baking spray.

9. Taking a 1 1/2 tablespoon scoop, measure out each portion. You can also use a piping bag if you prefer.

IMG_5998

10. Bake for about 10-12 minutes until the individual cakes are cooked through.

IMG_6001

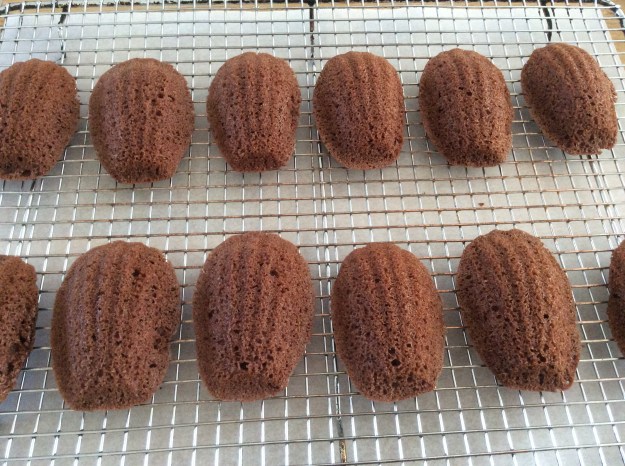
11. Cool for 5 minutes. Dust with confectioner’s sugar. Serve with coffee or tea. These are best eaten the same day, but you can store any leftovers in a air tight container for up to 3 days.

IMG_6007

Advertisement

Birthday Cupcakes with Organic Sprinkles

Whenever my 4-year old sees sprinkles on donuts or cookies at bakery, I can’t steer him away from them. I make suggestions for other healthier options, but he’s insistent on the confetti-speckled treats. He, along with most kids, are drawn to the cute little, colorful dots. The sprinkles make kids smile from ear to ear. As a mom who’s constantly looking for healthier alternatives, I try to avoid foods with artificial coloring, so I recently started using sprinkles with natural food coloring. The colors are derived from natural vegetable dyes. Although the colors are little more pale and not as vibrant, the kids don’t notice the difference.

What better time than my son’s 9th birthday to use these sprinkles. They are perfect toppers and decoration for birthday cupcakes. Here is a simple birthday cupcake recipe using the best ingredients. The frosting is light and not too sweet and the cake is moist and tender. The sprinkles add a nice crunchy texture. These cupcakes are popular with the kids, but the leftovers were a hit with the adults at my office as well. Enjoy!

 
Birthday Cupcakes with Organic Sprinkles

Yield: about 1 dozen

1 1/2 cups cake or pastry flour
2 teaspoons of baking powder
1/2 teaspoon of sea salt
6 tablespoons of unsalted organic butter, at room temperature
1/2 cup of organic sugar
2 large organic egg whites
1 large organic egg
2 teaspoons of vanilla extract
1/3 cup of low fat organic milk
Vanilla bean frosting (recipe below)
3 oz of organic or natural dye sprinkles*

1. Heat oven to 350°. Line a muffin tin with 12 cupcake liners.

2. In a medium bowl, add the flour, baking powder, and salt. Whisk to combine. Set aside.

image

3. In a stand mixer with a paddle attachment, beat butter and sugar on medium speed for 2 minutes. Scrape the sides.

image

4. Reduce the speed to low. Add the egg whites one at a time, and then the whole egg, beating well between each addition. Add the vanilla extract. Scrape.

image

5. Alternate 1/2 of the flour and then 1/2 of the milk. Repeat. Stop the mixer once the batter is just combined.

image

6. Remove the bowl off the mixer. Fold in 2 oz of the sprinkles.

image

7. Using a large ice cream scoop, divide the batter into the cupcake liners. (Make sure you level out the batter evenly to the top, no more and no less to ensure perfect size for icing.)

image

8. Bake for 18 to 20 minutes until the toothpick comes out clean.

image

9. Cool on a wire rack until cool before frosting.

image

10. Using an off-set spatula, spread a generous amount of vanilla bean frosting on each cupcake. Decorate with the remaining sprinkles.

image
Vanilla Bean Buttercream Frosting

1 cup of unsalted organic butter, at room temperature
1/2 teaspoon of Kosher salt
1/4 vanilla bean, seeds scraped
3 cups of organic powdered sugar
2 teaspoons of vanilla extract

1. On a stand mixer on medium speed, add the butter, salt and vanilla bean seeds. Beat for 2 minutes.

imageimage

2. Reduce the speed to the lowest setting and add the powdered sugar, 1/2 cup at a time, making sure that the sugar is incorporated before adding the next 1/2 cup.

image

3. Add the vanilla extract and increase the speed to medium and beat until cream about 1-2 minutes. The frosting should be light and fluffy.

image

4. Place in an airtight container and keep at room temperature until ready to use.

image

*India Tree and Sprinkels brand offers sprinkles with natural dyes.

imageimage

Apple Cider Breakfast Cake

Growing up and living in Southern California, it feels like summer all-year round, but my favorite season is fall, and it’s such a treat to see fall foliage when I visit my friends in New Jersey and Delaware. I recently learned of Oak Glen, a small section of Yucaipa just an hour and a half away from LA, where you can experience fall like on the East Coast. Oak Glen is famous for their apple orchards, and the leaves on the apple trees transform to various shades of autumn. Visitors from all over Southern California make the trek this time of year to go apple picking and purchase delicious apple cider. My trip yesterday inspired me to make a breakfast cake using the apples from their farm.

This breakfast cake, similar to coffee cake, has layers of apple flavors with grated apples, chopped apples and apple cider. You also taste the lovely warm spices of fall like cinnamon, nutmeg, and cloves. The cake is incredibly moist with a nice crispy cinnamon and sugar topping. It’s perfect for breakfast, bunch or an afternoon snack and pairs well with hot apple cider or coffee. Enjoy and Happy Fall!

Apple Cider Breakfast Cake

Serving Size: 9 slices

1 2/3 cups of unbleached all-purpose flour
3/4 cup of granulated sugar
1 teaspoon of baking powder
1/2 teaspoon of baking soda
3/4 teaspoon of Kosher salt
1 teaspoon of ground cinnamon
1/4 teaspoon of freshly grated nutmeg
1/8 teaspoon of ground cloves
1/8 teaspoon of ground allspice
2 large eggs
1/2 cup of neutral oil like sunflower or organic canola
1 teaspoon of vanilla extract
1/2 cup of fresh-pressed apple cider*
1/2 cup of grated apples (Pippin, Fuji, Pink Lady or your favorite baking apple)
2 cups of diced apples, 1/2 inch (same apple type as above)

Topping
2 tablespoons of granulated sugar
1 1/2 teaspoons of cinnamon

1. Heat the oven to 325°. Grease a 9 x 9 square a pan with cooking spray. Set aside.

2. In a medium bowl, add the flour, sugar, baking powder, baking soda, Kosher salt, cinnamon, nutmeg, cloves, allspice. Whisk and set aside.

image

3. In a large bowl, add the eggs, oil, and apple cider. Whisk well.

image

4. Add in the flour and sugar mixture to the wet ingredients. Fold in with a rubber spatula until only a few streaks of flour are visible.

image

5. Add the grated and diced apples and gently fold to combine. Don’t over mix.

image

6. Pour the batter into the greased baking pan.

image

7. Whisk the topping ingredients in a small bowl. Sprinkle evenly on top of the batter.

imageimage

8. Bake in the oven for about 40- 45 minutes. Insert a toothpick in the center of the cake to test for doneness.

image

9. Place the cake on a wired rack to cool for at least 20 minutes before slicing. Serve warm with a cup of hot apple cider or coffee. Enjoy.

image

*You can find fresh-pressed apple cider at your local apple farm or farmers market during the fall. You can substitute store-bought cider if fresh-pressed Apple cider isn’t available.

image

Olive Oil Cake with Candied Orange Slices


One of my favorite restaurant desserts is the Olive Oil Cake at Union Restaurant in Pasadena. It’s not fancy or complicated, yet it tastes so good. It’s the dessert you think about once you leave the restaurant!

What makes this dessert so special is the flour that they use. The restaurant takes pride in using locally-milled Sonora Wheat Flour from Grist and Toll. Here is my copycat version of the dessert I love so much. Enjoy!

Olive Oil Cake with Candied Orange Slices
Serves 8-10 

2 ½ cups Sonora Wheat flour (or unbleached AP Flour)

1 ½ teaspoons baking powder

½ teaspoon of kosher salt

¾ cup of organic sugar

Zest of 1 large orange

3 extra-large eggs (at room temp, beaten)

1 cup of extra virgin olive oil

¾ cup of low-fat milk

Juice of 1 orange (about ¼ cup)

1 teaspoon of vanilla extract

Candied orange slices (recipe link) – made in advanced

Honeycomb Ice Cream or Vanilla Bean Ice Cream for serving

Local honey for serving

  1. Preheat the oven to 350 degrees. Spray a 9-inch spring form pan with non-stick olive based spray.
  2. Add all the flour, baking powder and salt in a medium bowl and whisk. Set aside.
  3. In mixing bowl, add the sugar and orange zest and rub together with your fingers.
  4. Place the bowl with the sugar mixture on the mixer. Mix on low using the whisk attachment. Add the eggs and increase to medium for 30 seconds. Reduce to low, add the olive oil, milk, orange juice and vanilla. Mix until just blended. Remove from mixer.
  5. Using a large rubber spatula, fold in the flour mixture until just blended.
  6. Transfer batter to the greased spring form pan.
  7. Bake in the center of the oven for about 35-40 minutes, or until the top is golden brown and toothpick inserted comes out clean.
  8. Cool in pan for 30 minutes.
  9. Removed the ring. Arrange candied orange slices on the top of the cake in a beautiful pattern.
  10. To serve, cut a slice of cake. Remove the candied oranges and set aside. Place in a toaster oven until toasty.
  11. Serve with a drizzle of honey and ice cream.

IMG_2193