Monthly Archives: October 2015

Sautéed Green Beans with Garlic


Din Tai Fung is a world-class Taiwanese restaurant, best known for their soupy dumplings (xiao long bao). The first restaurant opened in Taipei in 1980, and at one point was included on the New York Times list of the top ten restaurants in the world. They expanded to the US in 2000, setting up shop in Arcadia, CA, and due to their popularity – the wait to get seated is frequently more than an hour – have since opened three more locations in Southern California. But the competition for soupy dumplings is intense in the San Gabriel Valley, and what keeps Din Tai Fung at the top of many people’s list are some of the other items on their menu. For me, that item is the green beans with garlic.

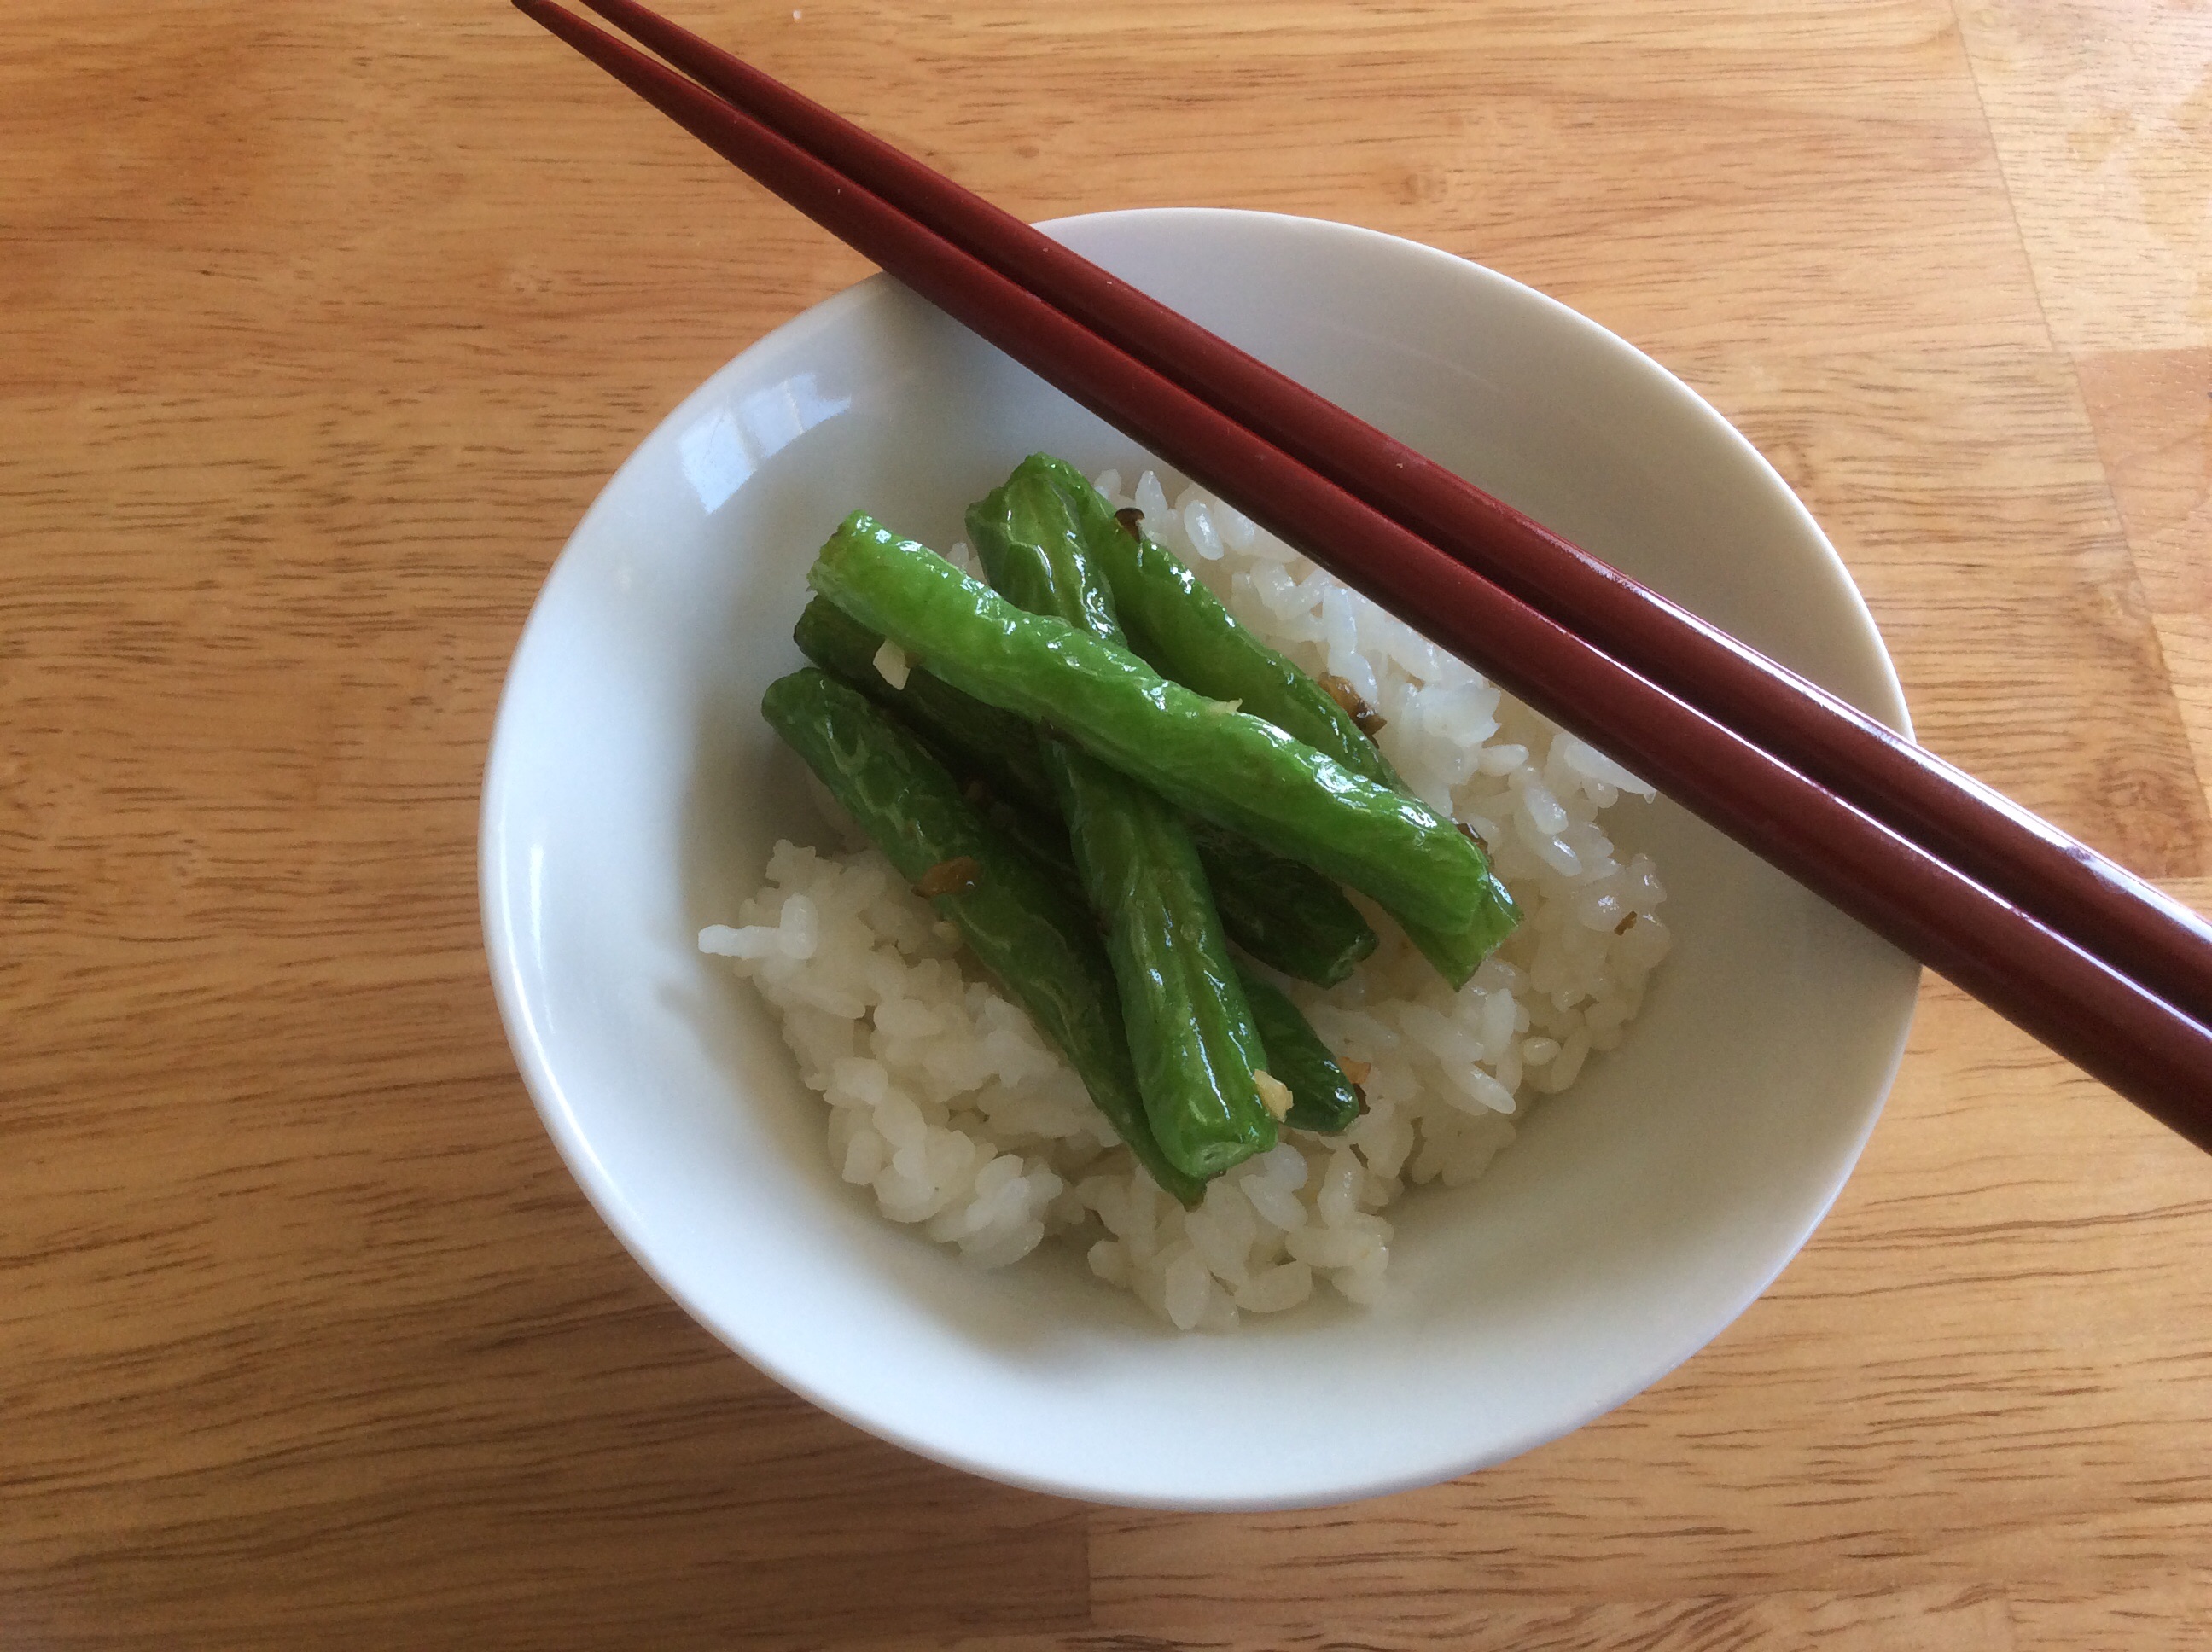
It’s simple, but Din Tai Fung executes it perfectly. The beans are crispy with a blistered skin, garnished with minced garlic, Taiwanese pickles and a touch of salt. Once I start eating them, I can’t stop! After deconstructing the recipe years ago, I have been making these green beans at home for my family, and I think my version is pretty darned close to Din Tai Fung’s. The trick to achieving the blistered skin is to flash-fry the green beans before sautéing them. Give them a try – I hope you’ll love them as much as I do!

Sautéed Green Beans with Garlic

Serving Size: 4 (side dish)
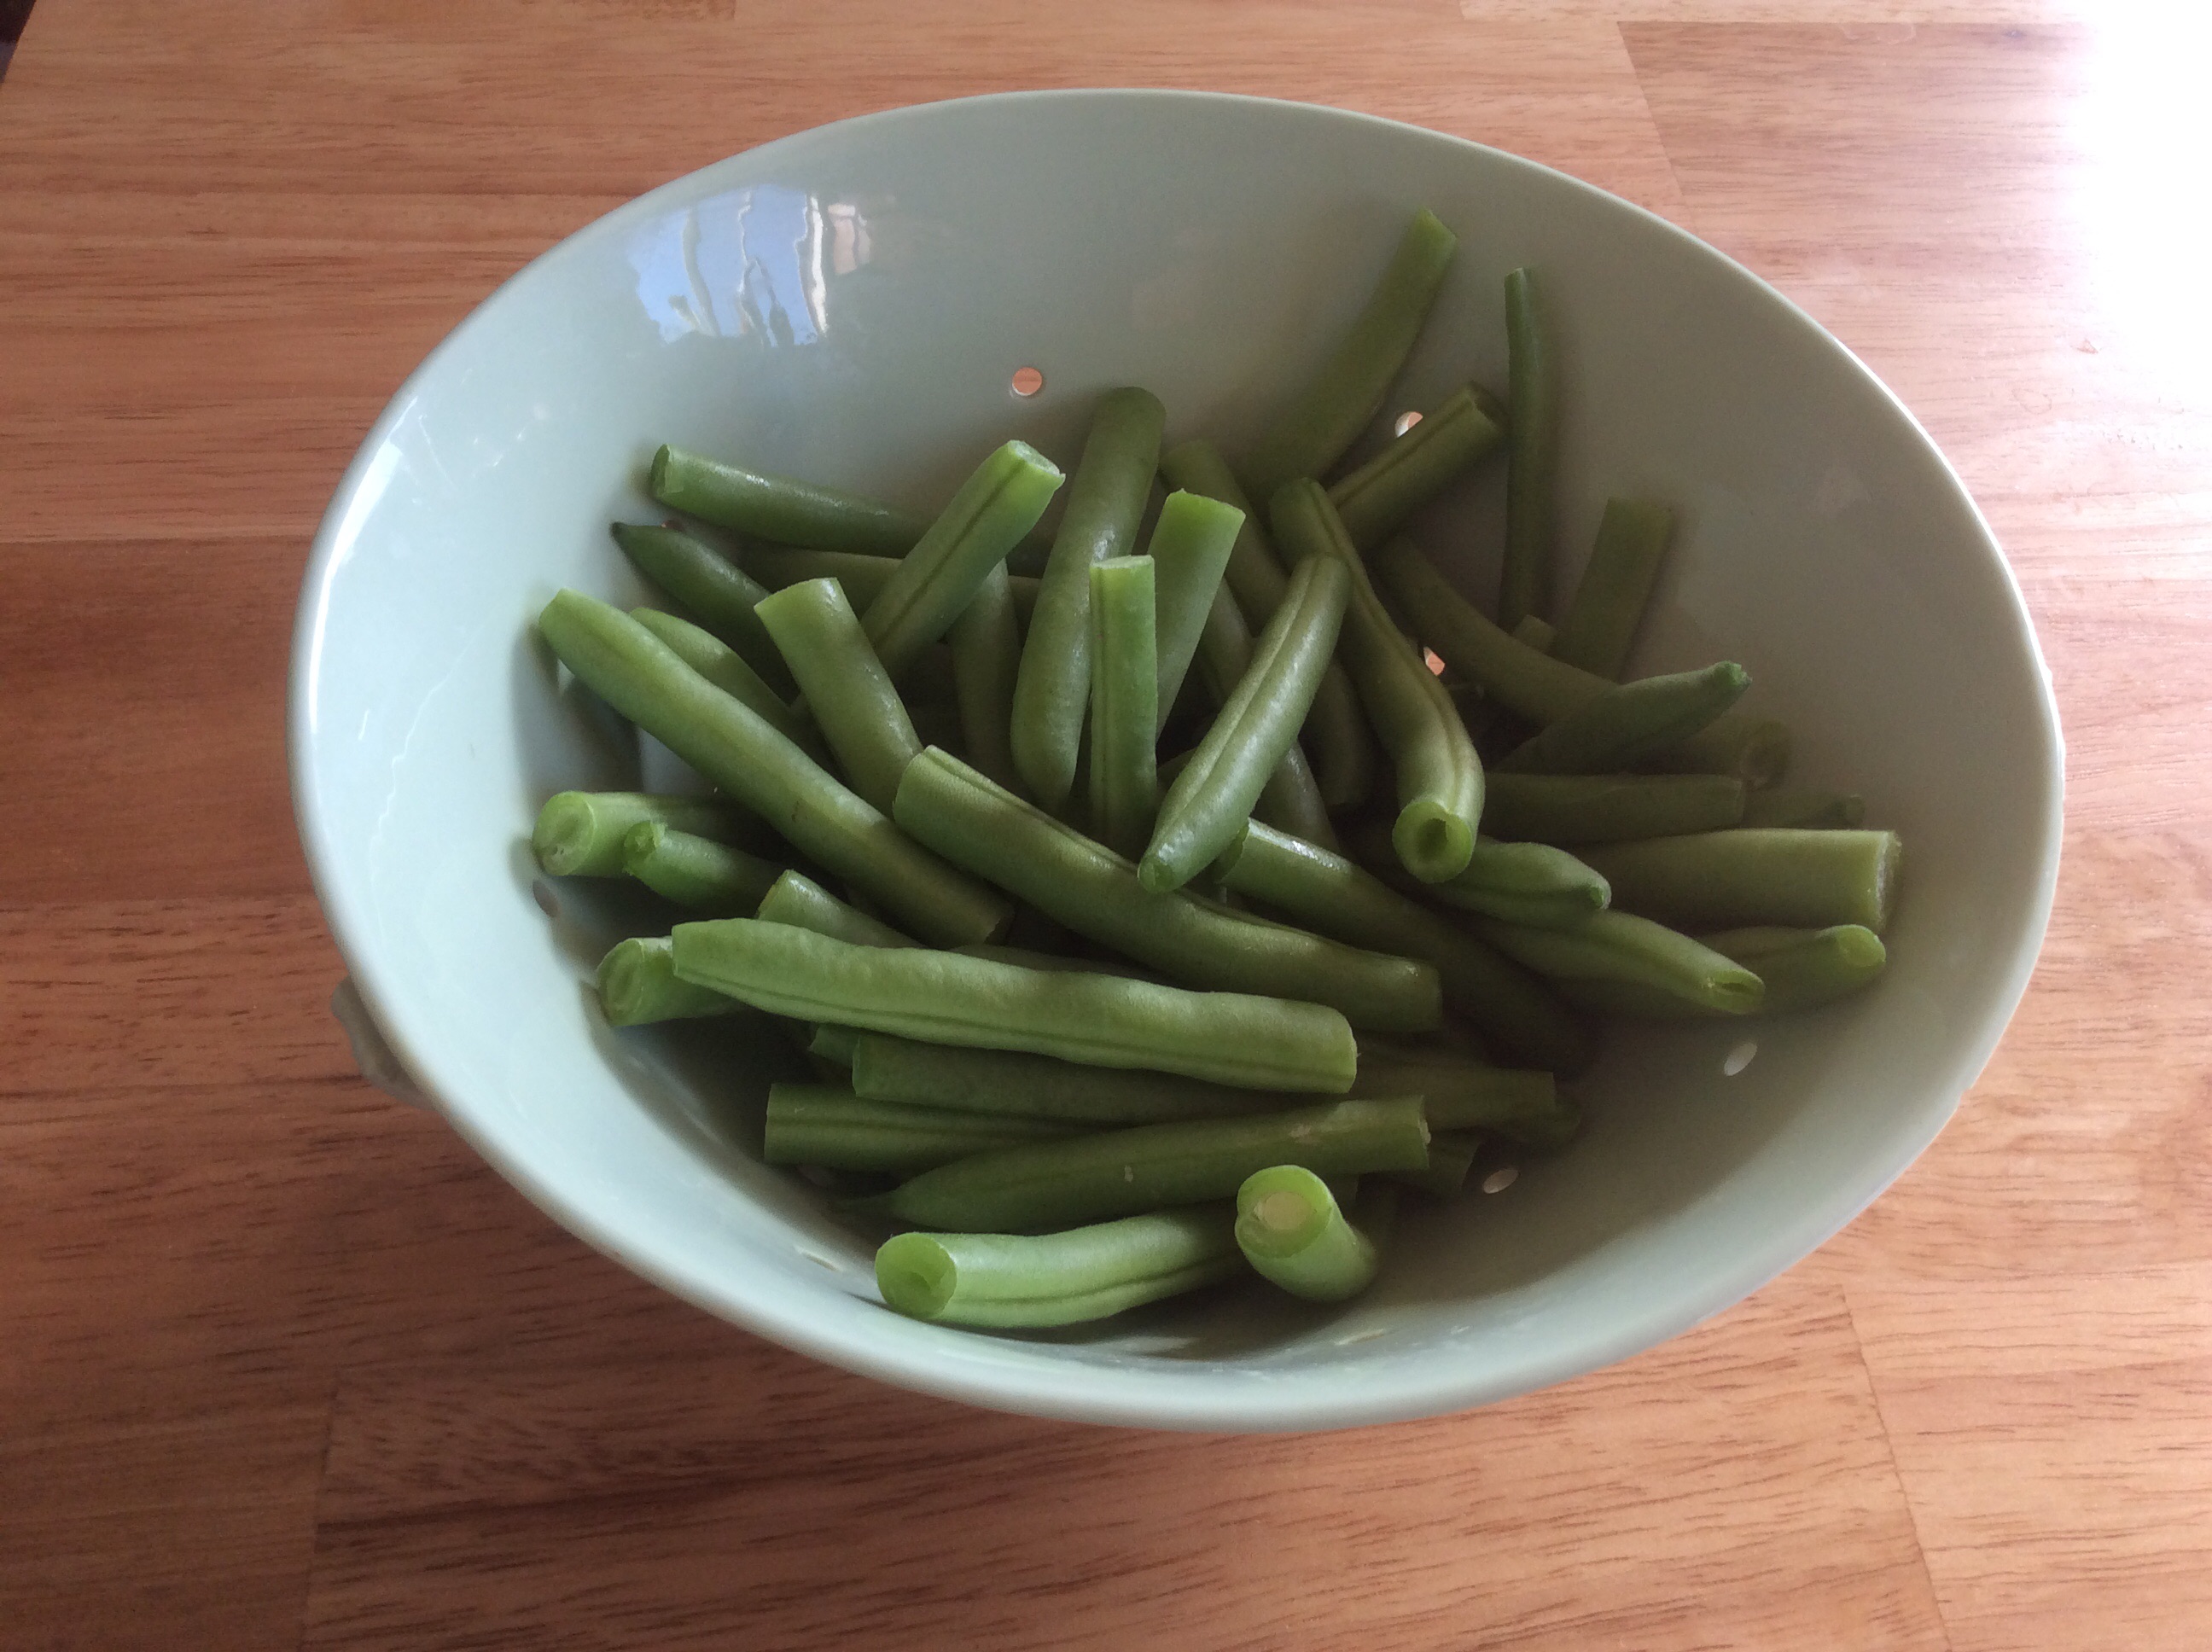
1/2 pound of organic green beans (cleaned and trimmed)
1 1/2 cups of vegetable oil (for deep frying)
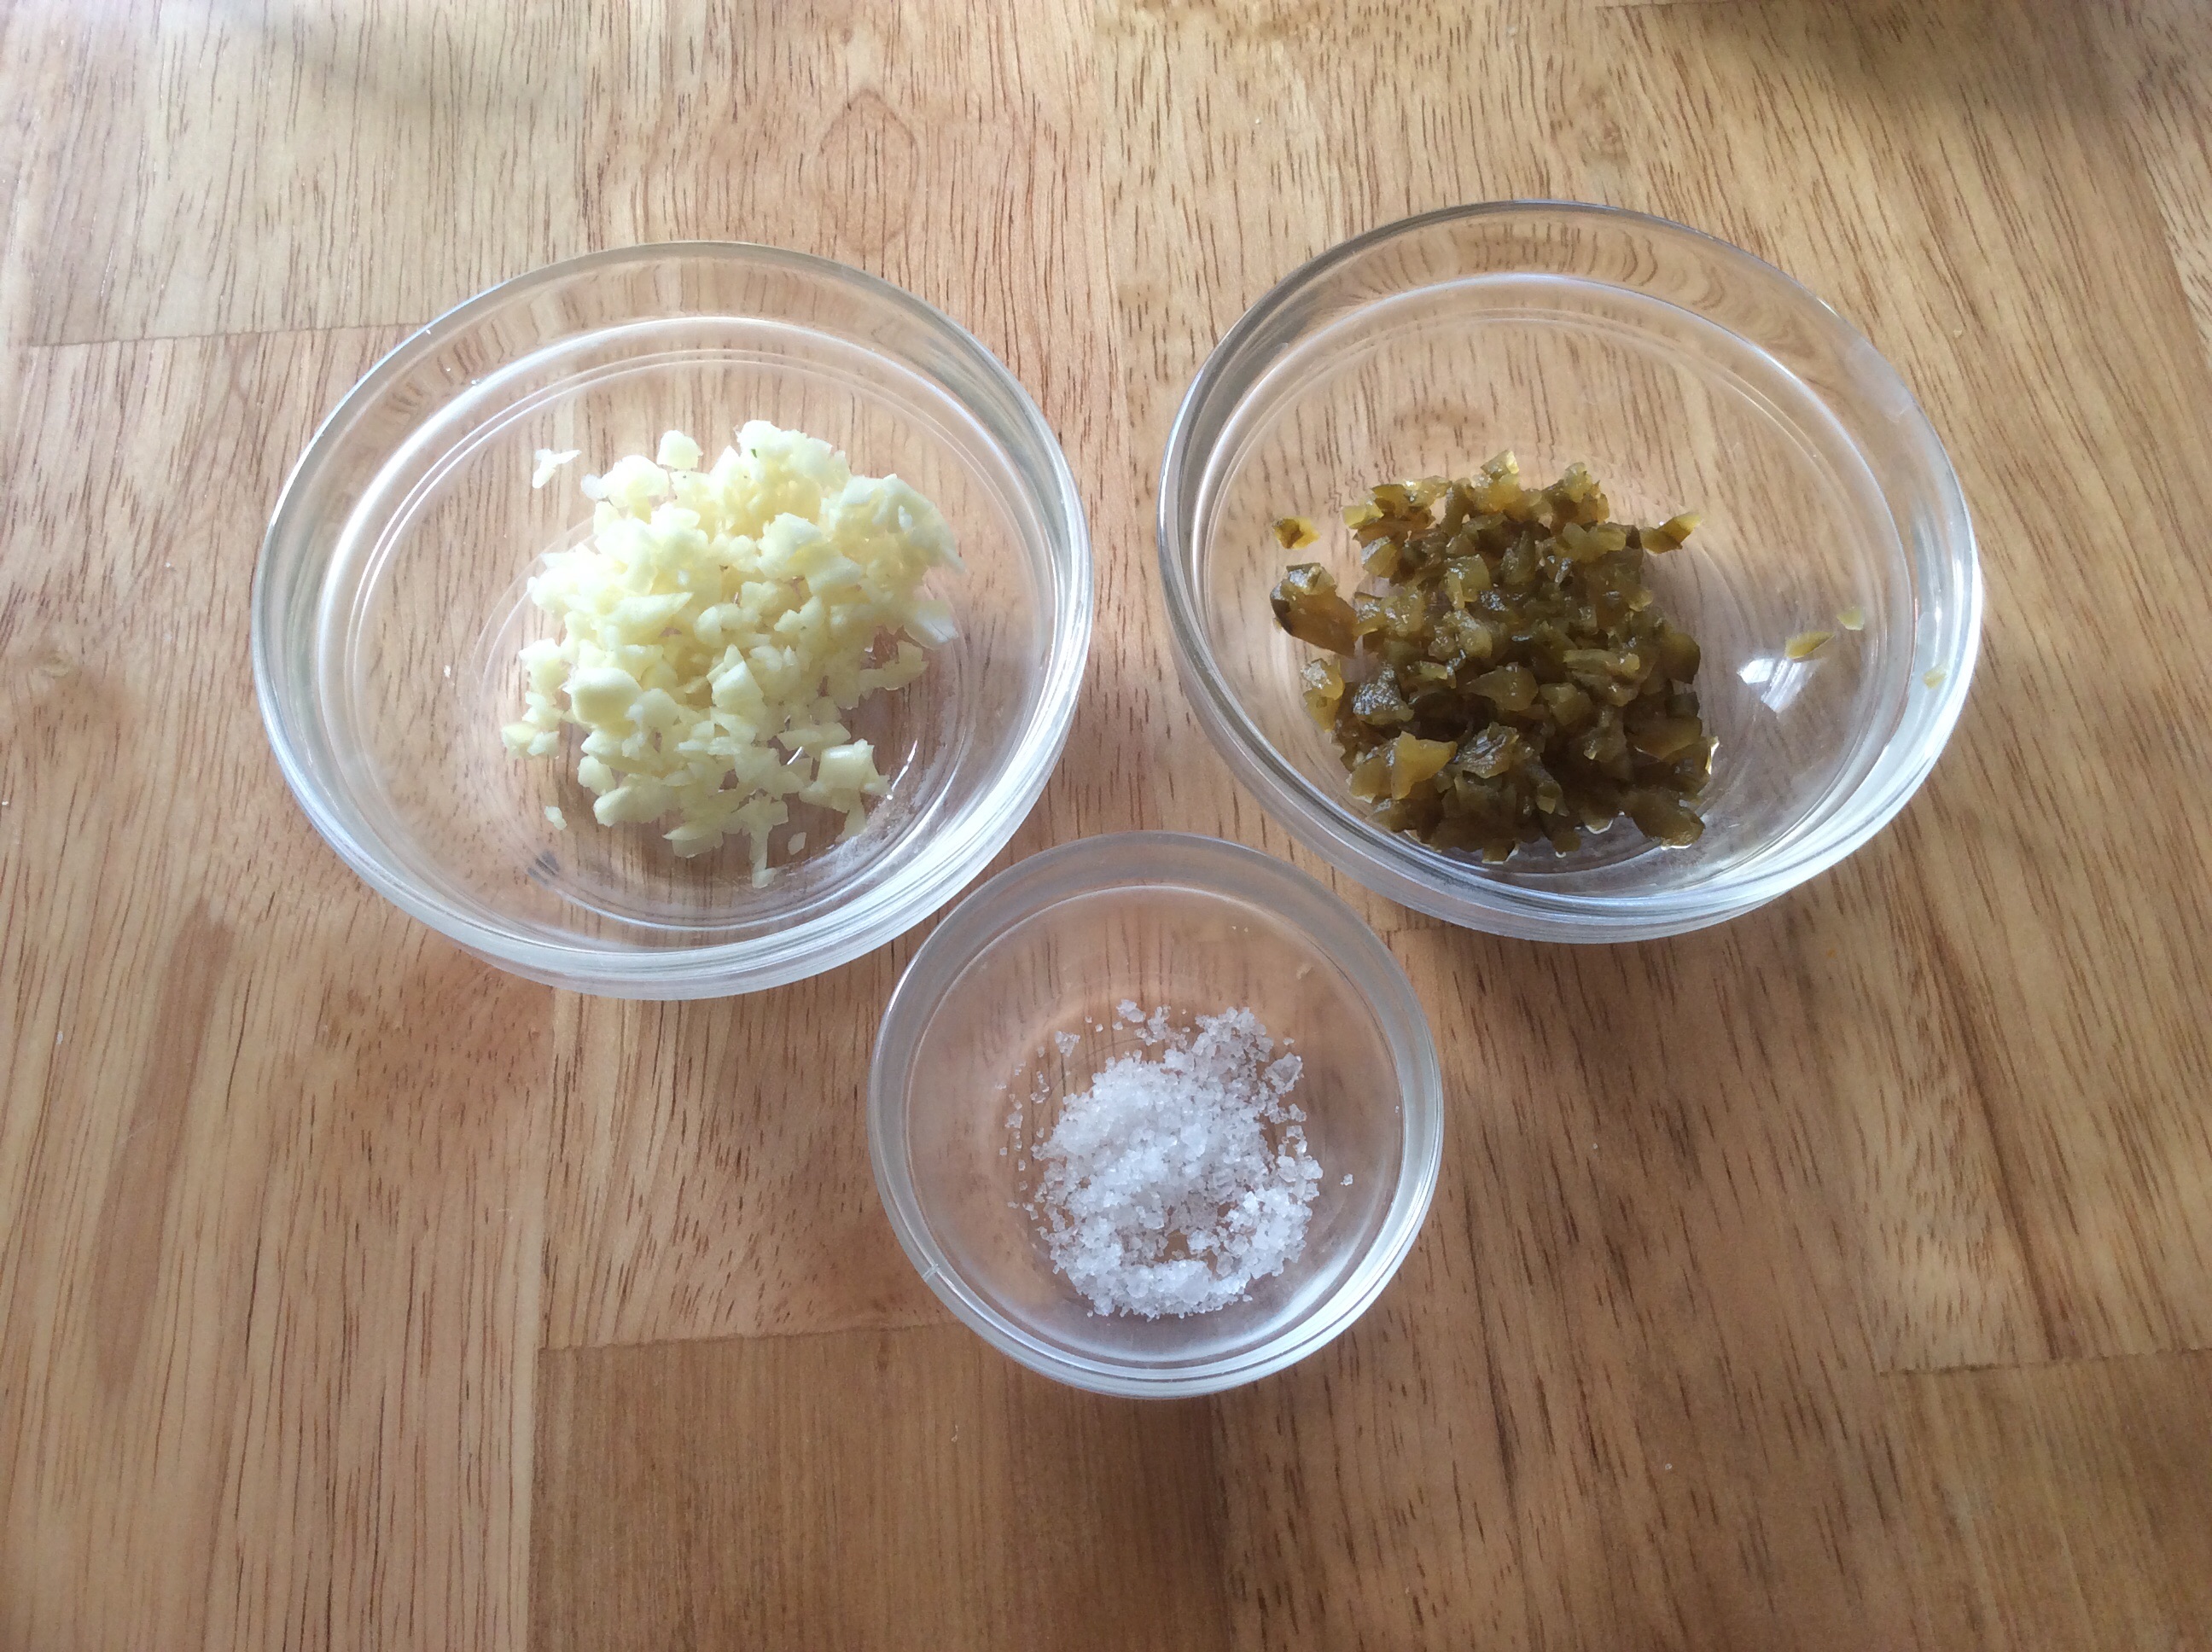
1 tablespoon of minced Taiwanese pickled cucumbers or pickled turnips*
2 cloves of garlic (minced)
Kosher salt or sea salt

1. After washing, cut the green beans in half and dry with paper towels. Make sure they are completely dry – it will affect the flash-frying process.

image

2. Line a large colander with a few paper towels. Set near the frying area.

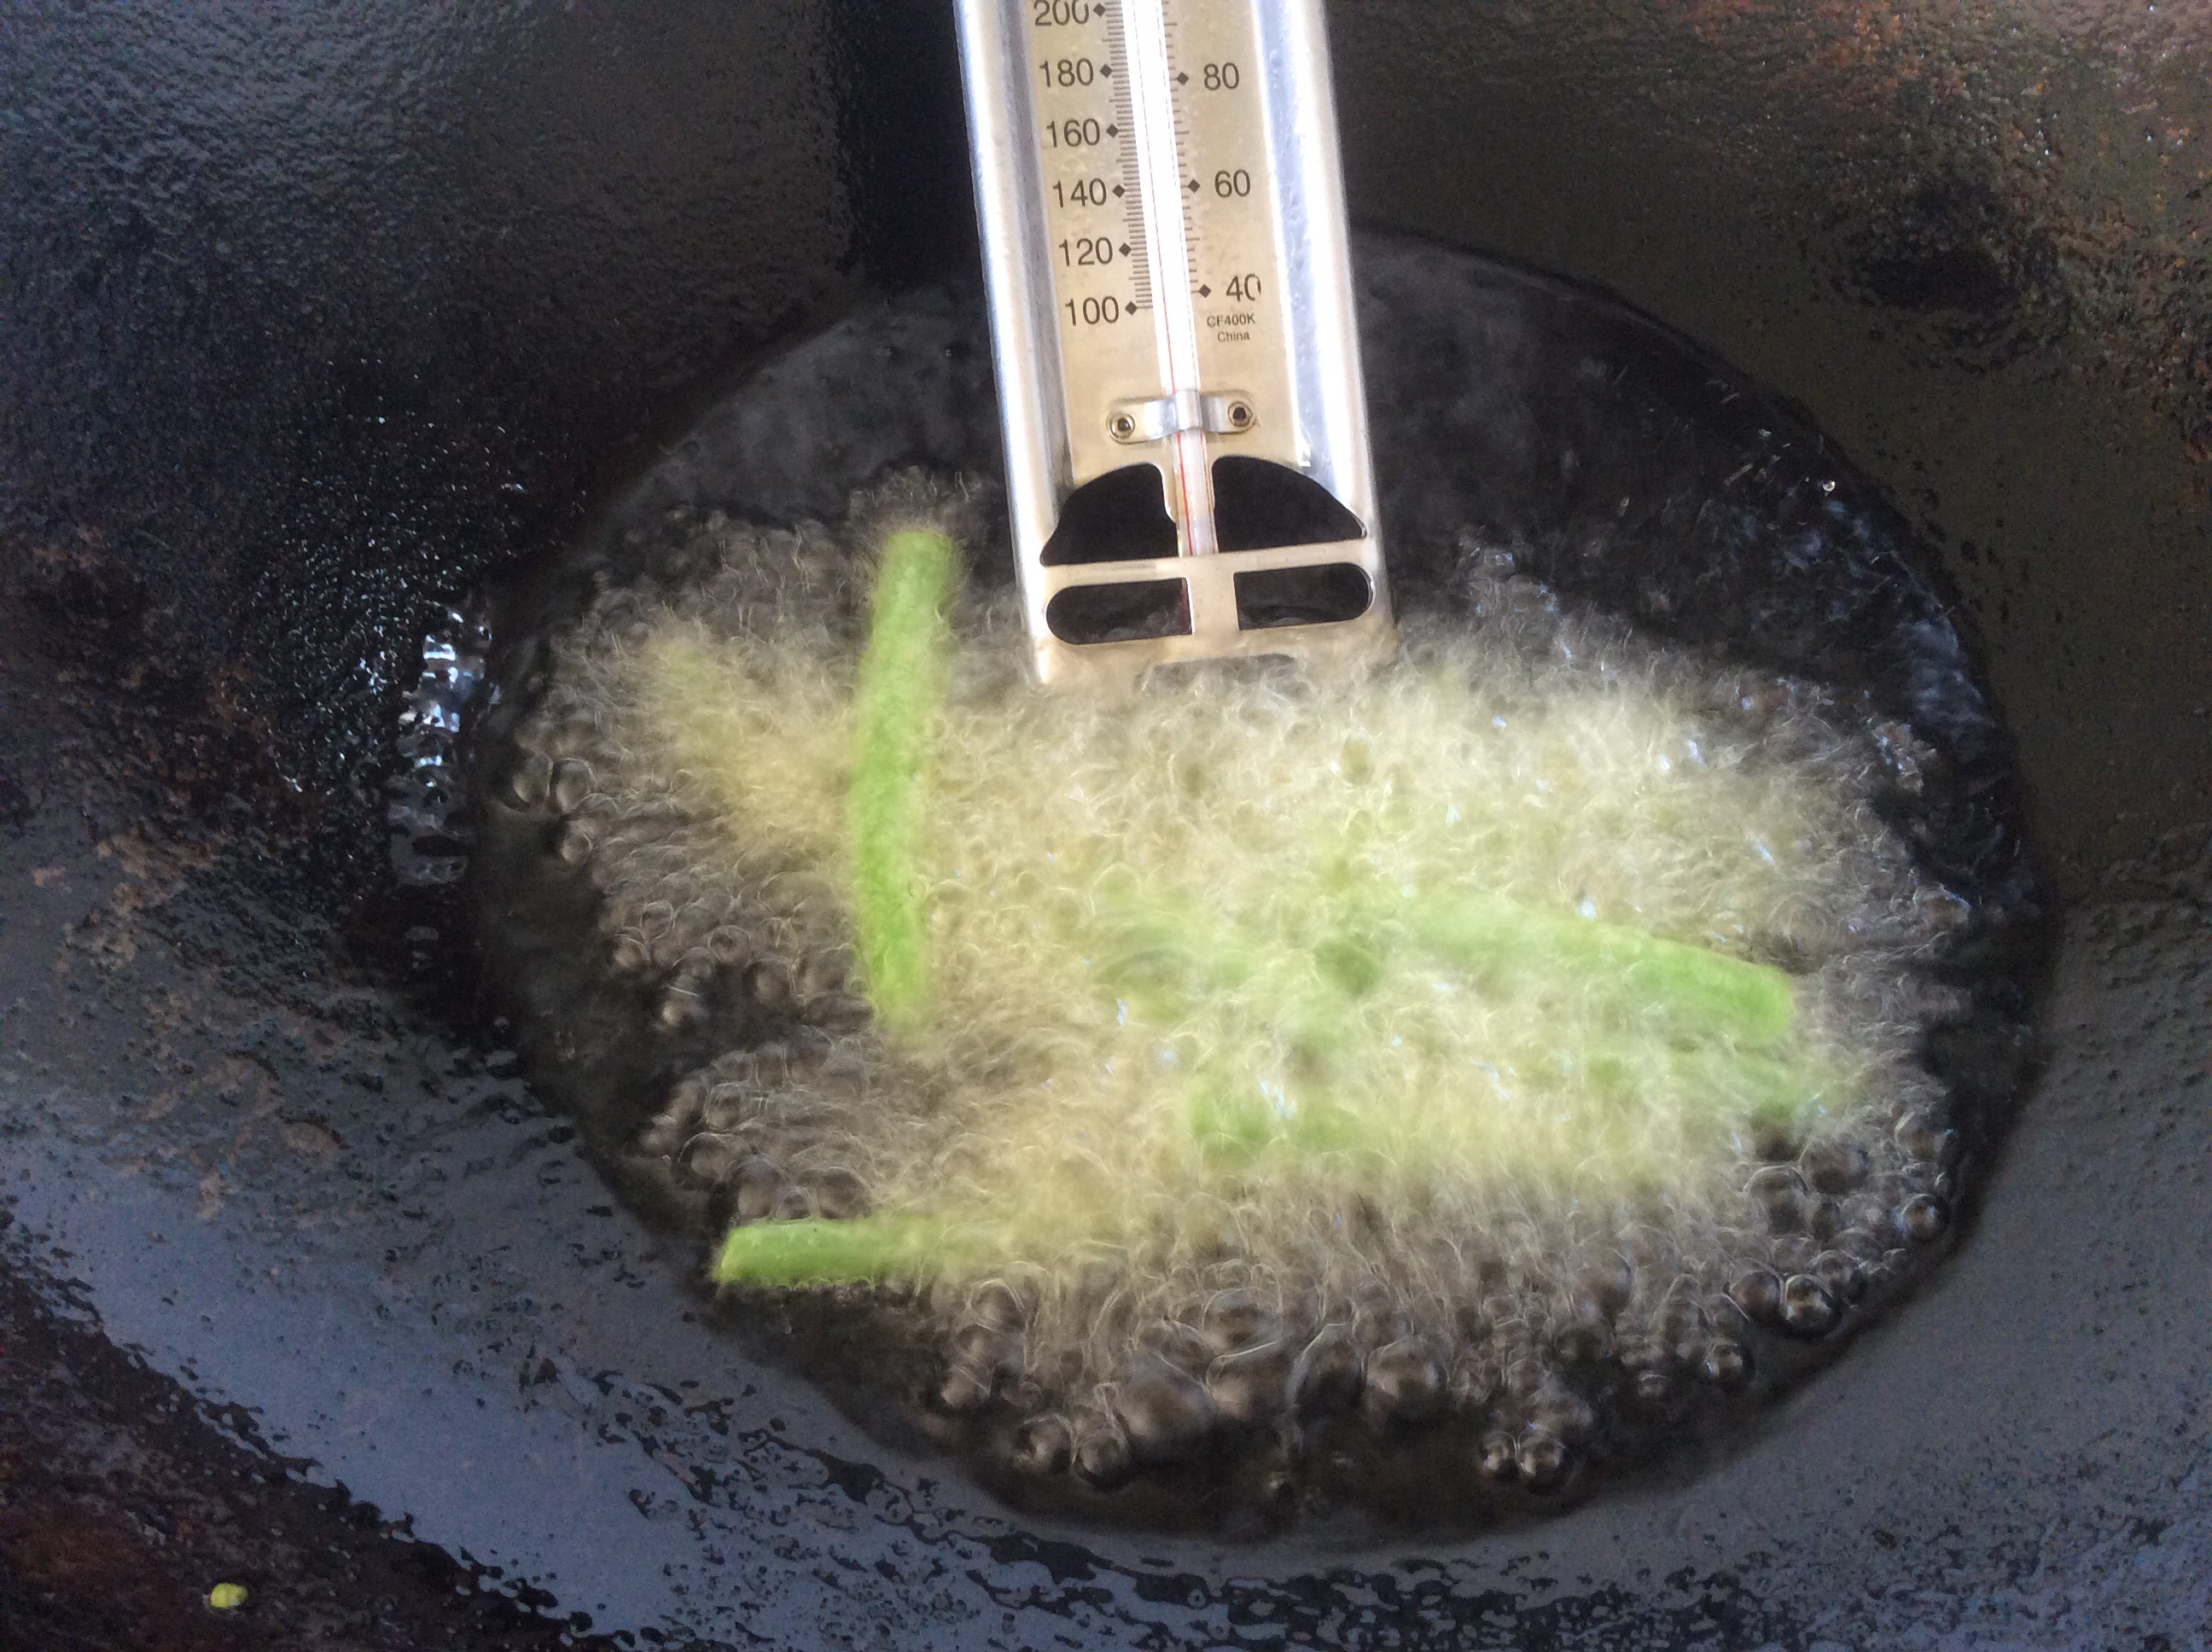
3. In a large wok or enamel coated cast iron pan, bring the oil to 350°. I use a candy thermometer for this step, but if you have an electric fryer, you could use that instead.

4. As soon as the oil reaches 350°, add 1/3 of the green beans to the oil and fry for approximately 30 seconds. This is a critical step, as it is how to achieve the blistering effect while keeping the crunchy texture. If the green beans are fried too long, they will lose their crispness, and if too many green beans are fried at once, the oil temperature will drop and the skin will not blister.

image

5. Using a spider strainer or tongs, transfer the beans to the colander to drain the oil.

6. Bring the oil back up to 350° and repeat this process two more times, frying 1/3 of the green beans each time.

7. Heat a large sauté pan on high and add one tablespoon of oil. Immediately add the Taiwanese pickled cucumbers and sauté for 30 seconds. Add the garlic and sauté for 15 more seconds. Add all the green beans, sprinkle with salt, and sauté everything together for 30 seconds. Make sure the green beans are coated with garlic and pickles.

image

8. Transfer to a plate and serve immediately with rice and your choice of protein.

image

*You can find them in any Chinese grocery store.

For more information on the restaurant, you can visit their website: http://dintaifungusa.com

Advertisement

Spaghetti with Easy Roasted Tomatoes


When I was a kid, I saw a Chef Boyardee commercial on TV, with a child on the screen, happily devouring some stringy orange noodles. The commercial made it look so appetizing, I followed my mom to the store the next day and bought a few cans. This was my first introduction to spaghetti: soft and mushy pasta, orange tomato sauce, and little pieces of processed beef. I was more than just disappointed, I felt lied to by the advertisers who made this stuff look good. Yet all my friends at school loved spaghetti! How could it be? I knew there had to be something better out there.

I bought every different spaghetti product I could find. Kraft’s Tangy Italian Spaghetti kit in a box (Tomato Paste Not Included), Anthony’s spaghetti noodles with Ragu, Creamette spaghetti with Prego…they were all mediocre at best. I finally had my first good spaghetti experience at a mom and pop restaurant in LA called Andre’s – it’s still there, across the street from the Farmer’s Market on 3rd – but that didn’t stop my quest. One day I went to an Italian market and bought some pasta imported from Italy (the kind wrapped in blue butcher paper), and on a shelf in the back, I found what became my epiphany sauce: Rao’s Marinara Sauce, made with imported San Marzano tomatoes (canned), olive oil, and a handful of fresh basil. It immediately became my go-to spaghetti sauce.

My goal was to capture the delicious flavors of the Raos sauce, but using fresh tomatoes. I think you’ll find this an easy recipe to follow along with. Just make sure you set aside 1 and 1/2 hours; one hour of that time will be spent roasting the tomatoes in the oven.

Spaghetti with Easy Roasted Tomatoes

Serves 2-3

Ingredients

10 ounces of Mini San Marzano or Mini Sugar Plum Tomatoes
1/4 cup of extra virgin olive oil (plus extra for drizzling)
1/2 teaspoon of sea salt (plus extra for serving)
2 garlic cloves (thinly sliced)
10 small basil leaves (extra for serving)
6 ounces of fresh or dried spaghetti (or your favorite pasta)
Freshly grated Parmiggiano-Reggiano
Red pepper flakes (optional)

1. Preheat the oven to 300 degrees F.

2. Wash the tomatoes and dry completely with paper towel. Add the tomatoes in an small oven-proof casserole pan, add the olive oil, and salt. Toss well.

image

3. Roast the tomatoes for 30 minutes.

4. Take the tomatoes out of the oven, toss in the sliced garlic, and put it back in the oven for 30 more minutes.

5. While the tomatoes continue roasting, get a large pot of water to boil. Add a handful of Kosher salt.

6. Remove the tomatoes out of the oven. Immediately, toss in the small basil. Let rest until the tomatoes are cool enough to handle.

image

7. Add the pasta to the boiling water. Cook until al dente.

8. While the pasta is cooking, peel the skins off the tomatoes. The skins will slip right off. Throw the skins away.

9. Transfer the tomatoes with the liquid into a large sauté pan. Smash the tomatoes with a fork. Heat the tomatoes over medium-high heat. Add the pasta with a little pasta water. Toss the pasta with the tomatoes. Taste for salt.

11. Divide the pasta into 2 serving bowls.

12. Top with grated Parmigiano-Reggiano, fresh basil leaves, a drizzle of olive oil, and sprinkle of sea salt. Add red pepper flakes, if using.

13. Serve with a glass of Italian red wine and enjoy!

Pumpkin Madeleines


Despite the triple-digit temperatures here in Southern California, autumn has arrived and pumpkin fever is in full effect. Apparently there is a shortage of the gourd this year, but you would never know it walking into your local Trader Joe’s. You can’t go more than three feet in an aisle before coming across some pumpkin-enhanced product: pumpkin bagels with pumpkin cream cheese, pumpkin kringle, pumpkin butter, and even pumpkin coffee. The pumpkin has evolved far beyond its modest pie-filling beginnings.

Now, while I’m a huge fan of all things pumpkin, I understand that for many pumpkin fatigue will set in quickly (if it hasn’t already). Before that happens, though, I want to share one of my favorite fall recipes: Pumpkin Madeleines.

I love madeleines, but as Dominique Ansel explained so perfectly, madeleines have a short and fleeting life – they are best right out of the oven, and if you wait too long, their light, airy texture goes away. In fact, at his New York bakery the madeleines are made to order and customers are instructed to eat them on the spot. Of the many madeleine recipes I have tried, Dominique’s is the best; here is my version of it, colored with that most popular of autumnal flavors.

Pumpkin Madeleines

Serving: About 20 cookies

Ingredients

1 stick of organic butter (8 Tbsp)

1 tablespoon organic brown sugar

1 tablespoon honey

1/3 cup organic sugar

1/2 teaspoon Kosher salt

1 1/4 cup unbleached flour (like Sonora wheat)

1 1/2 teaspoon of pumpkin spice mix

1/2 teaspoon baking powder

2 extra large organic eggs, at room temperature

1/4 cup pumpkin purée (fresh or canned)

1 teaspoon vanilla extract

Nonstick butter spray

Organic powdered sugar

Special Equipment

Madeleine Pan

Piping bag with 1/2″ tip (or Tablespoon scoop)

Directions

Night Before

  1. Melt the butter, brown sugar, and honey in a small sauce pan over low heat. Keep the mixture warm over very low heat.
  2. Stir the dry ingredients with a whisk in a large mixing bowl. In a small mixing bowl, whisk eggs, pumpkin purée, and vanilla until smooth. Create a well in the center of the dry ingredients. Slowly add the wet mixture into the well while whisking in the dry ingredients. (Similar to making pasta.)
  3. When the wet ingredients are completely incorporated and the batter smooth, add the warm butter mixture.
  4. Mix the warm butter into the batter with a rubber spatula until complete incorporated.
  5. Press the plastic wrap pressed directly onto the surface of the batter, to prevent a skin from forming. Add another plastic wrap on the top of the bowl.
  6. Refrigerate overnight. This step helps create the lovely signature hump.

Day Of

  1. Preheat the oven to 375 degrees.
  2. Transfer batter into a large piping bag with 1/2 tip. Fill the bag 2/3 they way. (If you have a piping bag, use a small stainless 1 Tablespoon scoop.)
  3. Spray non-stick butter spray in the Madeleine pan, buttering each of the molds evenly.
  4. Pipe the madeleine batter into the molds so that it fills each about three-quarters of the way to the top.
  5. Bake the madeleines for about 5 minutes on the center rack. When you see the batter develop a hump in the center, rotate the pan 180 degrees. Bake for about 5 minutes more or until toothpick test comes clear.
  6. Unmold on to a wired rack. Quickly transfer to  serving plate and sift with powdered sugar. Serve immediately with coffee or tea.

Madeleines are best when eaten within 10 minutes out of the oven.

IMG_2227IMG_2228

So’s Special

This is my spin on a famous breakfast dish called Joe’s Special, which I first had at Original Joe’s Restaurant in San Francisco. The dish consists of scrambled eggs, ground chuck, garlic and spinach. It is delicious, and I would get it with mushrooms added and a side of crusty bread. Also, I’m told that many home cooks in SF make this dish because it is relatively easy to whip up.

I really love Joe’s Special, but I wanted a lighter and healthier version. So I replaced the ground chuck with ground turkey, replaced the eggs with tofu, and instead of serving it with crusty bread, I serve it with steamed Jasmine rice. I also added a little oyster sauce for some umami flavor. Essentially I took an Italian-American dish and made it Asian-American. This version has become one of my family favorites.

So’s Special

4 Servings

1 Tablespoon sunflower oil or olive oil

5 cloves garlic, minced

1 medium yellow onion, finely chopped

8 ounces of organic ground turkey

8 ounces of fresh heirloom spinach (blanched, squeezed dry in cheesecloth, and chopped)

4 ounces organic firm tofu (squeezed dry in a cheesecloth)

1 Tablespoon of premium oyster sauce

Kosher salt and freshly ground black pepper, to taste

Pinch of red pepper flakes (optional)

¼ cup of freshly grated Parmigianino-Reggiano

2 cups of steamed jasmine rice

Garlic-chili sauce (optional)

  1. Heat oil in a wok or 12″ skillet over medium-high heat.
  2. Add garlic and onion and cook until soft, about 5 minutes.
  3. Add ground turkey and cook on medium-high heat until all the liquid evaporates, about 10-15 minutes.
  4. Add spinach and cook for 2 more minutes.
  5. Add the tofu and the oyster sauce cook mixture is slightly dry, about 7 minutes.
  6. Season with salt and pepper to taste.
  7. Add a pinch red pepper flakes.
  8. Spoon over steamed Jasmine rice.
  9. Serve with garlic-chili sauce.

For the Original Joe’s Special recipe, click this link.