When my husband and I traveled to France and Italy for our honeymoon, we created a wine and food roadmap. It was an incredible trip with sublime food and wine in both countries, but I left longing for Italy. The warm and friendly people, the perfect cup of espresso on every corner, the breathtaking villas, and the amazing food all made me fall in love with country. The food in Italy was simple but so delicious, and every pasta dish we ordered was perfectly executed with local ingredients. After I got back from Italy, I spent countless hours trying to perfect fresh pasta. After testing quite a few recipes and techniques, I developed an easy handmade pasta recipe perfect for pappardelle, fettuccine, and filled pasta.
This pasta dough recipe is light and eggy and has great structure due to the addition of semolina flour. The dough is quick to make and easy to work with, and won’t dry up easily. In this ravioli recipe, I use a simple cheese filling. Most cheese-filled ravioli recipes use the whole egg, causing the filing to solidify when cooked. My recipe uses only the yolk, resulting in a creamy and oozy filling. Also, I add lemon zest and Italian parsley for a little zing. If possible, make the filling in advanced. Also, make sure you drain out the excess liquid from the fresh ricotta with cheesecloth-lined sieve or fine-mesh sieve in advanced. This will ensure a creamy filling without excess water. If you’ve never made homemade ravioli before, this is an easy one to tackle. Enjoy!
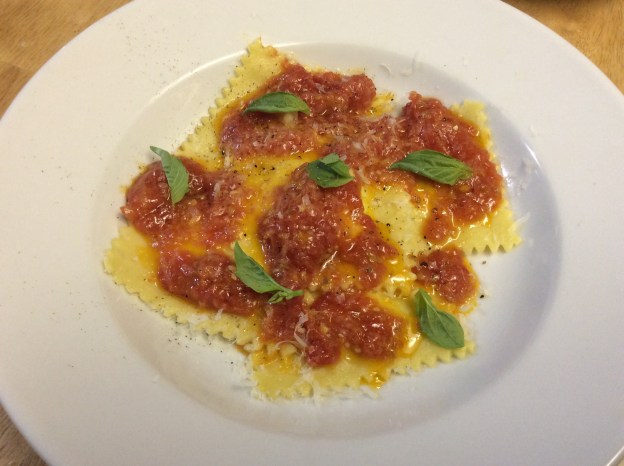
Ricotta Ravioli with Roasted Tomato Sauce
Serving Size: about 32 ravioli (2-inch squares)
8 ounces of fresh whole milk ricotta, drained
1 egg yolk
1/2 cup of grated Parmigiano-reggiano plus extra for serving
1 teaspoon of finely chopped Italian parsley
Sea salt and freshly grated black pepper to taste
12 ounces of homemade pasta dough (see recipe below)
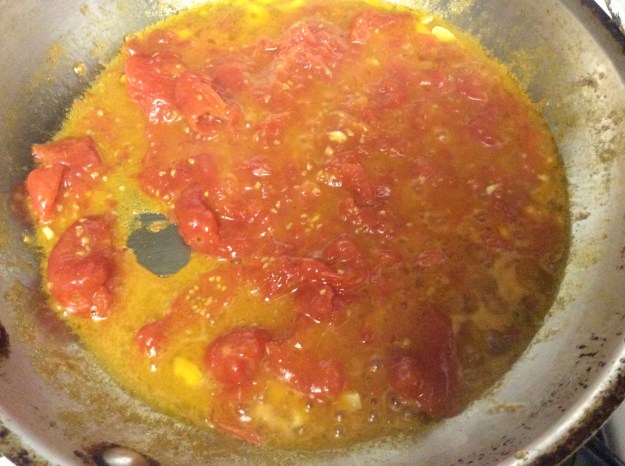
Roasted tomato sauce or homemade walnut pesto
2 dozen small basil leaves for garnish
Special equipment: pasta roller or pasta attachment for the KitchenAid
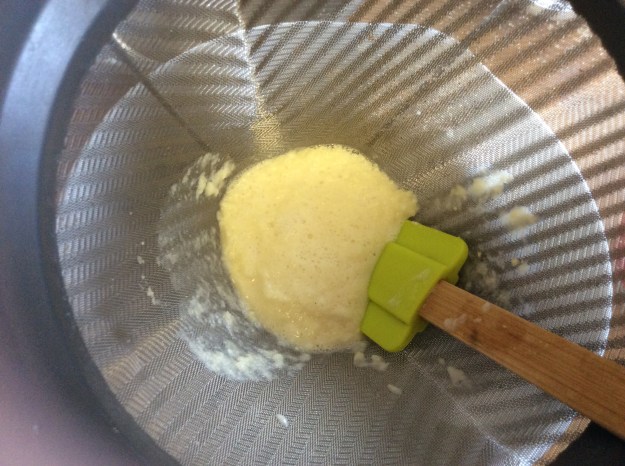
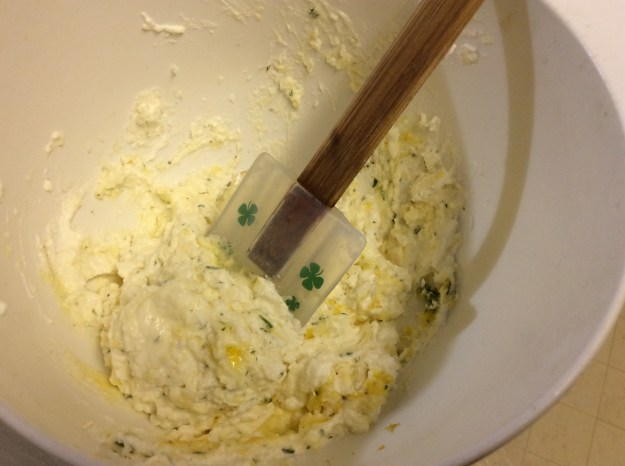
1. In a medium bowl, combine the ricotta, egg yolk, Parmigiano-reggiano, parsley, 1/2 teaspoon of salt and few turns of pepper. Place in the refrigerator while you roll out the pasta dough.
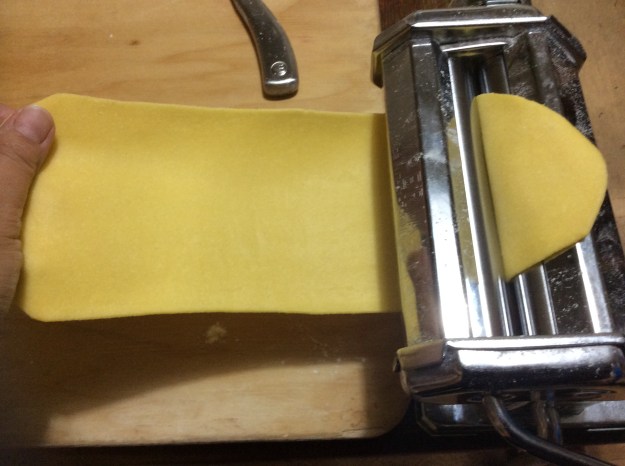
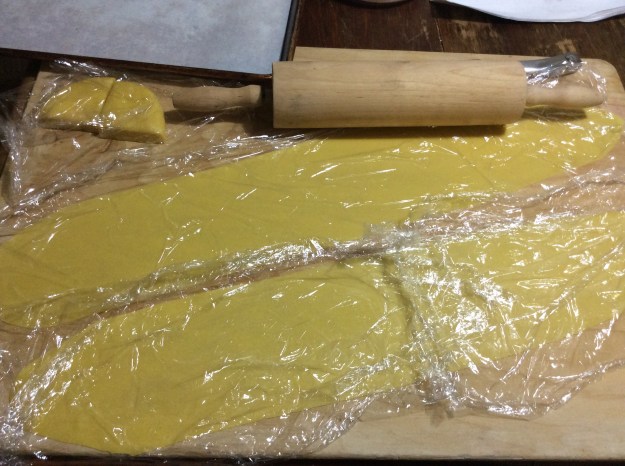
2. Take out the pasta dough and cut it into four equal pieces. Cover three of the pieces with plastic while working with one piece on the pasta roller.

3. Using a rolling pin, roll out the pasta dough until it is thin enough to fit into the pasta roller. Start on the thickest setting and work your way to the second to the last setting (5 on manual and 6 on the KitchenAid attachment). Cover the pasta sheet with plastic and repeat the process three more times.
4. Bring a large pot of water and hand full of Kosher salt to boil.
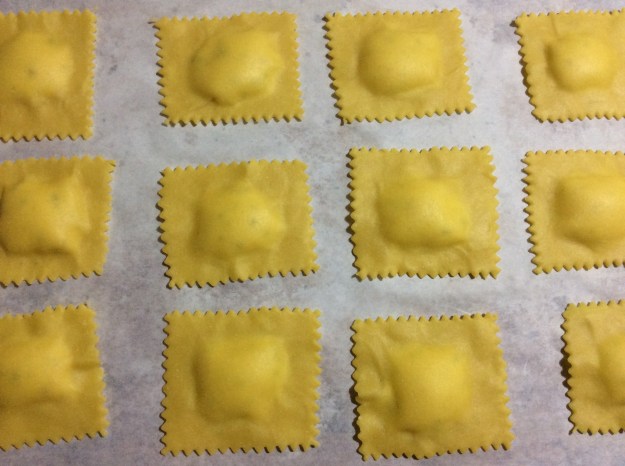
5. Remove the ricotta filling from the refrigerator. Unwrap one of the pasta sheets and place a heaping teaspoon of filling roughly 1 inch apart throughout the pasta sheet. You should have 16 ravioli.

6. Take another pasta sheet and, starting from one end, carefully place it over the pasta sheet with the filling and press down well around the filling to create a strong seal. Make sure you don’t create air bubbles.

7. Using a fluted pasta cutter, cut the pasta into 2″ ravioli pieces. Place on a parchment paper-lined cookie sheet. Repeat the process with the other two sheets.

8. Heat up the roasted tomato sauce in a large sauté pan. Keep on low.
9. Reduce the heat of the boiling water to a simmer. Add about half of the ravioli. Once it rises to the surface, simmer for 2 more minutes.
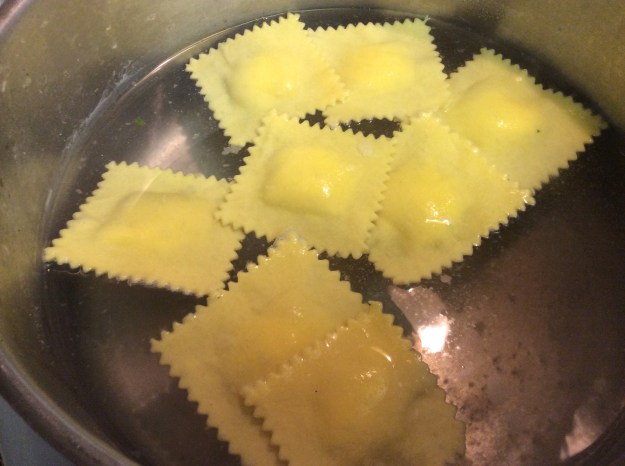
10. With a slotted spoon, transfer the ravioli to the roasted tomato sauce. Cook the remaining ravioli and transfer to the sauce.
11. Divide the ravioli into 4 bowls. Grate some Parmigiano-reggiano and garnish with a few basil leaves. Serve with a nice glass of red wine.

Pasta Dough Recipe
Yield: about 12 ounces
1 cup of unbleached all-purpose flour
1/4 cup of semolina flour*
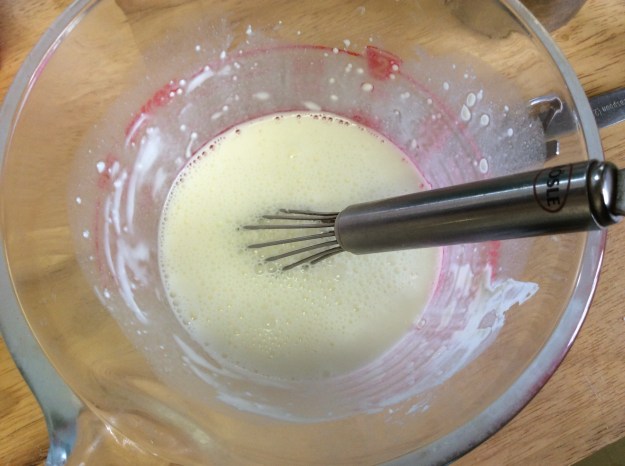
7 egg yolks
1 tablespoon of extra-virgin olive oil
1 tablespoon of milk or water
1. Whisk the all-purpose flour and semolina flour together. Transfer to a workstation. Create a well and add the egg yolks, olive oil, and milk.

2. Using a fork, whisk in the center and slowly bring in the flour. You want to take your time in the beginning so you don’t form flour clumps.

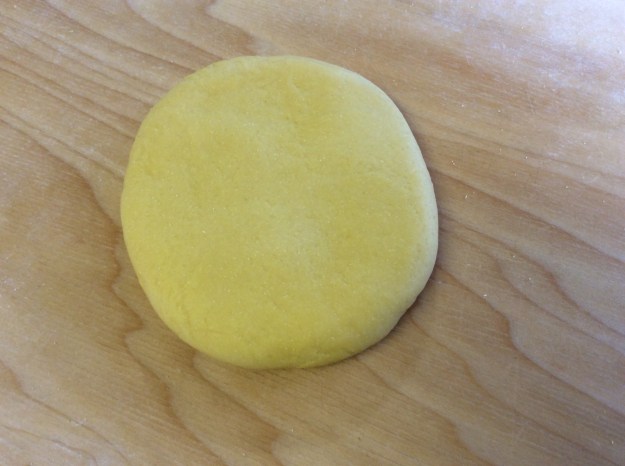
3. Once the mixture thickens and it becomes difficult to stir with a fork, start kneading the dough with your hands. Clean off the excess flour with a bench scraper and make sure the workstation is clean.

4. Knead the dough for about 10 minutes until the dough is nice and smooth.
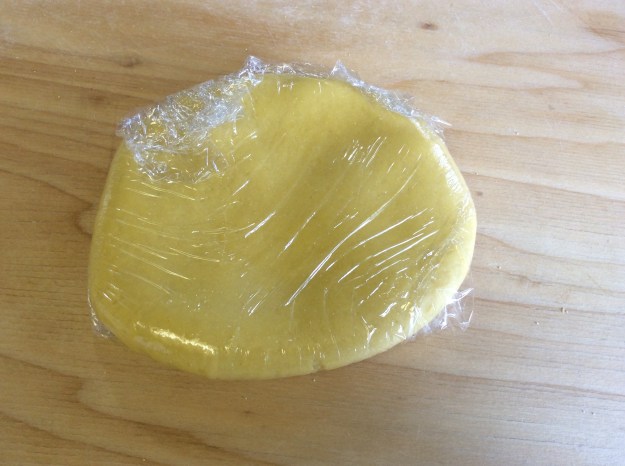
5. Double wrap with plastic wrap and place in the refrigerator for at least one hour and up to one day until ready to use. You can also freeze the dough for up to one month.
*You can find semolina flour at most Italian market.