Monthly Archives: March 2016

Maple Glazed Hot Cross Buns

“Hot cross buns, hot cross buns! One a penny, two a penny! Hot cross buns!” Whenever I sang this nursery rhyme as a kid, I thought, “Hot cross buns must be really good for someone to make a song about it!” Though I wasn’t Catholic, I always wanted to try one, but learned that the buns were traditionally sold only around Good Friday and Easter (the buns are eaten on Good Friday to mark the end of Lent). Also, the buns were much more common in England, where the recipe originated. Still, I loved the story and tradition behind the buns and eventually got to try one and loved it.

Hot cross buns are essentially individual spiced rolls with raisins, candied peel and marked with a cross on the top. Traditionally the cross is made with pastry dough, but I prefer the variation with icing on top. Also, in my recipe, I’ve used dried currants instead of raisins. I like using currants because they’re smaller in size, and you get a better fruit distribution throughout the dough. Finally, I’ve added a maple glaze finish which gives the buns a little more sweetness and sticky exterior. If you like dried fruit and spices, these buns are for you. Happy Easter and enjoy!

Maple Glazed Hot Cross Buns

Yield: 12 rolls

1 tablespoon of active dry yeast
1 cup of low fat milk
1/2 teaspoon of sugar
4 cups of bread flour
1/4 cup of sugar
1/2 teaspoon salt
1/2 teaspoon of ground cinnamon
1/4 teaspoon ground nutmeg
1/4 teaspoon ground allspice
1/8 teaspoon clove
1 large egg
1 egg yolk
1/2 cup of butter, cut in 1/2 in cubes (soften at room temperature)
1/2 cup dried currants or raisins

Egg Wash

1 large egg
2 teaspoons of low-fat milk
Pinch of salt

Maple Glaze

1/2 cup of real maple syrup
2 tablespoon butter

Maple Icing

3/4 cup of confectioner’s sugar
1 tablespoon of real maple syrup
1 teaspoon of milk
1/4 teaspoon vanilla extract

 
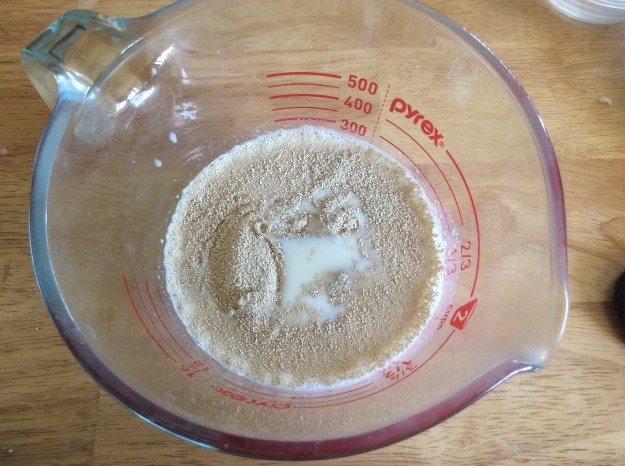
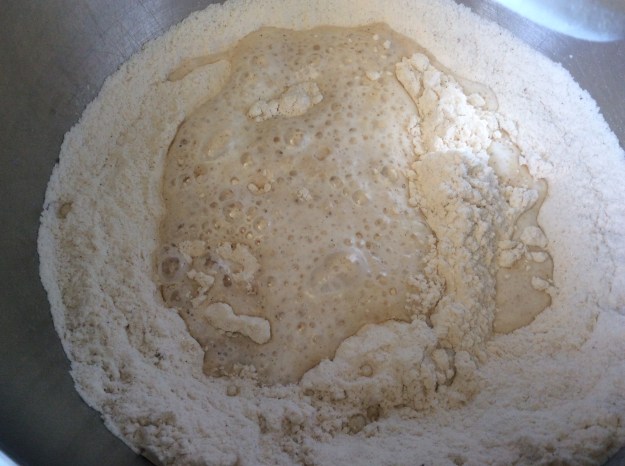
1. Heat the milk to 100°. Transfer to glass bowl.

image

2. Add the yeast and sugar. Set aside.

image

3. In the bowl of a stand mixer add the flour, sugar, salt, and spices. Quickly whisk the mixture and add the dough hook attachment.

image

4. Give the yeast and milk mixture a quick stir and add it to the flour mixture. Add the egg, egg yolk, and butter.

image

5. Knead the dough on the lowest mixer setting. Once the dough comes together, knead for about 5 more minutes until the dough is smooth.

image

6. Transfer the dough to a lightly-floured workstation.

image.jpeg

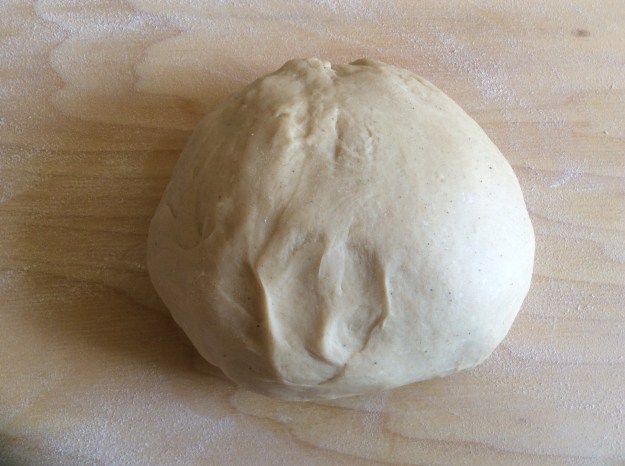
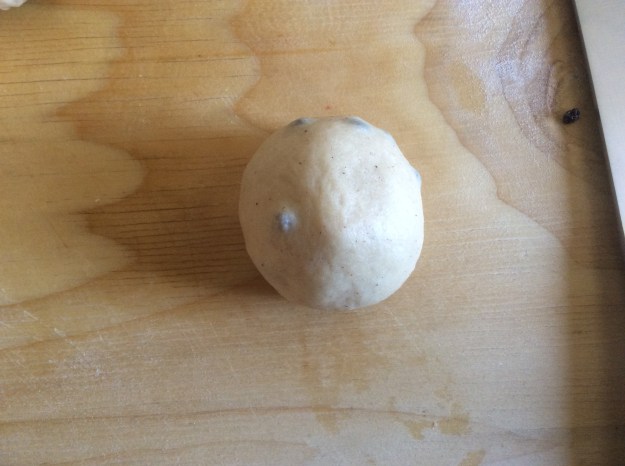
7. Fold in the currants. Shape into a ball.

imageimage

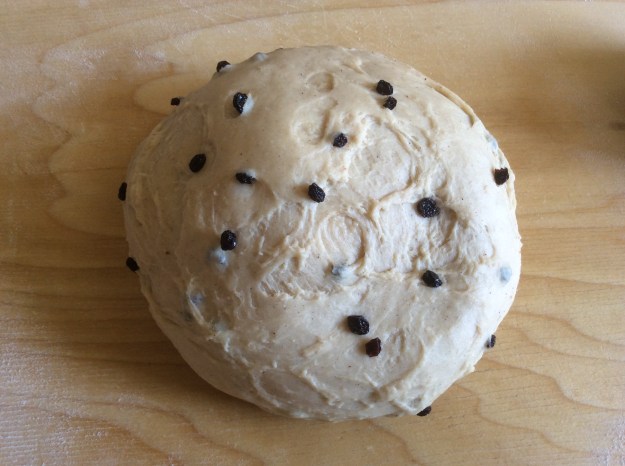
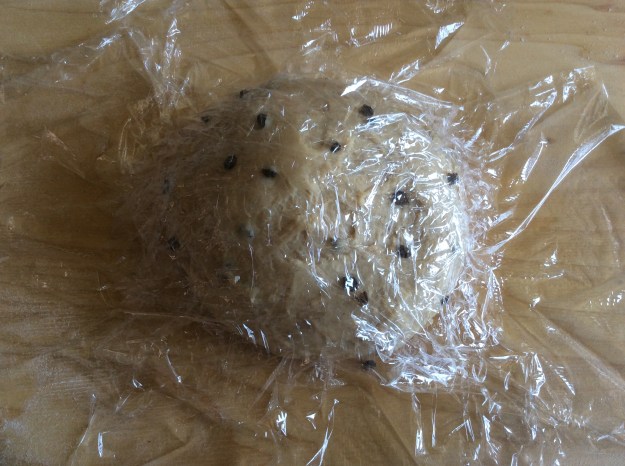
8. Cover with plastic wrap and leave at room temperature until it doubles in size (this should take about 1 1/2 hours).

image.jpeg

9. Cut the dough into 12 equal sized pieces. Cupping your hand, take one portion of the dough and roll it on a lightly-floured workstation until it looks a ball.

imageimage

10. Repeat until you get 12 balls, transferring each one to a parchment-lined baking sheet as you finish. (Make sure you space out the rolls a bit, because they will rise again).

image

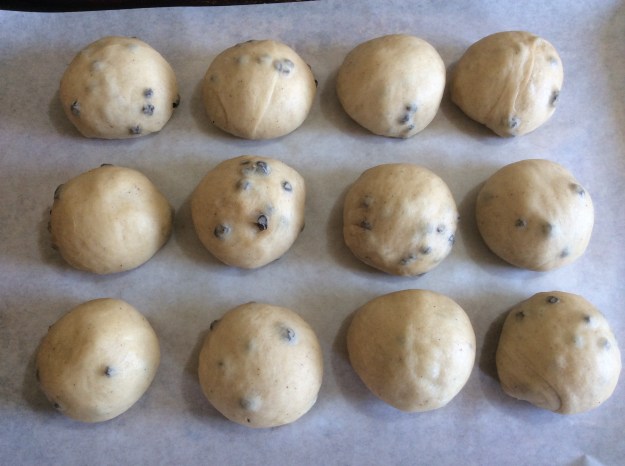
11. Cover with plastic wrap and let it rise at room temperature for about 45 minutes.

image


12. Preheat oven to 350°. To make the egg wash, whisk the egg, milk and salt.

13. Remove the plastic wrap off the buns and brush each bun with egg wash.

image

14. Bake for 22-25 minutes. The top will be golden brown when ready.

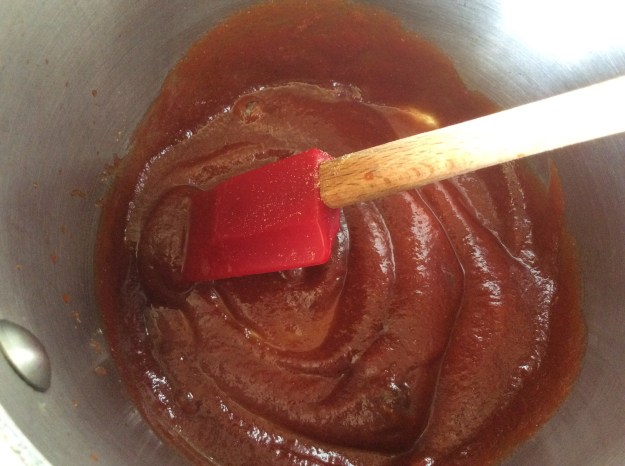
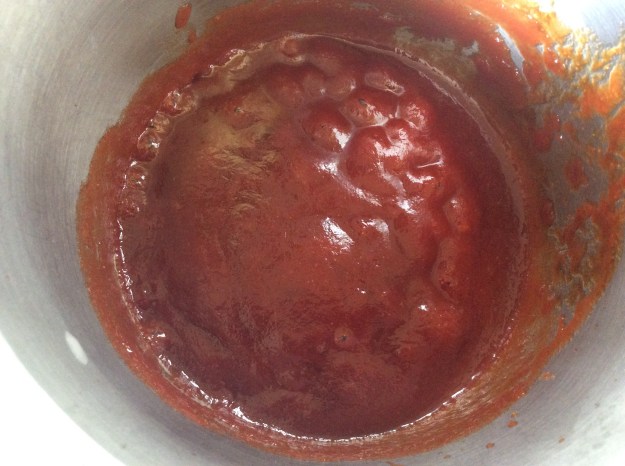
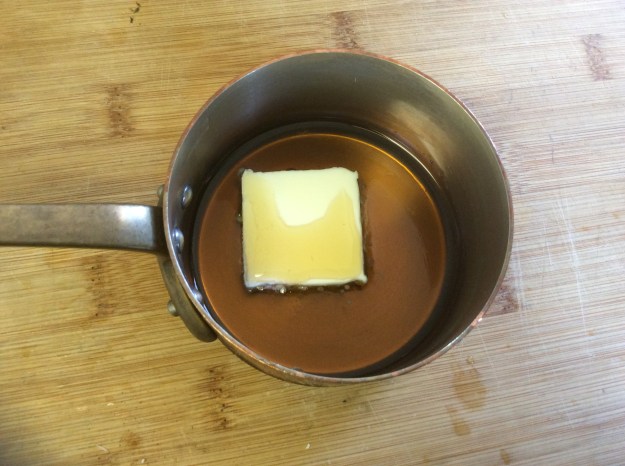
15. While the buns are baking, make the maple glaze by adding the maple syrup and butter to a small sauce pan. Cook on medium for about 5 minutes, stirring occasionally. Remove from heat and set aside.

image

16. Once the buns are out of the oven, brush generously with the maple glaze. Let cool for about 10 minutes.

image

17. While the buns are cooling, make the icing by whisking the confectioner’s sugar, milk, maple syrup, and vanilla extract together in a bowl.

image

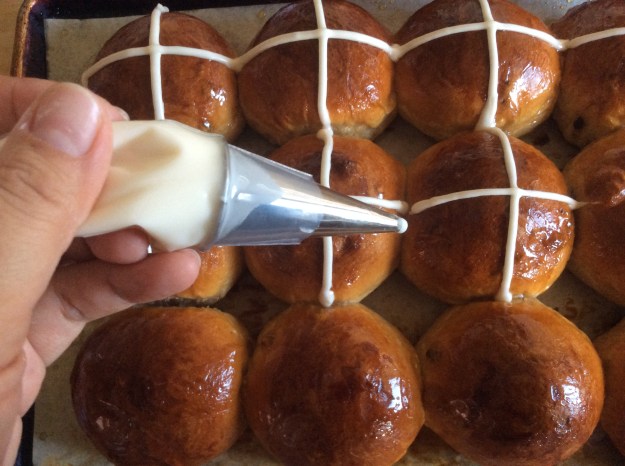
18. Place the icing in a piping bag with a small tip (4 mm) or alternatively, place the icing in a plastic baggie and cut a small hole in one corner. Pipe a cross on each bun.

imageimage

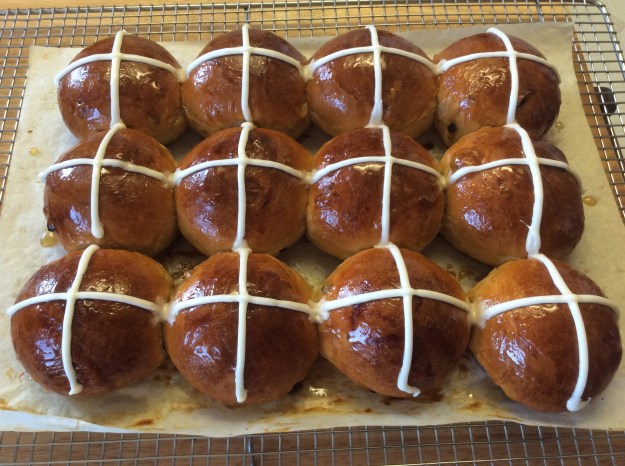
19. To serve, cut a bun horizontal and spread a little butter. These are best eaten the day they are made, but you can place any remaining rolls in an airtight container for up to 3 days. After the first day, they are best toasted with a pat a butter.

image

Advertisement

Dried Scallop Fried Rice

When I was in Hong Kong back in 2005, I had this incredibly delicious fried rice. Unlike most fried rice I’ve had at other Chinese restaurants, it wasn’t greasy and had very few ingredients: white rice, egg whites, dried scallops, and scallions. There’s no soy sauce or oyster sauce to overpower the subtle shellfish flavor of the dried scallops. The fried rice made the dried scallops the star. I loved the simplicity of the dish. Since then, I have tried several versions of this fried rice in Southern California, but none have been quite like the one I had in Hong Kong. So I decided to tackle the recipe myself.

Making fried rice is not difficult, but making good fried rice requires a few things. First, the rice should be cold, and typically a day old. This prevents clumping when frying the rice. Also, the rice should be fully cooked, but firm. You don’t want to use soft rice or your fried rice will be mushy. Also, make sure you use good-quality rice. Your recipe is only as good as its ingredients. Finally, making fried rice is fast process; once you have all the ingredients prepped, it’s just a matter of a few minutes before the dish is ready to be served.

Note: In addition to making the rice a day in advance, the dried scallops must be soaked overnight in the refrigerator. Please read the entire recipe first before starting this dish. Enjoy!

Dried Scallop Fried Rice

Serving Size: 4

7 large or 10 small dried scallops (soaked in water overnight)*
1 1/2 cup of chicken stock or low-sodium chicken broth
Sunflower seed oil or other neutral oil
3 egg whites
1/4 cup of choy sum stems, no leaves (thinly sliced)*
4 cups of cooked jasmine rice (day old)
2 scallions, thinly sliced
Sea salt
Freshly ground black pepper
1 teaspoon of roasted sesame oil
Chili oil for serving (optional)

1. Take the scallops out of the water. Discard the water. Remove the tough muscle from each scallop.

imageimage


2. Pour the chicken stock into a small sauce pan and add the scallops. Bring to a simmer and reduce to low and cover with a lid. Cook on low for 30 minutes.

image

2. Strain out the liquid, but don’t discard. Reserve the liquid and let scallops cool.

imageimage

3. Once the scallops have cooled, shred them with your fingers. Set aside.

image

4. Heat a large wok on high. Add 1 tablespoon of oil to the wok, swirl. Quickly beat the egg whites. Quickly cook the egg whites and remove from the wok. Set aside.

image

5. In the same wok, add 1 more tablespoon of oil. Add the the choy sum stems, and sauté for 30 seconds.

image

6. Add the rice and 1/4 cup of the reserved liquid and quickly stir letting the rice absorb the liquid.

image

7. Add the shredded scallops, sliced scallions, and a good pinch of sea salt. Fold to incorporate. Don’t over stir or you’ll break up the rice.

image

8. Finally, add cooked egg whites, sesame oil and some black pepper to taste. Give it a quick stir to incorporate. Turn off heat.

image

9. Divide the rice in 4 bowls and serve with a side of chili oil.

image

*You can find dried scallops in most large Chinese supermarkets or Chinese dried herb and supplement stores. Make sure you buy the Japanese dried scallops.

image

*Choy sum is a leafy, green vegetable sold in Asian Markets.


image


Mini Blackberry Cobblers

When I think of blackberry cobbler, Cynthia’s Restaurant (now defunct) on 3rd in Los Angeles comes to mind. Like many, I used to frequent the restaurant just for their famous blackberry cobbler, however, the owner was not too keen on diners who didn’t eat their entire meal (appetizer, entree and dessert) at the restaurant. The problem was, aside from their boneless fried chicken and their cobbler, everything else was mediocre at best. The restaurant survived as long as it did because of their blackberry cobbler, but in the end, their one famous desert could not save the restaurant. When the restaurant closed their doors, I was pretty bummed.

This easy blackberry cobbler recipe is a tribute to Cynthia’s version. The mini cobblers are made in tall, individual ramekins, and meant to be shared like the ones they served at the restaurant. My version has a crumble made with roasted, ground almonds and locally milled Sonora wheat flour, giving the dessert a nice nutty flavor. This recipe makes 3 mini cobblers either in 1 cup ramekins highlighting the berries or in shallow creme brûlée ramekins with a more even crumble-berry ratio. Either way, there is plenty of crumble topping for the cobblers. Also, you can substitute the blackberries with other berries or make mixed berry cobblers. Add your favorite vanilla ice cream on top, and you have a warm and cold comforting sweet dessert.

Mini Blackberry Cobblers

Yields: 3 mini cobblers (6 servings)

4 1/2 cups of fresh blackberries (washed and dried)
3 tablespoons of dark brown sugar
2 teaspoons of organic corn starch
2 teaspoon of lemon juice, freshly squeezed
1 recipe of crumble topping (recipe below)
Your favorite vanilla ice cream, for serving

1. Preheat the oven to 375 °.

2. Place blackberries in a medium mixing bowl. Add the brown sugar, corn starch, and lemon juice. Toss to coat the berries evenly.

image

3. Divide the berries evenly among 3 ramekins (either the tall 1 cup ramekins or the shallow creme brûlée ramekins).

imageimageimage

4. Top the berries with a generous amount of crumble. You may have some crumble mixture left-over.

image

5. Place the cobblers on a parchment-lined baking sheet. Bake for about 30-40 minutes. Check after 25 minutes. You want a nice golden brown crumble and the juices from the berries bubbling and overflowing. Remove from the oven and placed on a wire rack to cool for about 5 minutes.

imageimage

6. Serve warm with a large scoop of vanilla ice cream on top.

image


Crumble Topping

3/4 cup of Sonora wheat flour or unbleached all-purpose flour
1/2 cup of ground roasted almonds*
1/3 cup of dark brown sugar, packed
1/4 teaspoon of Kosher salt
5 tablespoons of cold unsalted butter, cut in 1/4″ cubes

1. In a medium bowl, add the flour, ground almonds, brown sugar, and salt. Stir well with a whisk or fork.

image

2. Add the cold butter to the dry mixture. Using your clean hands, incorporate the butter into the dry mixture by rubbing them between your fingers. You should get nice little clumps of dough.

imageimage

3. Cover the bowl with plastic wrap and place it in the refrigerator until ready to use.

*To make the roasted ground almonds, place 2/3 cups of whole raw almonds on a baking sheet. Roast for about 7 minutes. Cool. Pulse in a food processor until you get a coarse ground texture. Measure out 1/2 cup for this recipe.

Chicken and Mushroom Omurice

One of my favorite foreign films is Tampopo, a hilariously fun “ramen western.” The main storyline focuses on the quest to make the best ramen with bizarre food-related vignettes imbedded throughout the movie. One of my favorite scenes is when a vagabond sneaks into a restaurant kitchen and makes a perfectly cooked omurice (Japanese rice omelet) for a young boy. You can tell the vagabond was a skilled cook by the way he maneuvered the scrambled egg in a pan. Tampopo Omurice Clip. After watching that scene I wanted omurice so badly, I went into the kitchen made my own.

Although omurice originated in Japan, Koreans have adopted this breakfast dish and many Korean home cooks make the dish for their children. This rice omelet is so popular with Korean kids, in fact, there’s even a childhood song about it. So what is in omurice, you ask? The main ingredient is cooked rice, but the condiment that gives the rice a reddish hue is ketchup. I know the recipe sounds weird, but trust me, it’s pretty good and kids love it. My recipe has soy sauce to temper the tartness of the ketchup and sautéed shiitake mushrooms for more savory notes. You’ll get sweet, sour, salted and umami flavors in one bite. The trickiest part of this dish is making the perfectly football-shaped egg omelet, or you can fry the egg-like crepe and drape it over the rice instead. Either way it’s delicious! Enjoy!

Chicken and Mushroom Omurice

Serves 4

1 1/2 tablespoons of sunflower oil or other neutral oil (used in two steps)
1/4 cup of chopped onion, small dice
2 garlic cloves, minced
4 ounces of fresh shiitake mushrooms, stems removed and thinly sliced
1/4 cup of chopped roasted red bell pepper
2 tablespoons of organic ketchup*
1 tablespoon of organic soy sauce*
2 teaspoons of Maggi or 1/2 teaspoon of Kosher salt
1/2 teaspoon of brown sugar
3 cups of cooked short-grain rice
6 ounces of chopped, marinated, and cooked chicken (recipe below)
2 scallions, thinly sliced
2 tablespoons of fresh cooked peas or frozen peas
Freshly grated black pepper
8 eggs, beaten with a pinch of salt
1/2 cup of omurice sauce (recipe below)

image

1. Heat a wok or large sauté pan over medium-high heat. Add 1 tablespoon of oil. Then add the chopped onion and sauté for about 2 minutes.

image

2. Add the mushrooms and the garlic to the wok and sauté for 3 more minutes or until all the liquid is evaporated. Add the chopped red bell pepper and sauté for one more minute.

image

3. Next, add the ketchup, soy sauce, Maggi, and brown sugar to the wok. Stir well. Cook the sauce until it starts to bubble.

image

4. At the cooked rice. Stir to coat the sauce over the rice. Add the cooked chicken and stir well for about 1 minute.

image

5. Finally, add the chopped green onions and peas and stir until they are evenly distributed into the rice mixture. Taste for seasoning to see if it needs salt or pepper. Turn off the heat and cover the rice to keep warm while making the omelet.

image

6. Heat a 6-inch nonstick pan on medium heat. Add a 1/2 tablespoon of oil. Add some beaten eggs to the pan, just enough to coat the entire pan (this will be about 2 eggs or 6 tablespoons)

image

7. Now you have to work quickly. Once the eggs start to cook on the bottom, quickly tilt the pan away from. Start folding the egg using your wrist to create an omelet that resembles a football. You want the center to be runny.

image

8. Place a mound of omurice rice mixture, the same size has the omelet, on a plate. Carefully placed the omelet on the mound of rice.

imageimage

9. Spoon some sauce on top of the omelet and sprinkle with some chopped green onions. Make 3 more omelets. Serve with Japanese pickles.

image


Marinated Chicken for Omurice

2 chicken tenders (about 6-7 ounces), chopped into 1/2 inch pieces
1 teaspoon of soy sauce
1 teaspoon of sake
1/2 teaspoon of sugar
1/2 teaspoon of organic cornstarch*
1 teaspoon of sunflower oil.

1. Mix all ingredients in a bowl and let marinate for 20 minutes.

image

2. Heat a medium sauté pan over medium-high heat. Add 1 tablespoon of oil to the pan and add the marinated chicken in one layer. Leave undisturbed for about one minute.

image

3. Flip the chicken over and cook for another 30 seconds.

image

4. Quickly sauté for about 1 more minute. Transfer to a bowl and set aside for the omurice recipe.

image


Omurice Sauce

1/2 cups of organic ketchup*
1 tablespoon of brown sugar
1 teaspoon of mirin
1 teaspoon of organic soy sauce*
1/2 teaspoon of mustard powder

1. Place all the ingredients in a small nonreactive sauce pan. Stir well breaking up the brown sugar.

image

2. Cook over medium heat for about 3 minutes or until the sauce starts to bubble.

image

3. Turn off heat and cover with a lid until ready to use.
*If at all possible, try to use organic corn-based or soy-based products. Most of the corn syrup, cornstarch, and soy products sold in the stores are GMO.