Monthly Archives: April 2016

Sweet and Spicy Shrimp

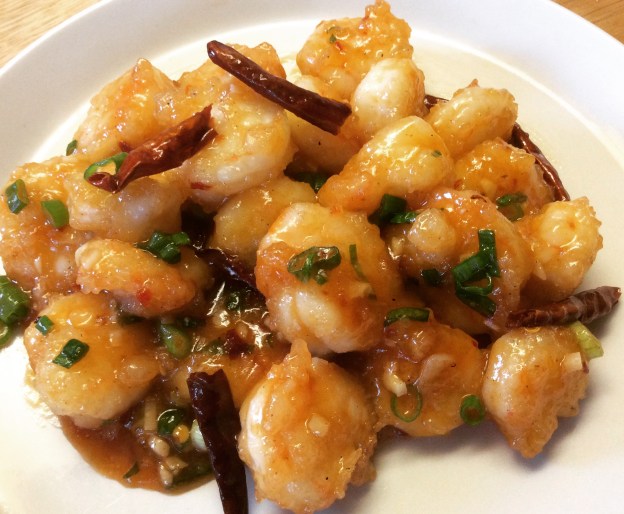
Kan Pong Sae Woo is a popular shrimp dish at Korean-style Chinese restaurants. It is essentially sweet and sour shrimp with a little heat. My older son loves shrimp and whenever we order take-out at Dragon restaurant in Koreatown, we include this dish in our order. Dragon makes their shrimp with a lot of batter, but I created a version with a light cornstarch coating. The shrimp in this recipe is supple and juicy and has a little pop when you bite into it. The trick is a method call salt-leaching.

Salt-leaching is a technique used by many Chinese chefs and I learned it from reading one of David Rosengarten’s books. You add roughly 1 teaspoon of salt per pound of raw shrimp, toss and let sit for 30 minutes. Rinse. Add more salt. Rinse. Add more salt. Rinse. This process does not make it salty, but glossy, supple, and almost crunchy….like sweet shrimp at sushi restaurants. You can use this technique for other recipes like shrimp fried rice or when adding shrimp to a stir-fry. You will be pleased with the results. Enjoy!
Sweet and Spicy Garlic Shrimp

Serving Size: 2 or 4 with other sides

12 ounces of medium shrimp, peeled and deveined (31-40 count per pound)*
1 1/4 teaspoon of Kosher salt, divided
2 tablespoons of sugar
1 tablespoon of rice wine vinegar
1 tablespoon of organic ketchup
1/2 teaspoon of ground chili paste (Sambal Oelek)
1/2 teaspoon of organic soy sauce
1/2 teaspoon of ginger juice*
1/4 teaspoon of Kosher salt
1 teaspoon of pineapple juice, optional
1/4 cup of cold water
3 tablespoons plus 1/2 teaspoon of organic cornstarch or potato starch
1 1/2 cups of sunflower oil or peanut oil
2 garlic cloves, minced
2 green onions, thinly sliced crosswise
6-7 dried Tien Tsin or Arbol chiles
Steamed Jasmine rice

 
1. Place the shrimp in a colander over a bowl. Sprinkle the 3/4 teaspoon of salt and toss to coat. Let sit at room temperature for 30 minutes.

image

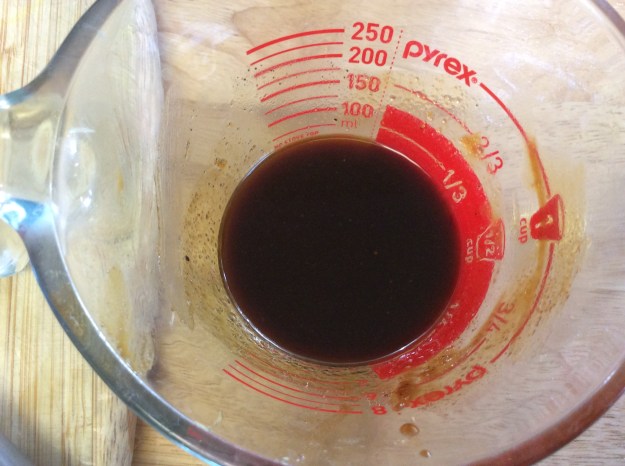
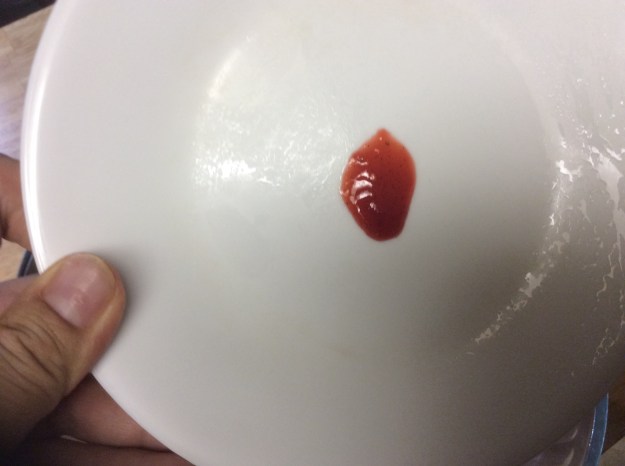
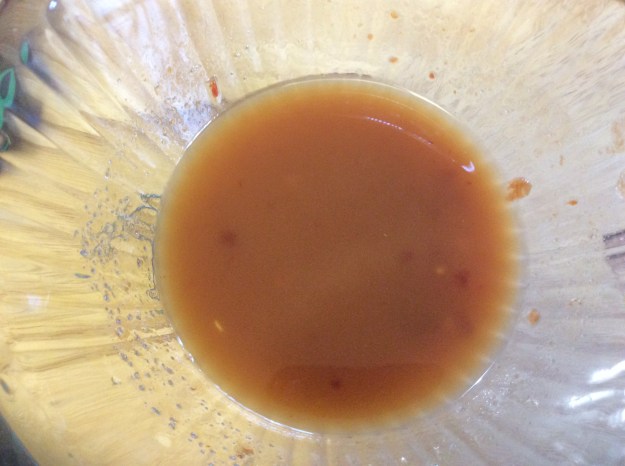
2. Meanwhile, add the sugar, vinegar, ketchup, chili paste, soy sauce, ginger juice, salt, and pineapple juice in a small bowl. In another small bowl, add the 1/2 teaspoon cornstarch and water and whisk well. Set aside both mixtures until ready to use.

image

3. At the 30 minute mark, heat oil in a wok or a deep-fryer to 375°.

4. While the oil is heating, thoroughly rinse the salt off the shrimp with cold water. Add 1/4 teaspoon more salt and toss. Wait 30 seconds. Rinse. Repeat one more time. Pat dry with paper towels.

image

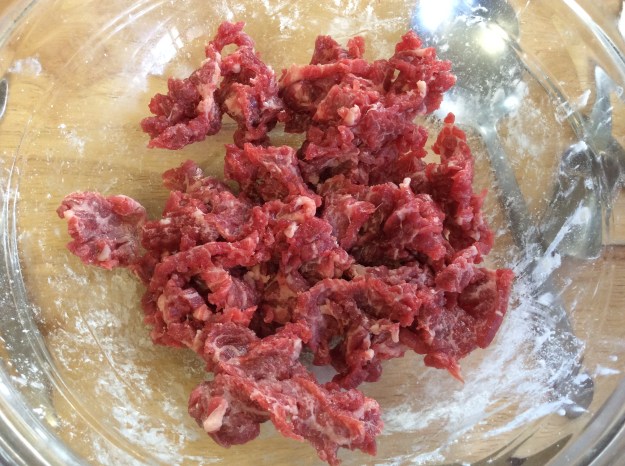
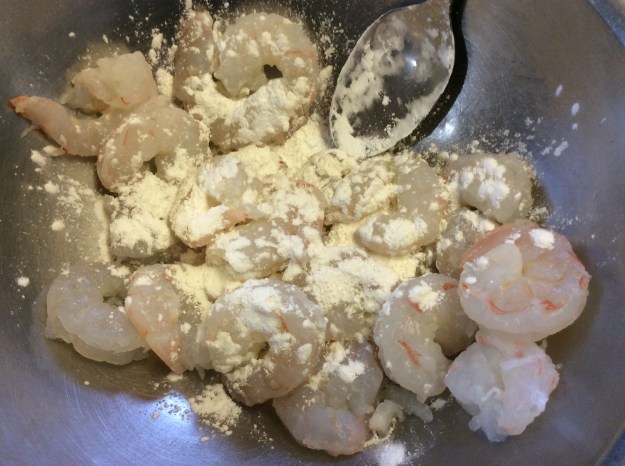
5. Transfer the shrimp to large bowl and add 3 tablespoons of cornstarch. Toss well.

image

6. Once the oil reaches 375°, add half of the shrimp. Deep-fry the shrimp for about 45 seconds or until the coating is nice and crispy. Remove the shrimp with a spider or slotted spoon and place them in a colander lined with a paper towel. Repeat with the process with other half of the shrimp.

image

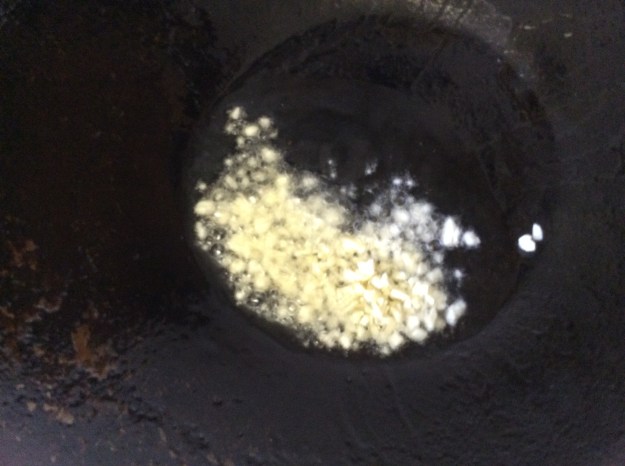
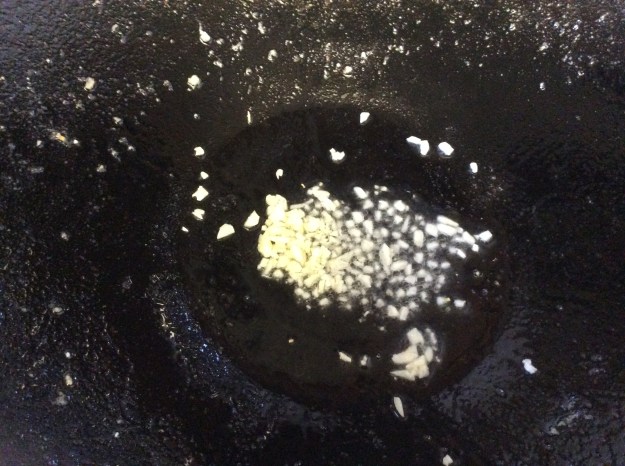
7. If using a wok, carefully pour out the oil into another pan. Place the wok back on the burner on high. Add garlic and sauté for 15 seconds.

image

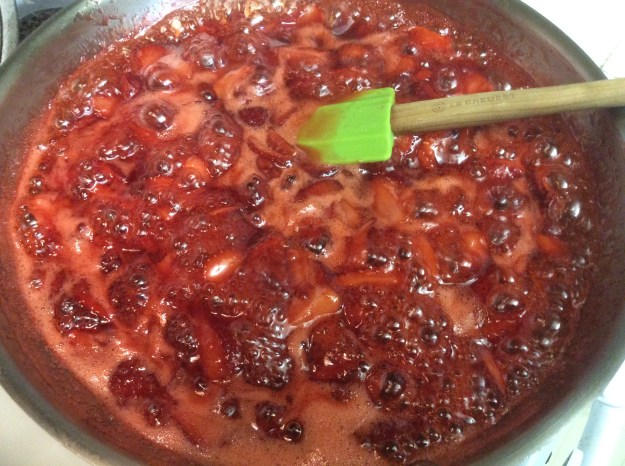
8. Give the water and cornstarch mixture a quick stir and add it to the sauce mixture. Pour the entire mixture to the wok.

imageimage

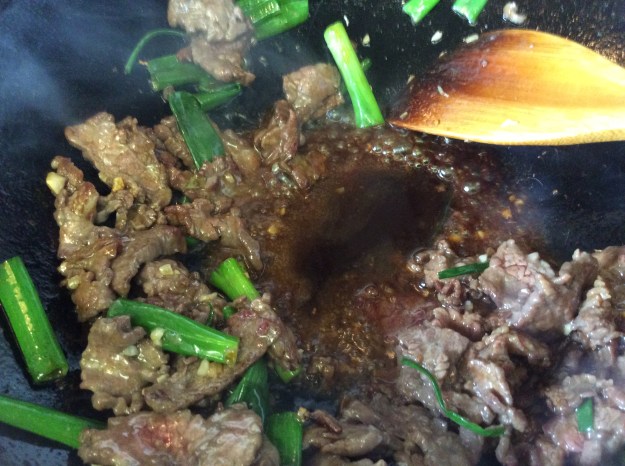
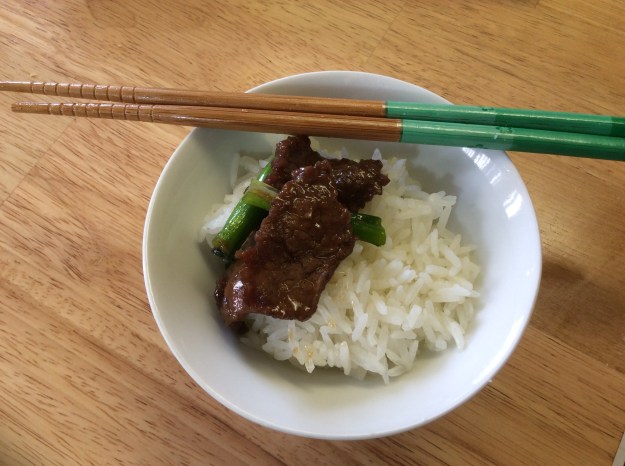
9. Once the sauce thickens, add all the cooked shrimp, dried chiles, and scallions. Toss to coat. Transfer to a plate and serve immediately.

imageimage

*When buying frozen shrimp, make sure there are no other ingredients besides shrimp. Avoid shrimp with additives like sodium tripolyphosphate. There is no need for preservatives. If at all possible, purchase wild caught shrimp.

*To make ginger juice, finely grate about 1 teaspoon of ginger. Squeeze the grated ginger over a fine mesh sieve. Discard the ginger solids and use ginger liquid for the recipe.

Advertisement

Cherry Ricotta Hand Pies

First of the season cherries have arrived in California! Cherries are one of my favorite fruits, in part because the season is so short. Since cherries aren’t available at the market year-round, they feel extra special when they become available. When they’re in season, I especially like to bake them in desserts like muffins and pies. A good cherry pie is crispy and flaky with a nice golden color. When I think back to my first cherry pie experience, oddly enough, it was at McDonald’s.

Back in the 80’s, McDonald offered two different pie options: cherry and apple. They were delicious, deep-fried, individual hand pies. My mom would buy me one after ballet or choir performances and it always made me smile. McDonald’s cherry pie inspired me to make own version, but with a couple changes: my pie is baked instead of fried, and also has ricotta added to cut down on the sweetness. The dough is flaky and the crystal sugar adds a little crunch. There are some steps required before assembling the pies, so please read the entire recipe before you start. Also, you can prepare the pie crust a day in advanced. Enjoy!

Cherry Ricotta Hand Pies

Yields: 4 hand pies

Ingredients

1 cup of flour
2 tablespoons of sugar
1 teaspoon of baking powder
1/2 teaspoon of salt
1/2 stick of cold butter (cut into cubes)
1/8 cup of cold water
2 cups of pitted red cherries
1/3 cup sugar
2 tablespoon of organic cornstarch
Pinch of Kosher salt
1 tablespoon of lemon juice
8 ounces of ricotta, drained overnight in cheese cloth
1/2 teaspoon of lemon zest
1/2 teaspoon of vanilla
1 egg, beaten (divided in half)
2 teaspoons of whole milk
Sugar crystals for sprinkling

 
1. To make the pie crust, place flour, 2 tablespoons of sugar, baking powder, and salt in a food processor.

2. Pulse 3-4 times.

3. Add butter, pulse 3-4 times.

4. Add water. Pulse 2-3 times until the dough comes together.

5. Move the dough to work station, gently knead until it just comes together and form into a disk. Do not overwork the dough or it will yield a tough crust.

6. Wrap with plastic wrap and place in the refrigerator for at least 2 hours.

7. To make the cherry filling, add cherries to a sauce pan and turn the heat to medium.

image

8. Cover pan with lid and simmer for 10 minutes.

9. Meanwhile, whisk sugar, cornstarch and salt. Remove lid and stir in the dry mixture until no lumps are visible.

10. Add lemon juice and cook for 2 more minutes.

11. Remove from heat and cool completely. Set aside.

12. To make the ricotta filling, add the ricotta, lemon zest, vanilla extract, and 1/2 of the beaten egg in a small bowl. Stir until just combined. Cover with plastic wrap and place in refrigerator until needed.

13. Take the other half of the beaten egg and 2 teaspoons of milk and whisk. Cover with plastic wrap and place in refrigerator until needed.

14. It’s time to assemble the pies. Lightly dust a work station with flour. Roll out pastry dough until 1/8 of an inch thick. Cut into 4 inch squares.

image

15. Add a tablespoon of ricotta filling and a tablespoon of cherry filling on top. Brush with egg wash around the perimeter. Fold over and seal, making a rectangle. Using the tines of a fork to press along the edges to secure the seal.

16. Place on a parchment-lined baking sheet. Repeat with the other four hand pies. Place in the freezer for 30 minutes.

17. Preheat on oven to 350°. Remove the hand pies from the freezer and score 3 diagonal lines on top of each pie. Brush with egg wash. Sprinkle sugar crystals generously on each hand pie. Place the baking sheet in the oven and bake for 25 to 30 minutes until nice and golden brown. Place on a cooling rack for 15 minutes. Serve warm.

image

Mongolian Beef

Growing up in Koreatown in LA, the Chinese food I ate was quite different from the Chinese food I know today. Most of the Chinese restaurants in Koreatown served Mandarin cuisine, and the owners, servers, and cooks were all Chinese who previously lived in South Korea. When communicating with their customers, they spoke perfect Korean, and when talking amongst themselves, they spoke Mandarin. The food served at these Chinese restaurants was adapted for the Korean palate, with lots of bold flavors. (They even served cabbage kimchee with every meal!) One of my favorite dishes at these Korean-Style Chinese restaurants is Mongolian beef.

Mongolian beef is a dish with a distinct hoisin flavor and lots of scallions. What makes this dish so unique is the texture of the beef – unlike most sautéed meat dishes, the beef is extremely tender. The trick, I learned, is to tenderize the beef with baking soda. Just 1/4 teaspoon will tenderize 8 ounces of beef. I tried this technique at home with flank steak and it worked like a charm, yielding the same tenderness as the Mongolian beef I’ve had at Young Dragon Restaurant. The key is to not let the beef tenderize in the baking soda too long, so be sure not to tenderize the meat until you have everything prepped. As always, please read the entire recipe before you start. Enjoy!

Mongolian Beef

Serving Size: 4 (with rice and side dishes)

8 ounces of flank steak (thinly sliced against the grain)*
1/4 teaspoon of baking soda
1 teaspoon of organic cornstarch
2 tablespoon of homemade chicken stock or low sodium chicken broth
2 tablespoons of organic soy sauce
1 tablespoon of hoisin sauce
2 teaspoon of sugar
1/2 teaspoon of fresh ginger juice*
Freshly grated ground pepper
2 tablespoon of sunflower or peanut oil
2 garlic cloves, minced
3 organic scallions, sliced in 2 inch pieces
Steamed jasmine rice
Kimchee for serving

1. Place the flank steak in a small glass bowl. Sprinkle the baking soda all over the meat. Give it a good stir to coat evenly. Let the meat tenderize for 15-20 minutes.

imageimage

2. While the meat is tenderizing, in a glass measuring cup, add the chicken sock, soy sauce, hoisin sauce, sugar, ginger juice, and good pinch of freshly grated pepper. Whisk and set aside.

image

3. Once the the meat is tenderized, sprinkle the cornstarch and mix until all the meat is coated. Heat a wok or large stainless steel pan on high, adding 2 tablespoons of oil in the wok. Add the minced garlic and stir fry for 10 seconds.

imageimage

4. Add the beef, spreading it out so most of the meat touches the surface of the wok. Let it sit undisturbed for 1 seconds. Sauté until the beef is slightly pink (about 45 more seconds).

image


5. Add the green onions and stir for a few seconds. Quickly move the beef and green onion to the sides of the of the wok, creating a well.

image

6. Add about 2/3 of sauce mixture into the center of the wok. Let the sauce thicken for about 30 seconds. Bring the meat down from side of the wok. Sauté into the sauce for 30 more seconds. Taste for seasoning and add more sauce, if needed.

image

7. Transfer to a serving plate. Serve immediately with steamed jasmine rice, kimchee and other vegetable side dishes.

imageimage

*Cut the flank steak against the grain, just shy of 1/4 inch in thickness and about 2 inches wide.

*To make ginger juice, finely grate about 1 teaspoon of ginger. Squeeze the grated ginger over a fine mesh seive. Discard the ginger solids and use ginger liquid for the recipe.


Refrigerator Strawberry Vanilla Jam

When strawberries are in season and plentiful at the farmers market, one of my favorite (and easiest) projects is to make strawberry jam. Not to be confused with preserves – which involves a specific preserving process – jam can just be jarred and will keep in the refrigerator for up to three weeks. I prefer to make my own jams because I find most store-bought versions to be too thick and too sweet, but one brand I do like is Bonne Maman, which is imported from France. I actually modeled my homemade jam after their preserves, which have the consistency and level of sweetness that I am looking for, and as a result my recipe uses 1/3 less sugar than most other recipes.

This recipe is relatively simple, but some attention is required during the active cooking process. The key to a successful jam is making sure you stir often so the sugars don’t burn on the bottom, and making sure not to overcook it. You want the jam to flow nicely when you spread it on bread, but not to be runny where it looks like a sauce. Testing the cooked jam on a cold plate will tell you what the consistency will be like once the jam cools.

This strawberry jam only uses five ingredients and can be made in less than 15 minutes, so you can make it whenever you run out. It also has lovely vanilla notes from the added vanilla seeds. Enjoy your jam session!

Refrigerator Strawberry Vanilla Jam

Yield: One 8-ounce jar

1 lb of fresh strawberries (washed, hulled, and sliced 1/4 thick) about 4 cups sliced.
2/3 cups of sugar
1 tablespoon of lemon juice
1 two-inch piece of vanilla bean
1/8 teaspoon of Fleur de Sel or flaky sea salt

image

1. Place a small plate in the freezer. Cut the vanilla bean in half lengthwise, down the middle. Scrape the seeds out using a small paring knife.

image

2. In a 12-inch copper or stainless steel pan, add the strawberries, sugar, lemon juice, and the seeds of the vanilla bean. Stir to combine.

image

3. Set on a burner at high heat. Cook for 10-12 minutes, stirring often. After 5 minutes, your mixture should have this consistency.

image

4. After about 9 minutes, remove the plate out of the freezer. At the 10 minute mark, test the jam’s consistency by placing a 1/2 teaspoon on the plate. It should be loose and not run down the plate. If it runs down the plate, cook for a couple more minutes, but don’t over cook. A good jam should not be too thick when refrigerated.

imageimage

5. Remove from heat and stir in the Fleur de Sel.

image

6. Spoon into a clean 8-ounce mason jar. Cool for 10 minutes. Add the lid and place in the refrigerator to chill. The jam keeps in the refrigerator for up to 3 weeks.

image