

I was never a fan of marshmallows growing up. The only way I would eat them was toasted over an open fire or in s’mores with chocolate and graham crackers. But that all changed the moment I had my first homemade marshmallow from Little Flower Candy Company. Unlike the store-bought marshmallows that are dry on the outside and chewy on the inside, Little Flower’s marshmallows were soft with specks of real vanilla beans. They tasted incredible and melted in my mouth, and that’s when I fell in love with their marshmallows.
After that experience, I decided to make my own marshmallows and put together some s’mores kits as Christmas gifts for my neighbors. The kits were a hit, and since then I’ve experimented with different flavors. My latest version is a Meyer lemon marshmallow, and has quickly become one of my favorites. The Meyer lemon flavor is assertive but not overwhelming. They taste like mini Meyer lemon meringue pies.
Making marshmallows isn’t difficult but there is some technique involved. When making the syrup, make sure you don’t disturb the sugar when it is cooking or it can crystallize. Also, if you have a copper saucepan, I would highly recommend using it for this recipe. Copper pans are great heat conductors and are ideal for candy-making, but if you don’t have one, a stainless pan will be just fine. The most important thing is to make sure that the pan is clean, dry and doesn’t have an oily residue, as this can effect the outcome of the syrup.
As always, please read the entire recipe before you start. Once you have homemade marshmallows, you will never want the store-bought ones again! Enjoy!
Meyer Lemon Marshmallows
Yields: 3 dozen large or 12 dozen mini marshmallows
Ingredients:
2/3 cup of water
1/3 cup of Meyer lemon juice
Nonstick baking spray or sunflower oil
1 tablespoon of Meyer lemon zest, finely grated
1 3/4 cups of sugar
3/4 cup of organic light corn syrup*
1/4 cup of honey
1/4 cup of water
2 tablespoons of powdered gelatin
1/2 tablespoon of vanilla extract
1/2 teaspoon of Kosher salt
2/3 cup of organic confectioner’s sugar
1/4 cup organic cornstarch*
Special Equipment:
Candy thermometer
Stand mixer
Pizza wheel
Plastic wrap
Directions
1. Stir the 2/3 cup of water, lemon juice and zest in a bowl and set aside.

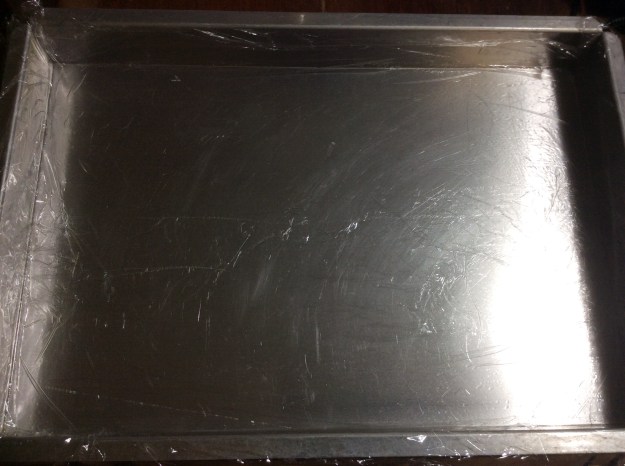
2. Spray the bottom of 9″ x 13″ pan with nonstick baking spray (or lightly brush with oil). Cover the bottom and sides of pan with plastic wrap, making sure it is smooth and adhering tightly to the surface. Spray on top of the plastic wrap to coat. Set aside.
2. In a medium saucepan add the sugar, corn syrup, honey and water. Stir just enough to combine. Get a cup of water and a pastry brush ready and set aside.


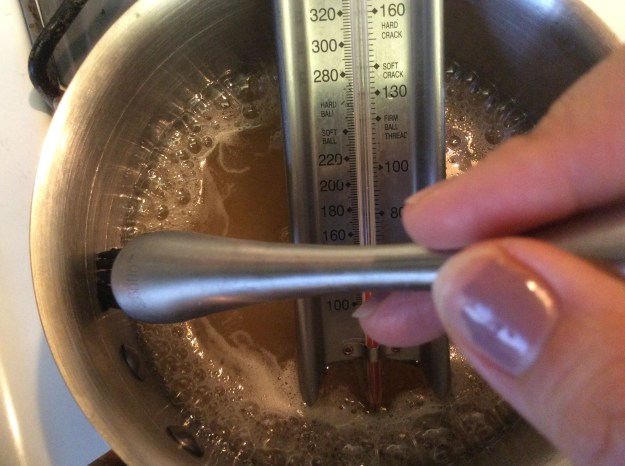
3. Place the saucepan over high heat and insert a candy thermometer. Dip the pastry brush in the water and brush the sides of the pan to prevent sugar crystals from forming. Cook until the sugar reaches firm ball stage on the candy thermometer. Do not stir. This will take about 8-10 minutes. Start checking at the 5 minute mark.
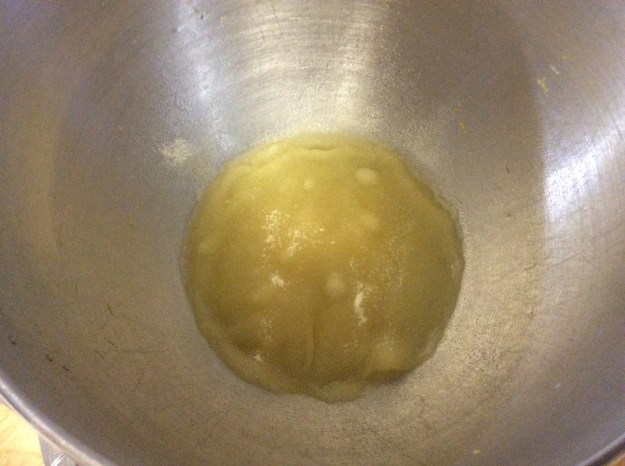
4. While the sugar syrup is cooking, add the lemon juice, water, and zest mixture to bowl in stand mixer. Sprinkle in the powdered gelatin. Let sit.
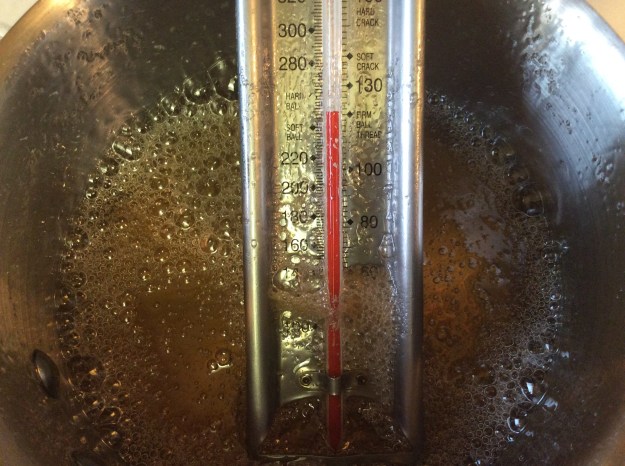
5. Check up on the sugar syrup. Once it hits the firm ball stage, immediately take the pan off the stove and let it cool. Keep the thermometer in the syrup and wait for it to drop in temperature to 220°. This will take roughly 7 minutes.

6. Add a whisk attachment to the stand mixer with the gelatin mixture and set on the lowest setting. Slowly add the sugar syrup into the bowl. It’s important that you add the sugar syrup in a very slow stream. This will take about two minutes.
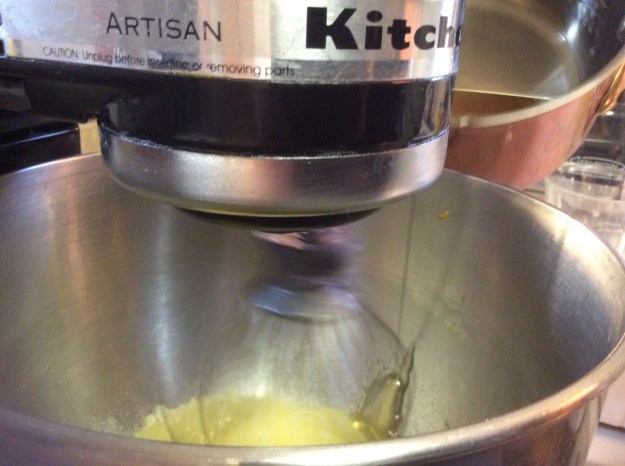
7. Once all the sugar syrup has been added, increase the speed to medium high. After about 10 minutes, turn off the mixer and add the salt and vanilla extract. Turn the mixer back on to medium high and beat or about another 10-12 minutes until the mixture becomes a thick and fluffy, like a meringue. Turn off the mixer.


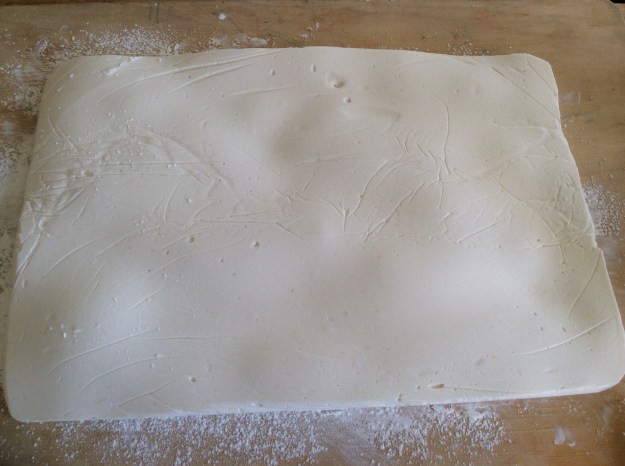
8. Using a rubber spatula, take the marshmallow mixture and spread it in the plastic wrap-lined pan. Spread evenly to ensure same thickness of marshmallow. Let stand at room temperature for about 3 hours.

9. Stir confectioner’s sugar and cornstarch and a small bowl. Sift 1/3 of the mixture over a large wooden board or a clean workstation. Take the pan with the marshmallow and flip upside down onto the cornstarch and sugar covered board. The marshmallow should easily fall out of the pan.
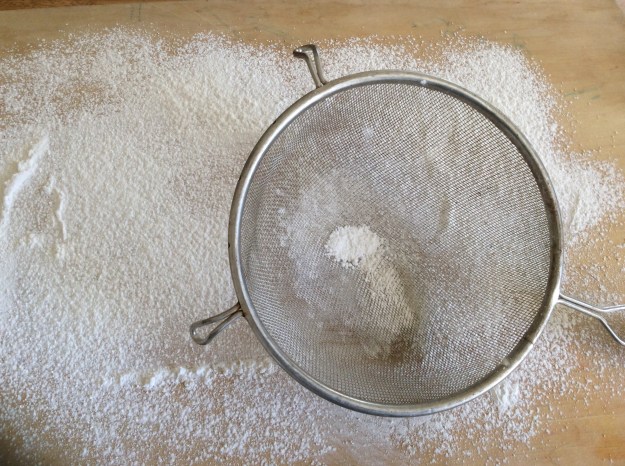
10. Sift another 1/3 of the cornstarch mixture over the top of the marshmallow.

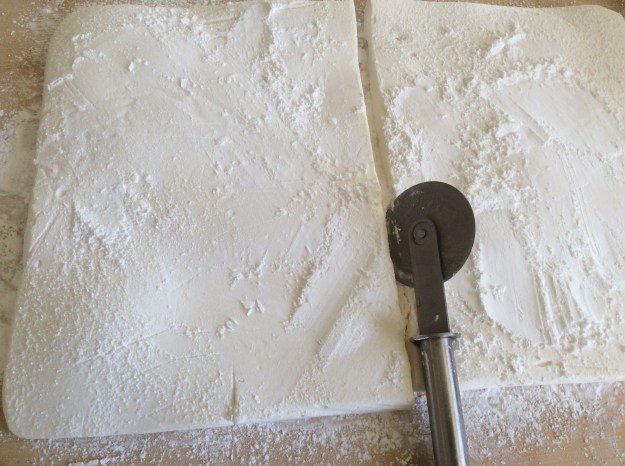
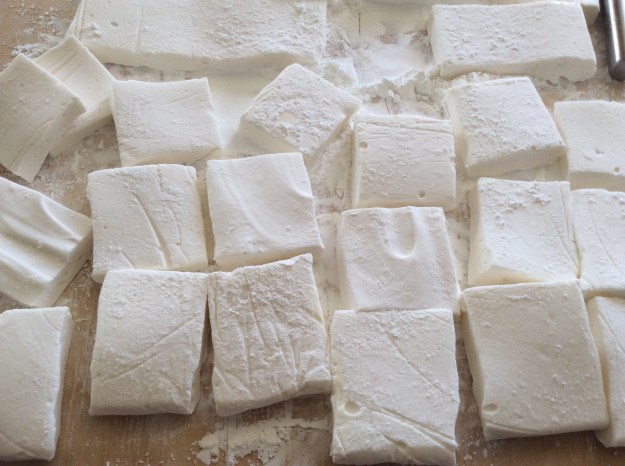
11. Spray the pizza wheel with baking spray on both sides. Cut into 36 large squares (or for smaller marshmallows, cut each of the 36 squares into 4 smaller squares). Dip the cut sides into the remaining cornstarch mixture to prevent it from sticking to the other marshmallows.
12. To store, line an airtight container with parchment paper and dust the bottom with the cornstarch mixture. Place marshmallows in a single layer. Add another layer of parchment paper and repeat.
13. The marshmallow will keep for 1 week in the container.
Alternative flavor option: If you want a traditional vanilla-flavored marshmallow, substitute the 1/3 cup of Meyer lemon juice with 1/3 cup of water. Omit the lemon zest and add the seeds of 1 vanilla bean. Increase the vanilla extract from 1/2 tablespoon to 1 tablespoon.
* If at all possible, try to use organic corn-based products. Most of the corn syrup and cornstarch sold in the stores are GMO.

