First of the season cherries have arrived in California! Cherries are one of my favorite fruits, in part because the season is so short. Since cherries aren’t available at the market year-round, they feel extra special when they become available. When they’re in season, I especially like to bake them in desserts like muffins and pies. A good cherry pie is crispy and flaky with a nice golden color. When I think back to my first cherry pie experience, oddly enough, it was at McDonald’s.
Back in the 80’s, McDonald offered two different pie options: cherry and apple. They were delicious, deep-fried, individual hand pies. My mom would buy me one after ballet or choir performances and it always made me smile. McDonald’s cherry pie inspired me to make own version, but with a couple changes: my pie is baked instead of fried, and also has ricotta added to cut down on the sweetness. The dough is flaky and the crystal sugar adds a little crunch. There are some steps required before assembling the pies, so please read the entire recipe before you start. Also, you can prepare the pie crust a day in advanced. Enjoy!
Cherry Ricotta Hand Pies
Yields: 4 hand pies
Ingredients
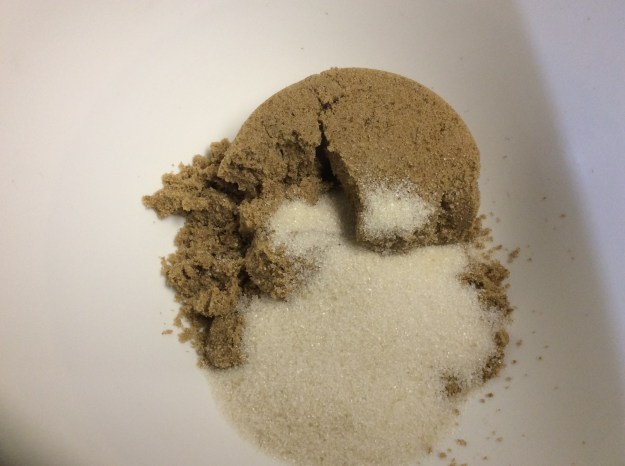
1 cup of flour
2 tablespoons of sugar
1 teaspoon of baking powder
1/2 teaspoon of salt
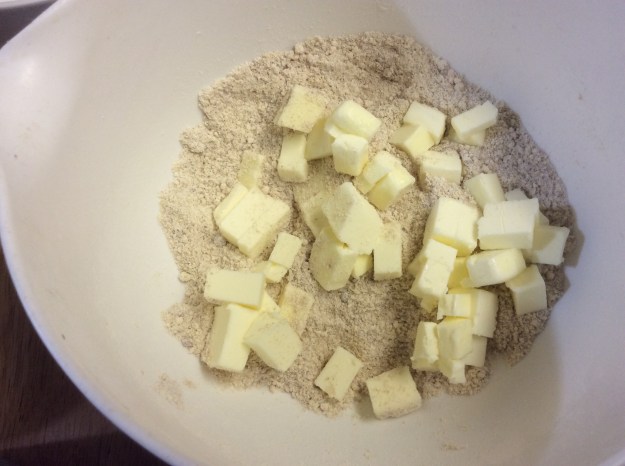
1/2 stick of cold butter (cut into cubes)
1/8 cup of cold water
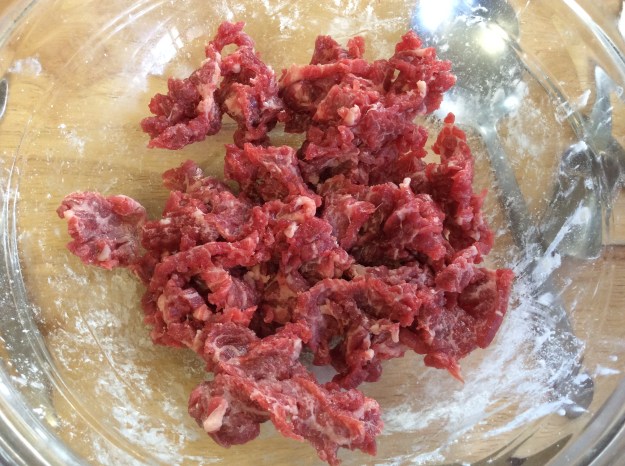
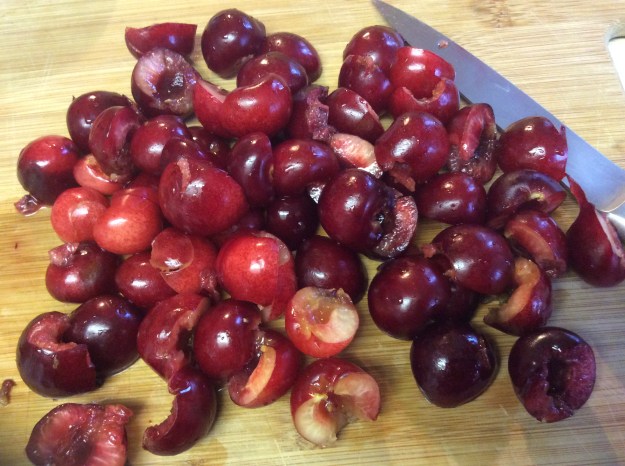
2 cups of pitted red cherries
1/3 cup sugar
2 tablespoon of organic cornstarch
Pinch of Kosher salt
1 tablespoon of lemon juice
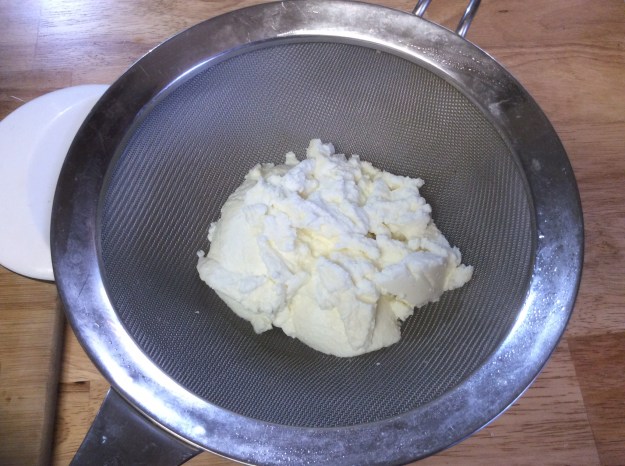
8 ounces of ricotta, drained overnight in cheese cloth
1/2 teaspoon of lemon zest
1/2 teaspoon of vanilla
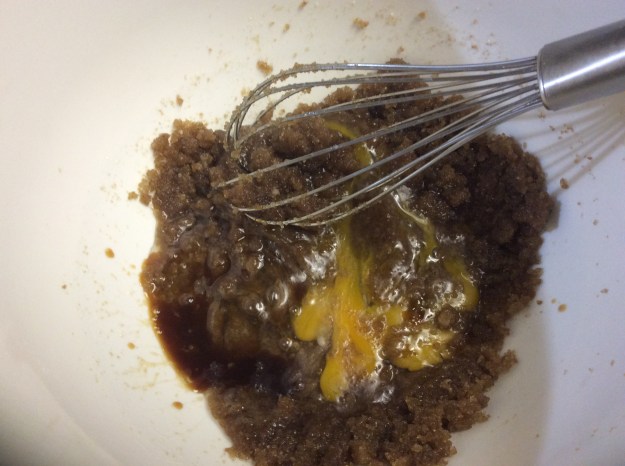
1 egg, beaten (divided in half)
2 teaspoons of whole milk
Sugar crystals for sprinkling
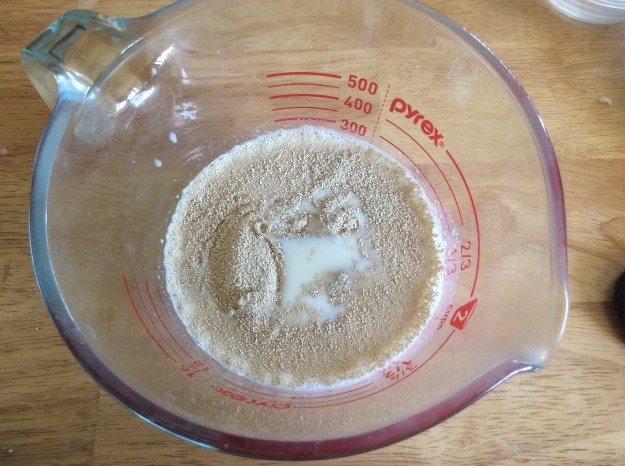
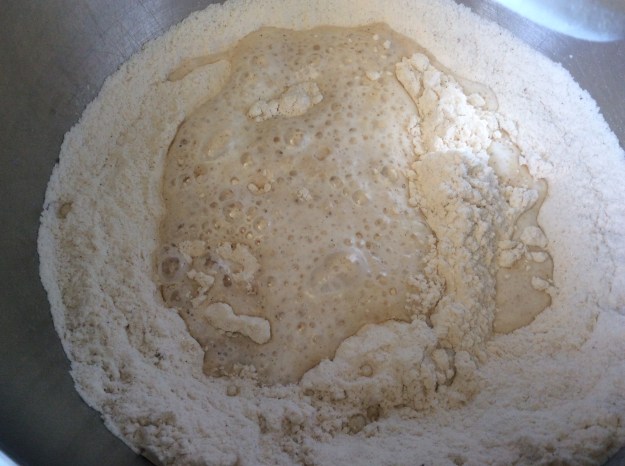
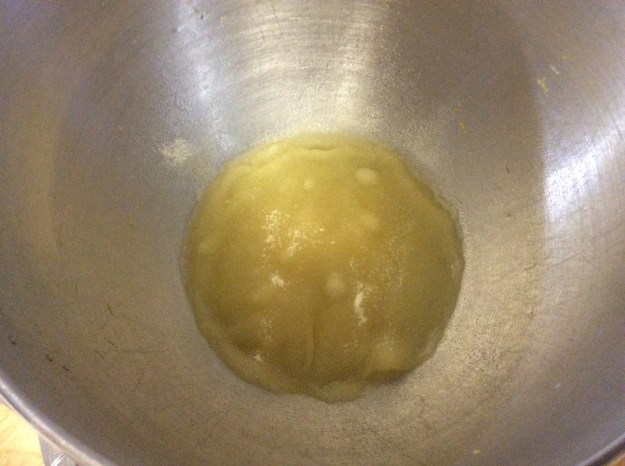
1. To make the pie crust, place flour, 2 tablespoons of sugar, baking powder, and salt in a food processor.
2. Pulse 3-4 times.
3. Add butter, pulse 3-4 times.
4. Add water. Pulse 2-3 times until the dough comes together.
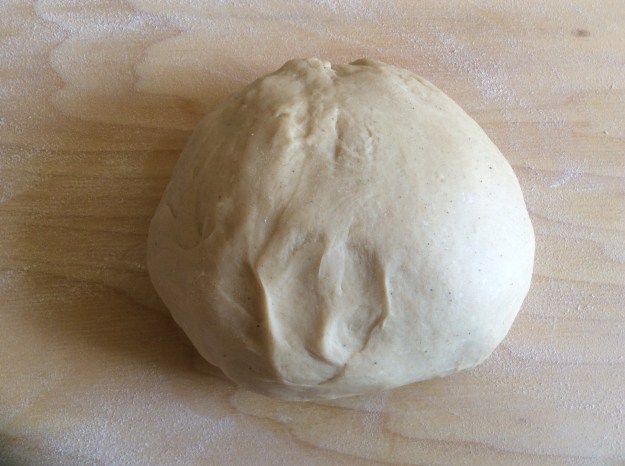
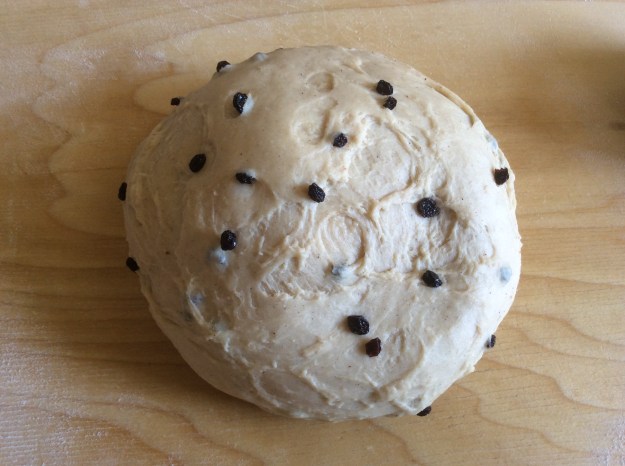
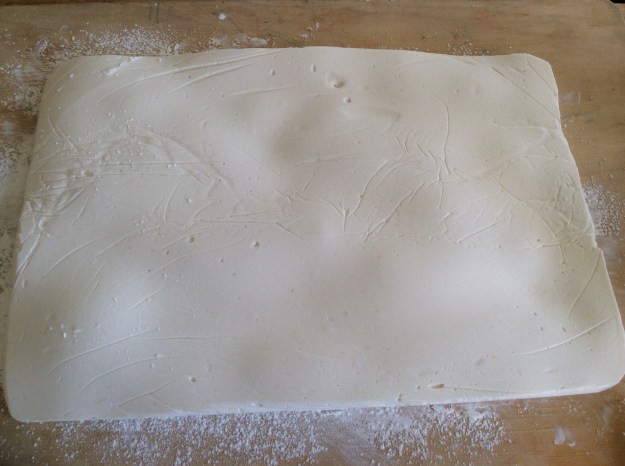
5. Move the dough to work station, gently knead until it just comes together and form into a disk. Do not overwork the dough or it will yield a tough crust.
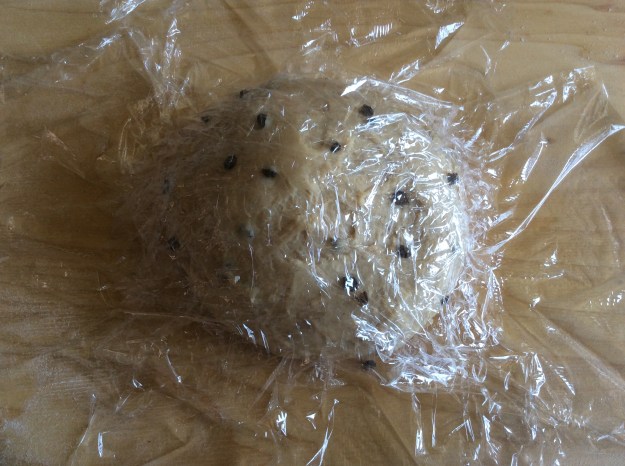
6. Wrap with plastic wrap and place in the refrigerator for at least 2 hours.
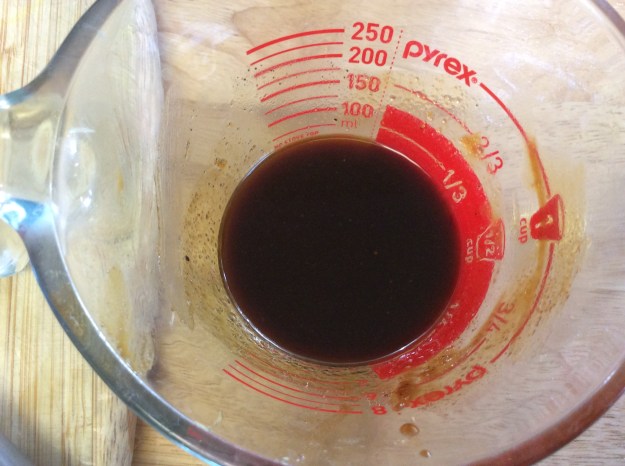
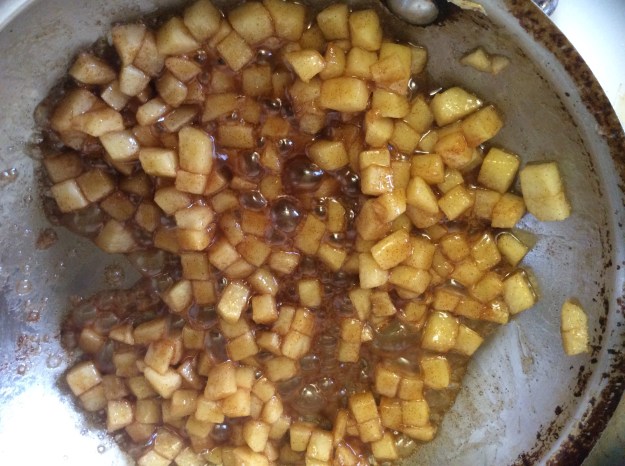
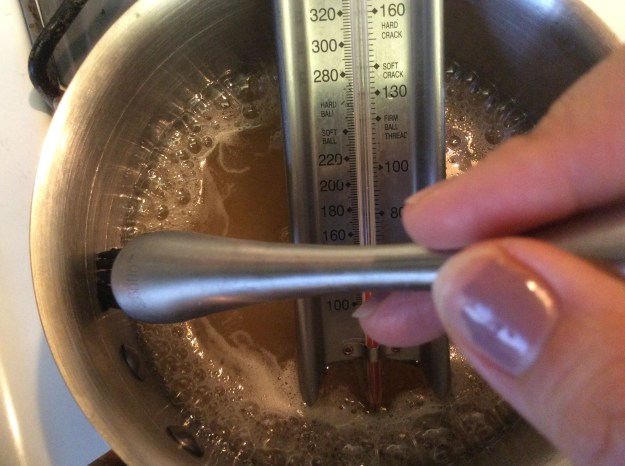
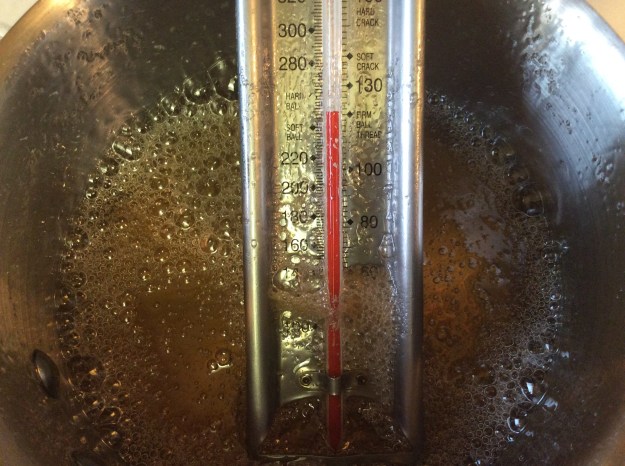
7. To make the cherry filling, add cherries to a sauce pan and turn the heat to medium.
8. Cover pan with lid and simmer for 10 minutes.
9. Meanwhile, whisk sugar, cornstarch and salt. Remove lid and stir in the dry mixture until no lumps are visible.
10. Add lemon juice and cook for 2 more minutes.
11. Remove from heat and cool completely. Set aside.
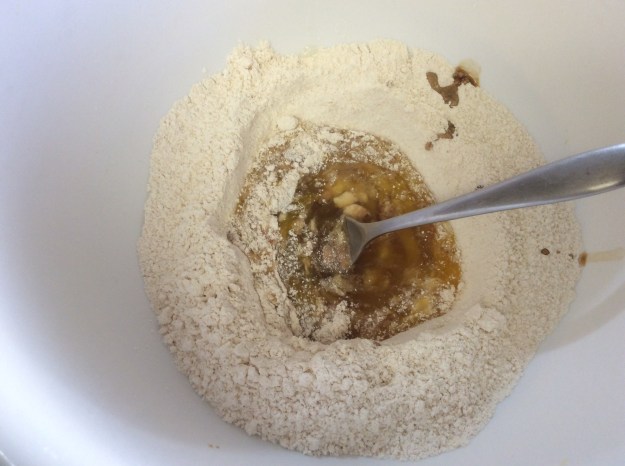
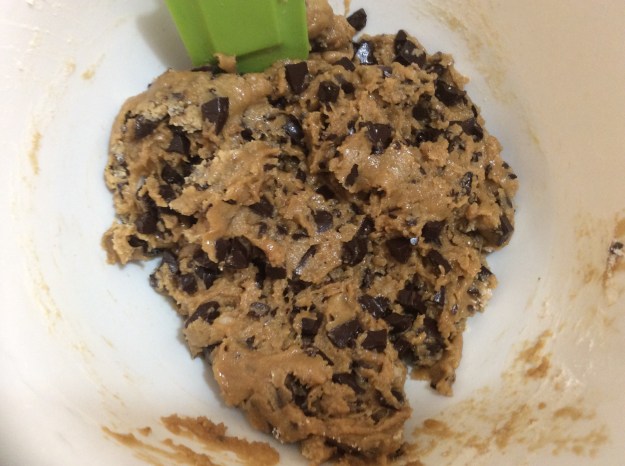
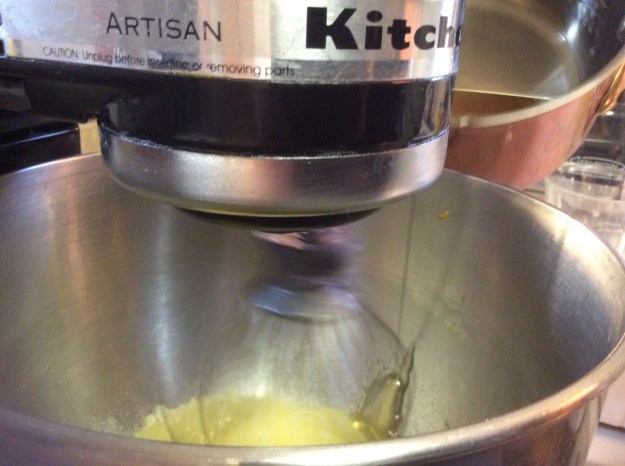
12. To make the ricotta filling, add the ricotta, lemon zest, vanilla extract, and 1/2 of the beaten egg in a small bowl. Stir until just combined. Cover with plastic wrap and place in refrigerator until needed.
13. Take the other half of the beaten egg and 2 teaspoons of milk and whisk. Cover with plastic wrap and place in refrigerator until needed.
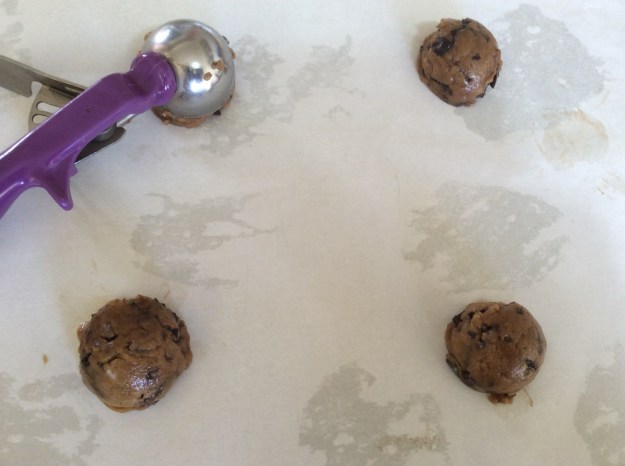
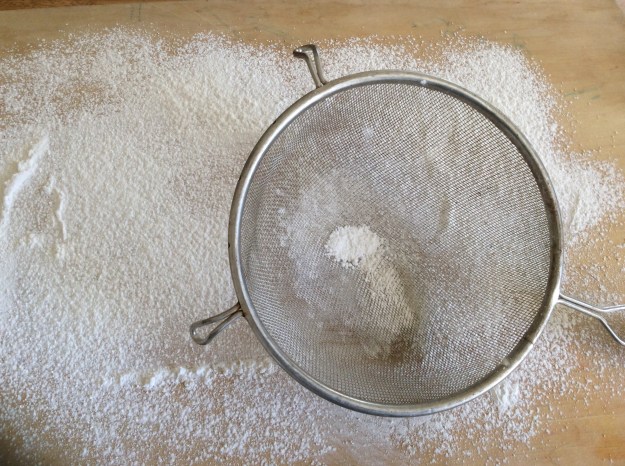
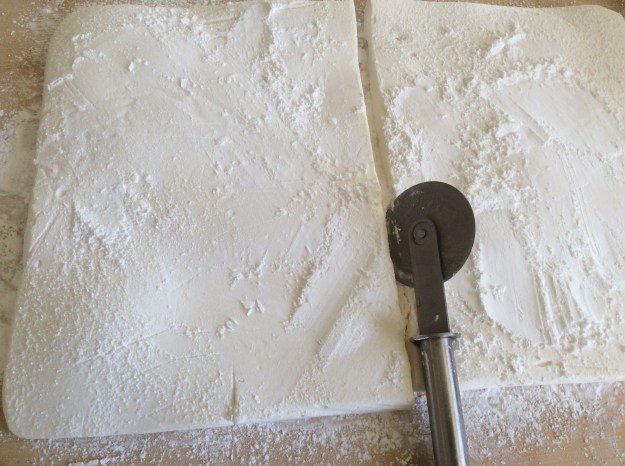
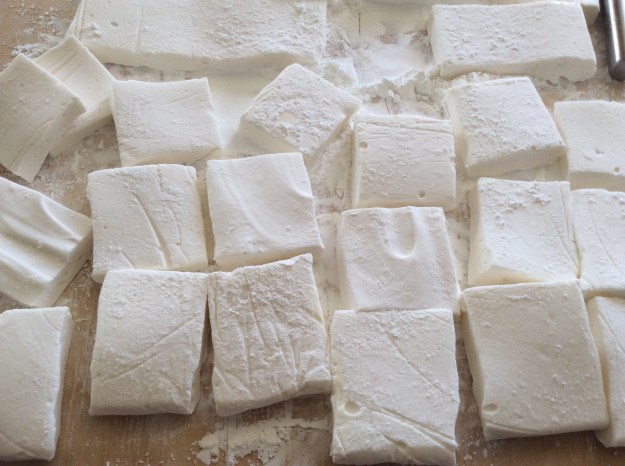
14. It’s time to assemble the pies. Lightly dust a work station with flour. Roll out pastry dough until 1/8 of an inch thick. Cut into 4 inch squares.

15. Add a tablespoon of ricotta filling and a tablespoon of cherry filling on top. Brush with egg wash around the perimeter. Fold over and seal, making a rectangle. Using the tines of a fork to press along the edges to secure the seal.
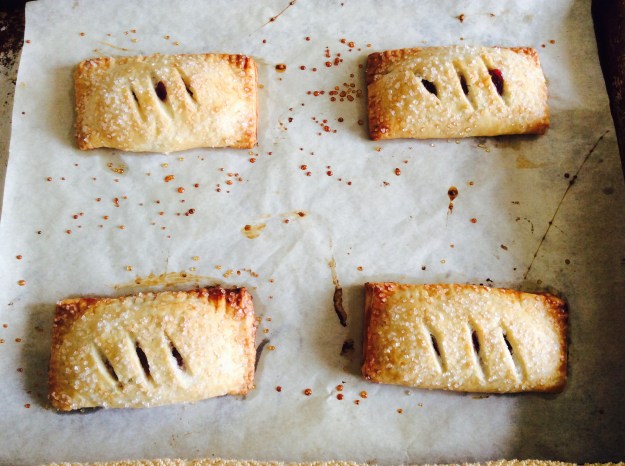
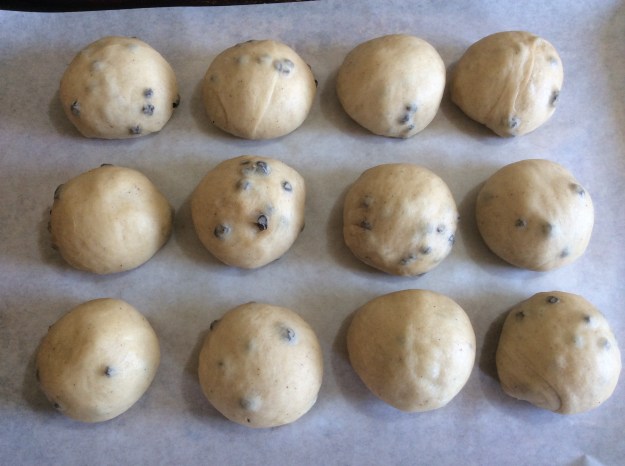
16. Place on a parchment-lined baking sheet. Repeat with the other four hand pies. Place in the freezer for 30 minutes.
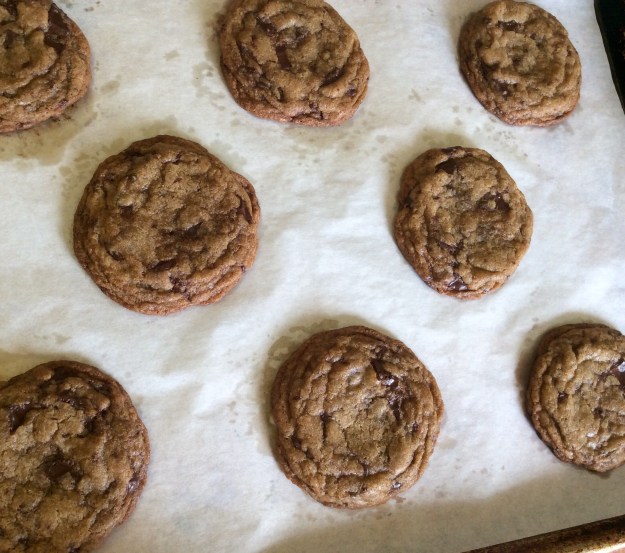
17. Preheat on oven to 350°. Remove the hand pies from the freezer and score 3 diagonal lines on top of each pie. Brush with egg wash. Sprinkle sugar crystals generously on each hand pie. Place the baking sheet in the oven and bake for 25 to 30 minutes until nice and golden brown. Place on a cooling rack for 15 minutes. Serve warm.