
I have always been a fan of English Afternoon Tea, not to be confused with English High Tea, which is hearty meat and potatoes tea. During afternoon tea social events, you would find a nice pot of tea, finger sandwiches and, of course, scones. Most of the scones served at afternoon teas were dry and the only way to make to them go down was to spread plenty of jam and clotted cream on them and chase them with some tea. I thought to myself, “There has to be way to make tender scones.” Then I was asked to host a tea party for a bridal shower. It was the perfect opportunity to work on my scone recipes.
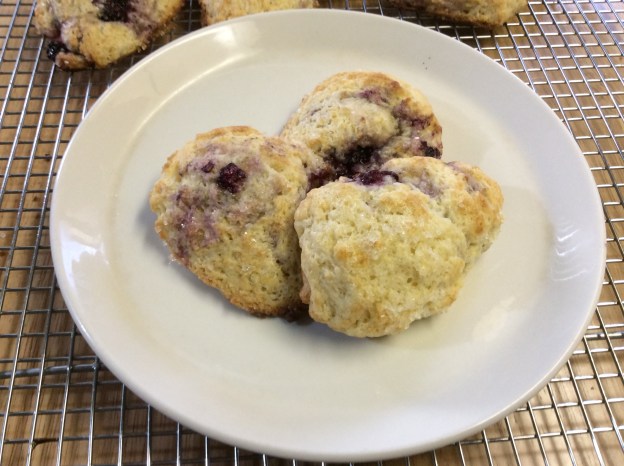
I tested several scone recipes and one from Cook’s Illustrated had an interesting technique. Their trick to making the scones tender is using grated, frozen butter in the dough instead of cutting squares of cold butter into the flour mixture. Not only was it a great short cut, but it made the scones perfectly tender. It was pure genius. I took that recipe and a tweaked it a bit and then added blackberries and Meyer lemons. What better time to share this recipe than during Meyer lemon season! The scones are jammy and buttery with a crispy exterior. You won’t need extra butter, jam or clotted cream with these scones. Just serve them with tea or coffee. Enjoy!
Blackberry Meyer Lemon Scones
Yield: 12 scones
2 sticks of frozen unsalted butter (you will only use 4 ounces grated).
1 cup of fresh blackberries (or your favorite berries) – Freeze for at least 2 hours
2 tablespoons of sugar
1 3/4 cups of Sonora wheat flour or unbleached all-Purpose flour
1/4 cup of spelt flour
1/2 cup of sugar
2 teaspoons of baking powder
1/2 teaspoon of salt
1/2 teaspoon of baking soda
1 teaspoon of freshly grated Meyer lemon zest
1/2 cup of whole milk
1/2 cup of sour cream
1 tablespoon of Meyer lemon juice
3 tablespoons of heavy cream
Crystal sugar (for sprinkling)
1. Line one large baking sheet with parchment paper. Set aside.
2. Take the frozen sticks of butter out of the freezer. Using a box grater, grate on the largest holes. Grate about half of each stick. Place the grated butter back into the freezer. Save remaining ungrated butter for another use.

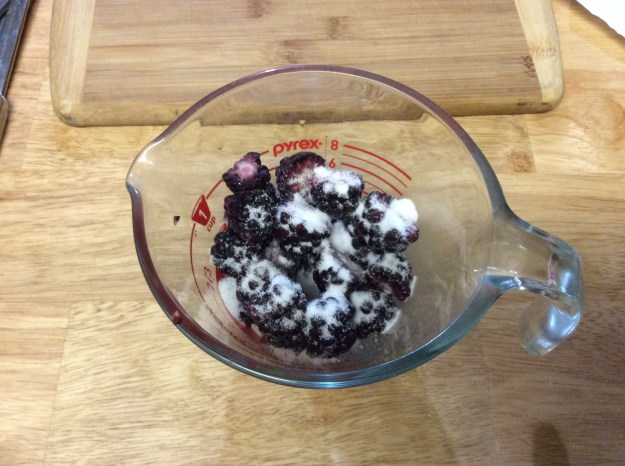
3. Take the frozen blackberries out of the freezer. Using a serrated knife, cut them in half. Put them in a small bowl and toss them with the two tablespoons of sugar. This will make the blackberries jammy when you bake the scones. Set aside.

4. Whisk the milk and sour cream in a small bowl. Set aside.

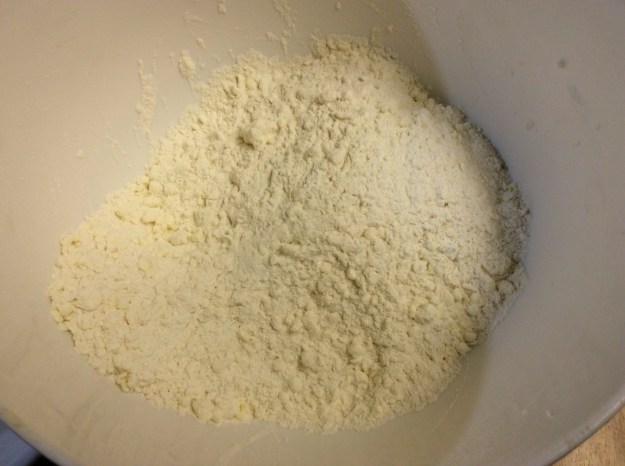
5. In a large bowl, add the flour, 1/2 cup of sugar, baking powder, baking soda and salt. Whisk to combine. Take the frozen grated butter and toss into the dry ingredients until the butter is evenly distributed and no clumps are present. Do this quickly and don’t handle the butter too much.

6. Stir the Meyer lemon juice into the milk and sour cream mixture and pour into the flour butter mixture. Using a rubber spatula, fold until the mixture comes together.

7. Generously flour your work surface.
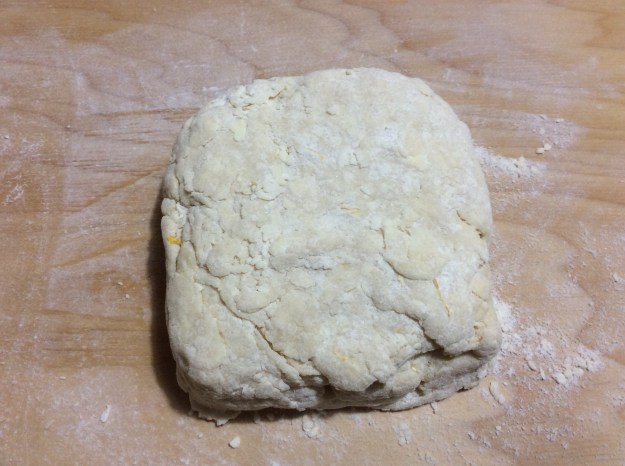
8. Take the dough and knead quickly a few times, just until the dough can be rolled. It is important that you don’t overwork the dough or the scones will become tough.

9. Roll out to a 12” x 12” square and then fold in thirds and the fold in thirds again. This process will help create layers.
10. Place on parchment-lined plate or tray and place in the freezer for 5-10 minutes or until it gets cold.
11. Heat oven to 425°.
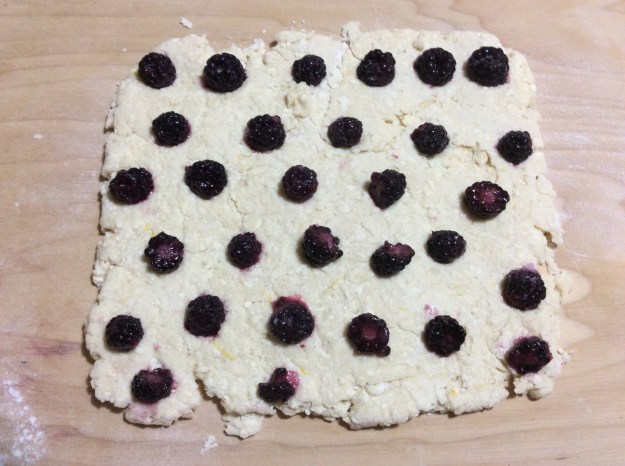
12. Remove the dough and again roll out to a 12” x 12” square. Take the berries and distribute them evenly throughout the dough, pressing them in. Then roll the dough tightly, securing the berries inside like in a jelly roll and then flatten.


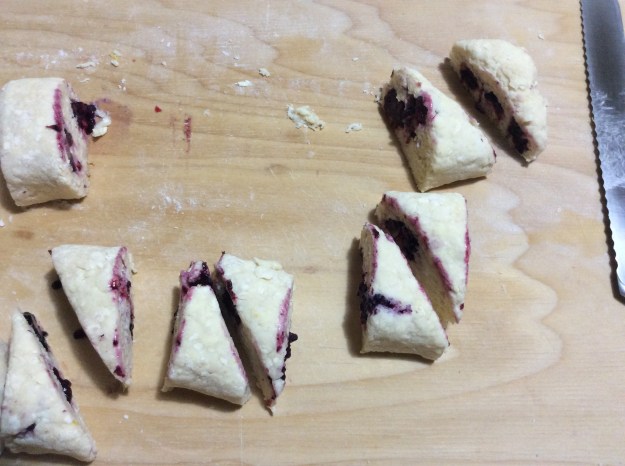
13. Using a serrated knife (cleaning the knife with a paper towel in between cuts), cut the the long rectangle in half, then each rectangle in thirds. You should have 6 smaller rectangles. Cut each small rectangle on a diagonal to form 2 triangles.
14. Place the scones on the parchment-lined baking sheet. Brush with cream and sprinkle with crystal sugar.

15. Place the baking sheet with the scones in the the freezer for about 5 minutes.
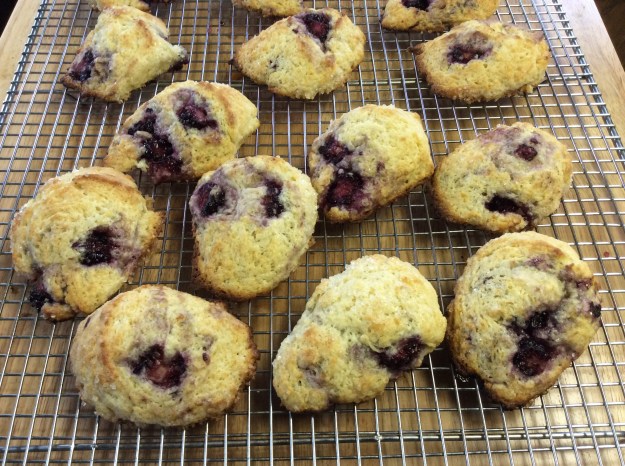
16. Remove the scones from the freezer and place in the oven on the center rack. Bake for about 10-12 minutes, then turn the broiler on high and broil for 1-2 minutes until the top is golden brown. Cool on a rack for 10 minutes.
17. They are best the day of, but you can keep them in an airtight container for up to three days.

Oh they’re just gorgeous! Thanks for all the excellent pictures, makes me think I could give it a go!
LikeLike
Thank you for all your nice comments, Heather. I posted a lot of photos for this recipe because it really is a visual recipe. I hope to have video instructions in the near future. 🙂
LikeLiked by 1 person